

Add DNS records at Squarespace
These are the steps for Squarespace. For what the records do and how to check the setup afterwards, see Subdomain setup.
Datahash tells you which record type to use and gives you the values. Follow the matching section below and enter the values you were given.
Both record types start the same way in Squarespace, so these screenshots cover either one.
Getting to the DNS records panel5 screenshots
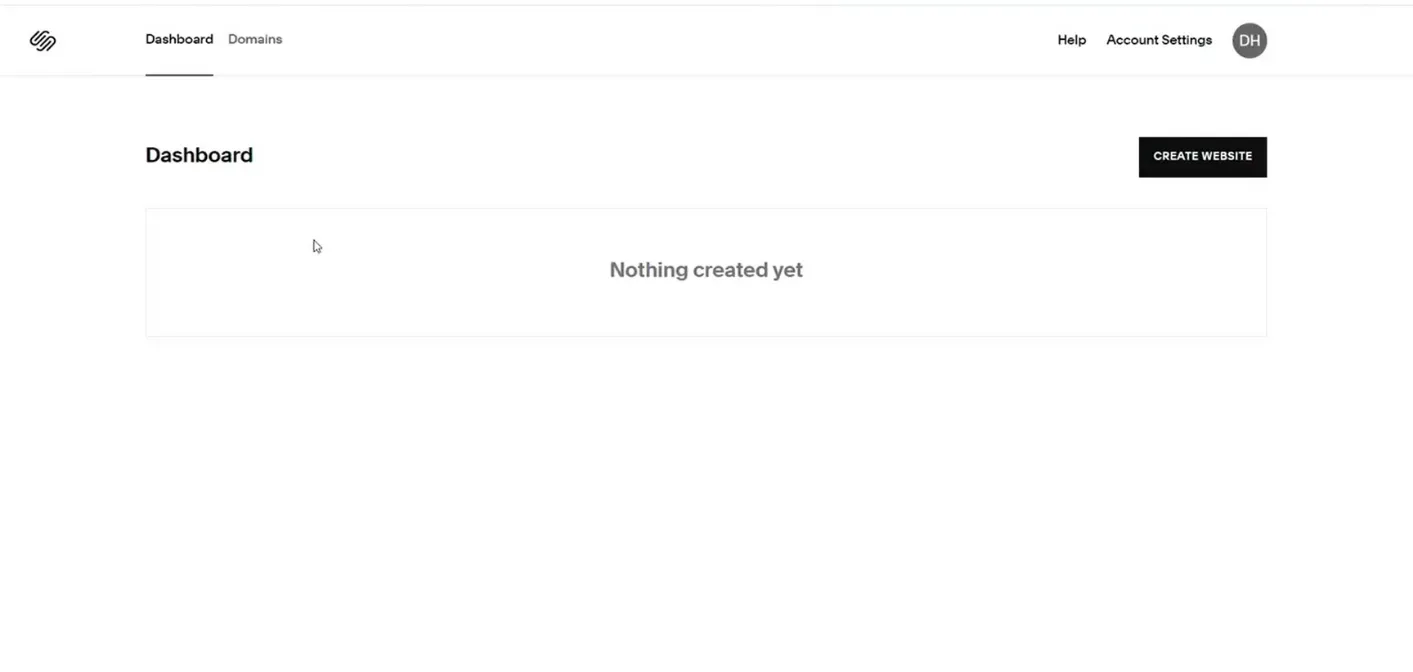
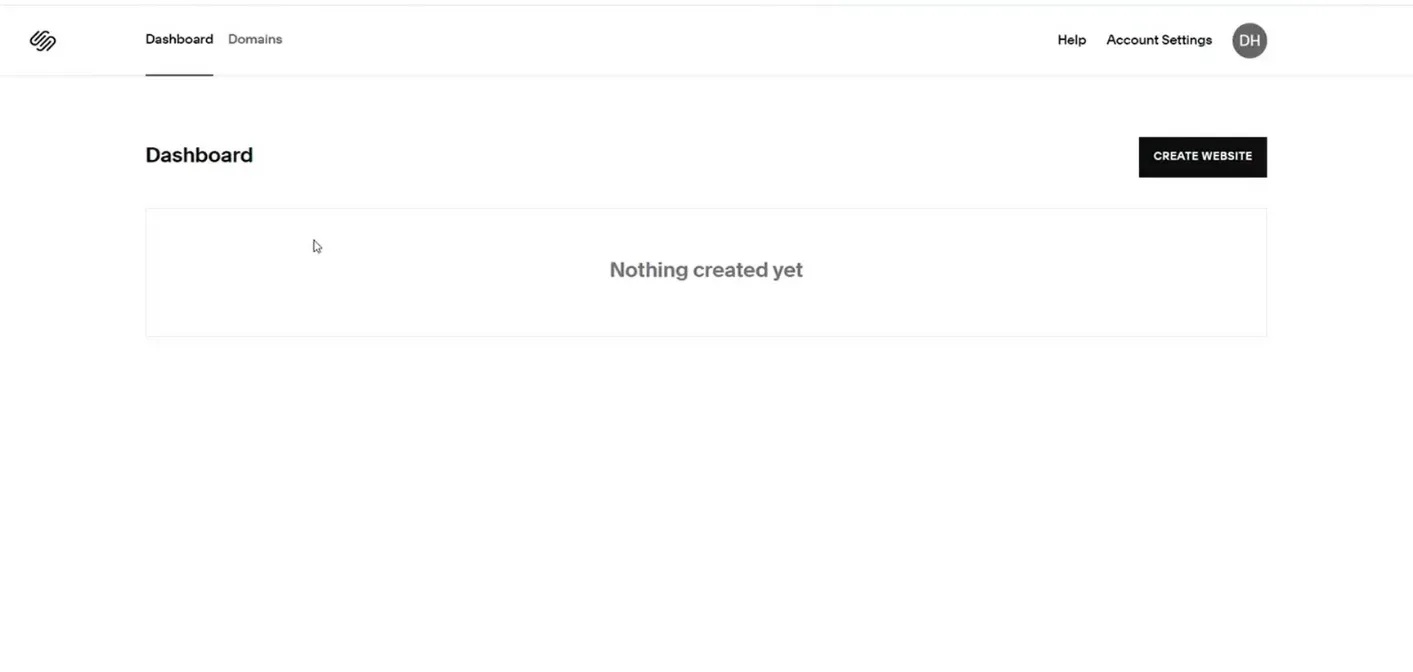
The empty Dashboard, reading Nothing created yet beside Create Website. 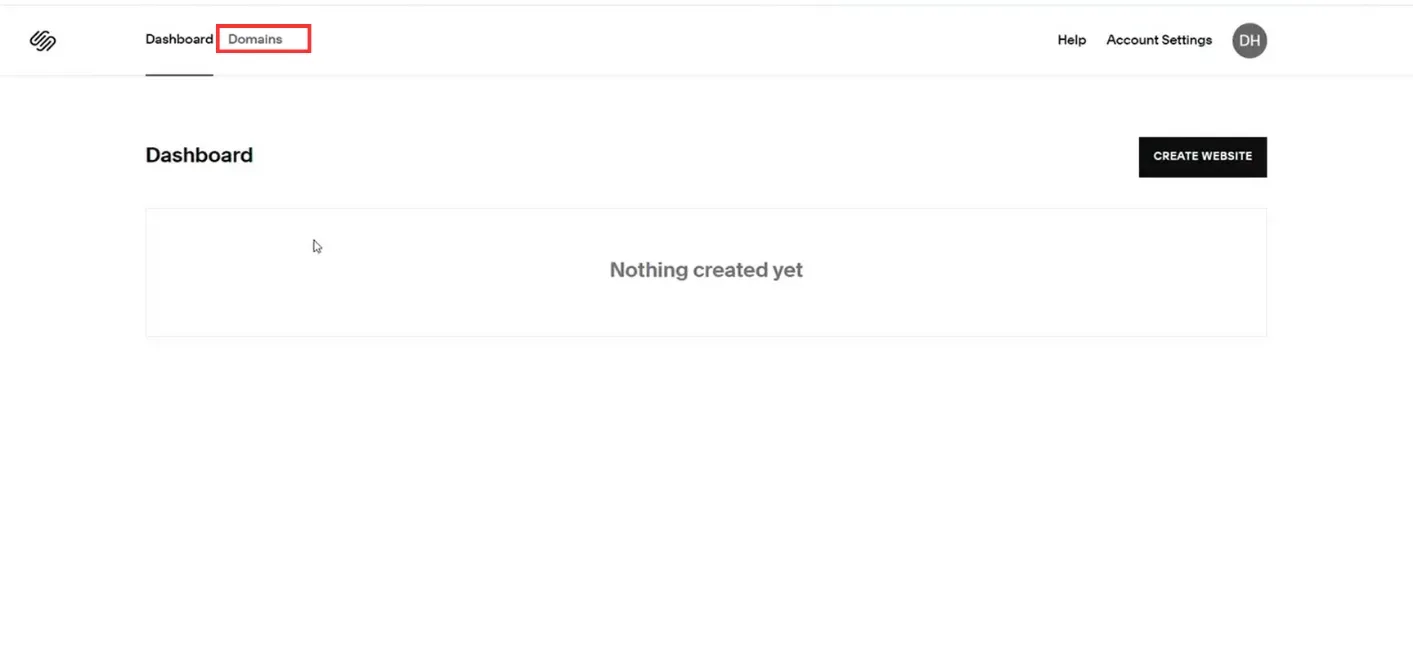
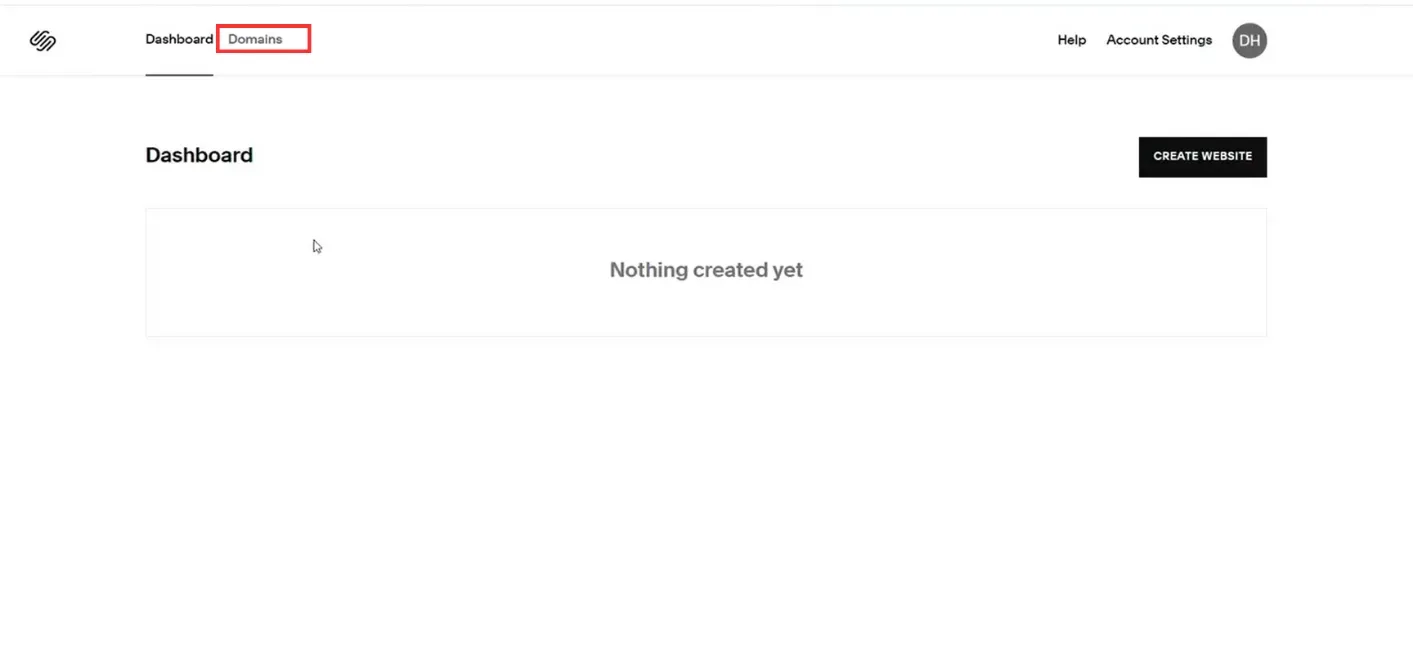
The same Dashboard, with the Domains tab boxed in red in the top navigation. 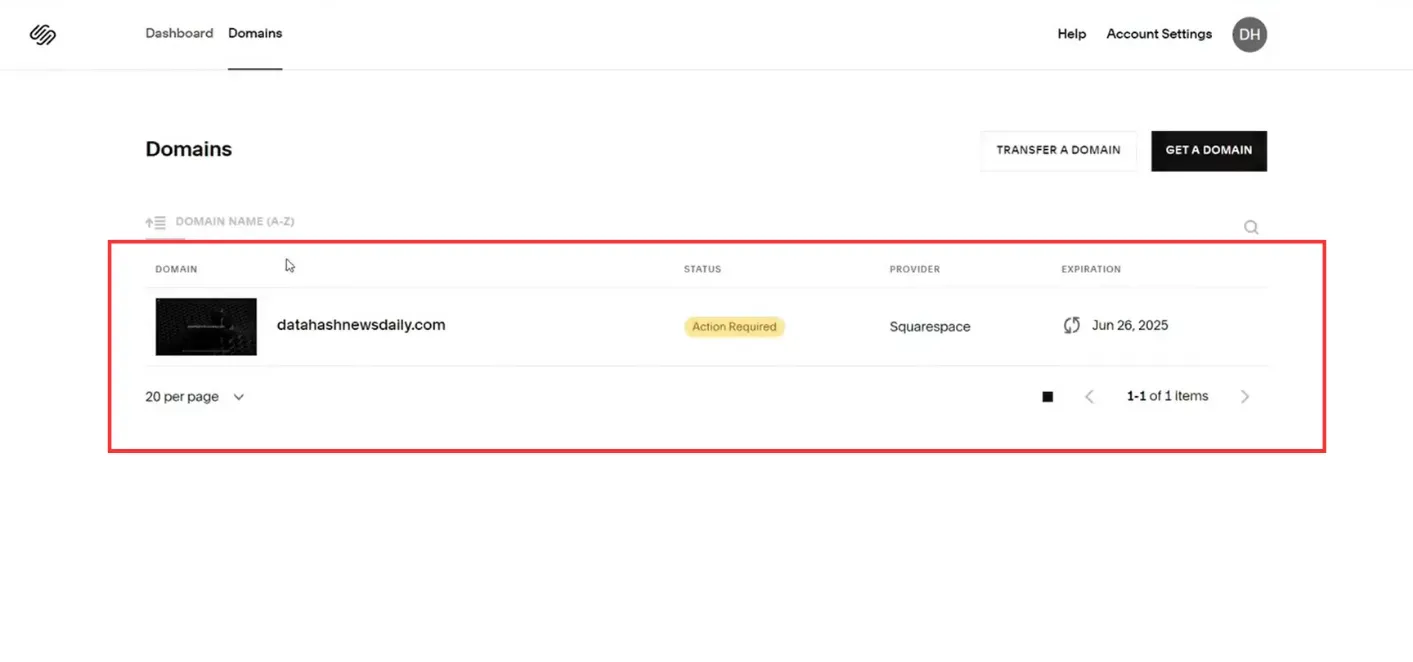
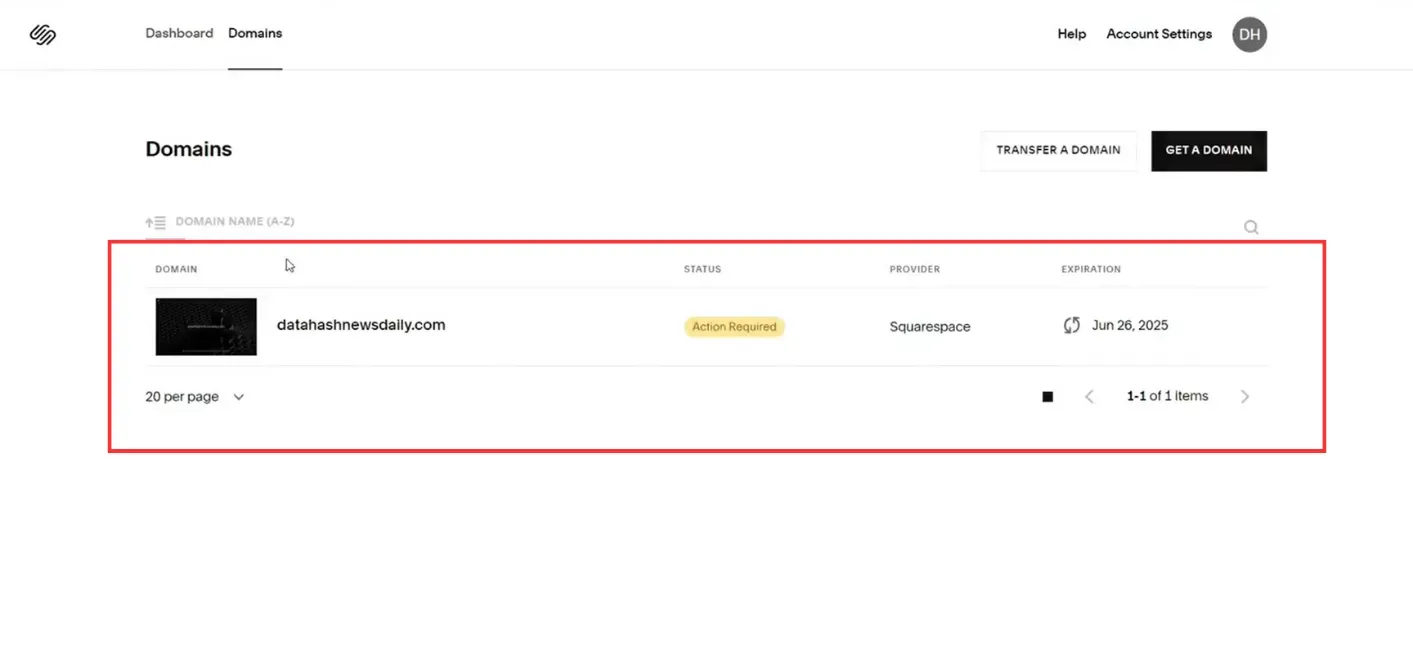
The Domains list boxed in red, with one domain row showing an Action Required status, Squarespace as the provider and an expiration date. 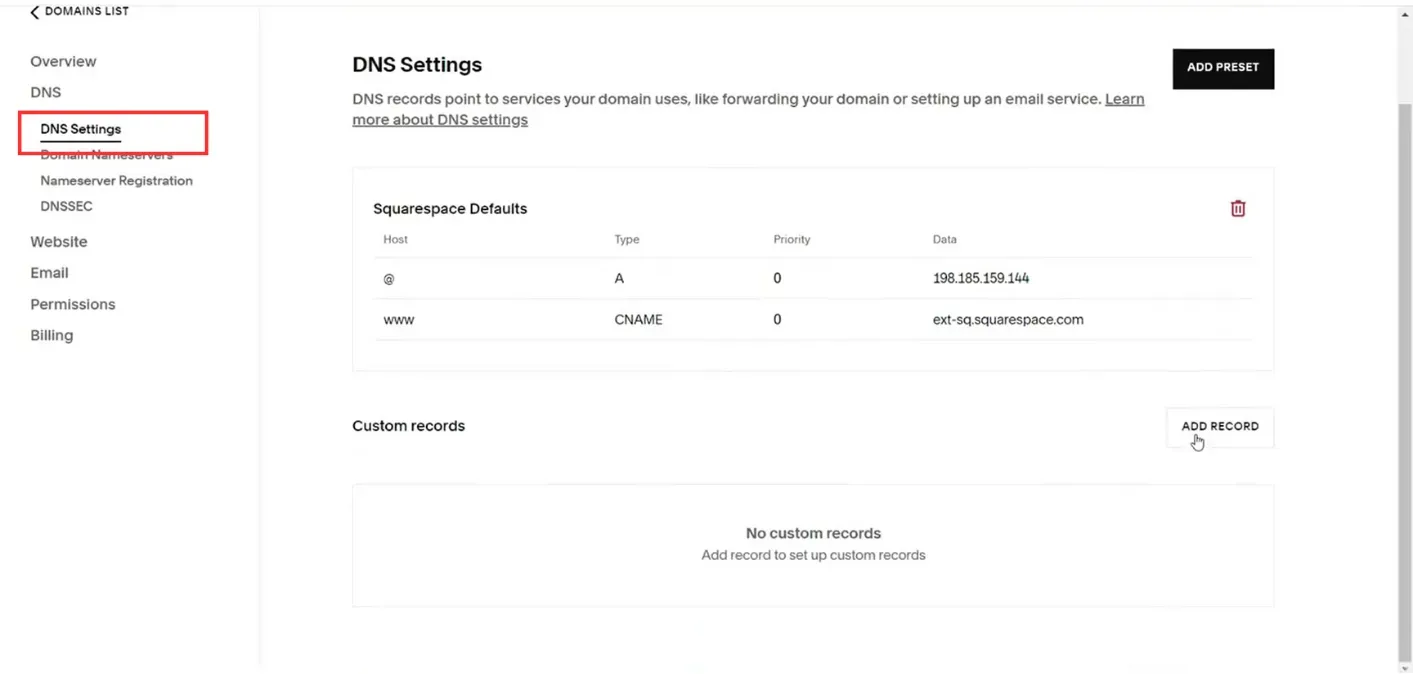
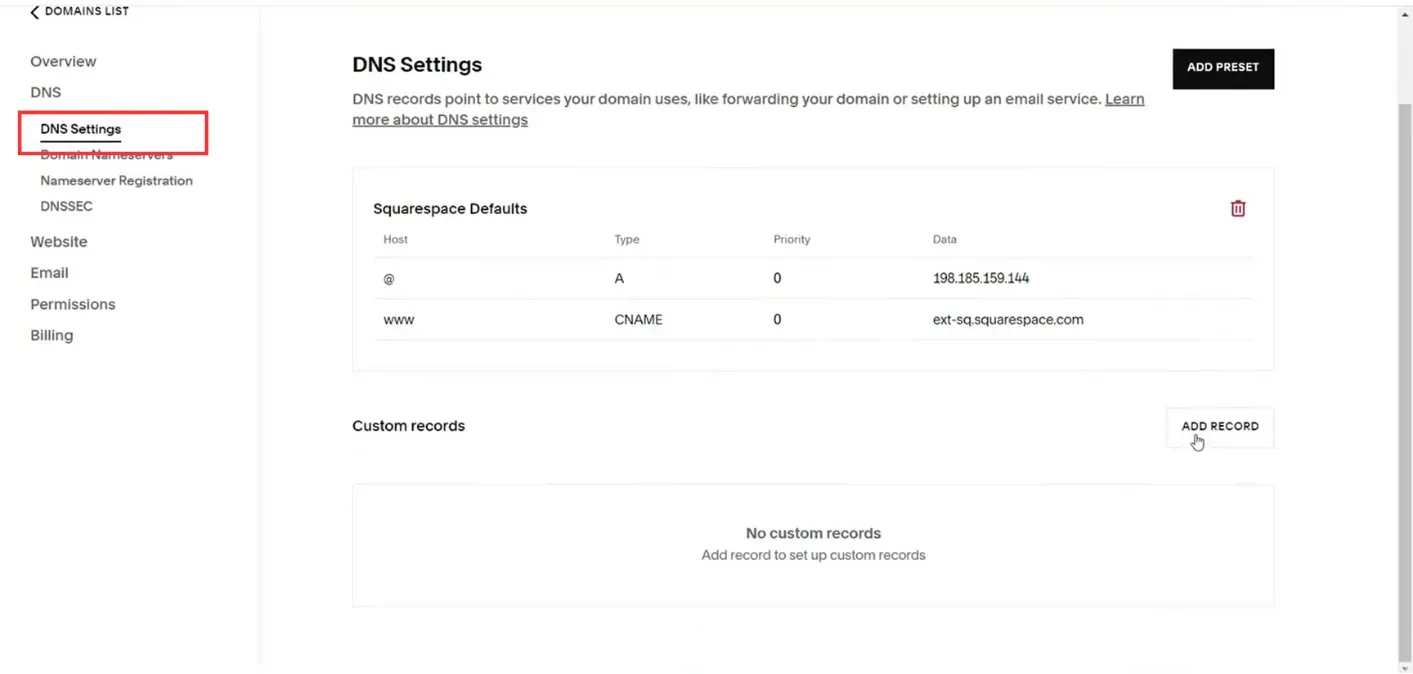
DNS Settings, with DNS Settings boxed in red in the sidebar above Domain Nameservers, the Squarespace Defaults A and CNAME rows listed, and Custom records reading No custom records. 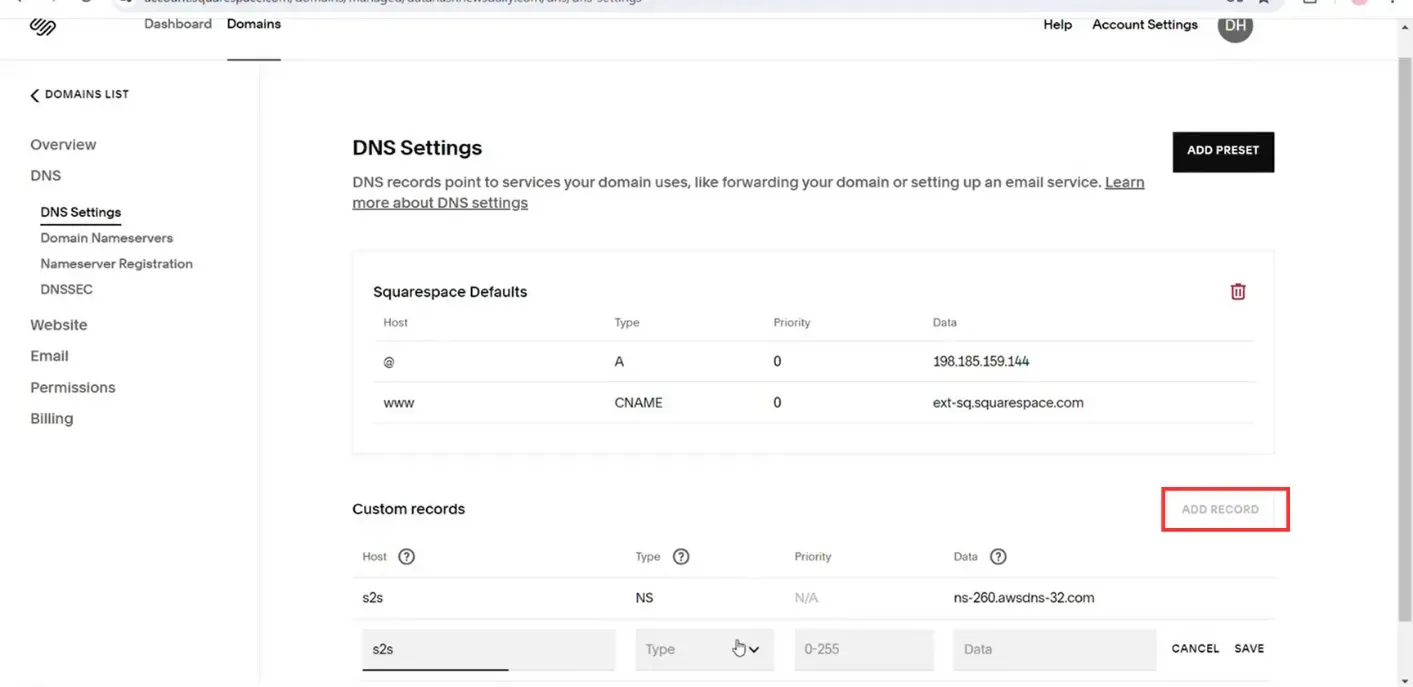
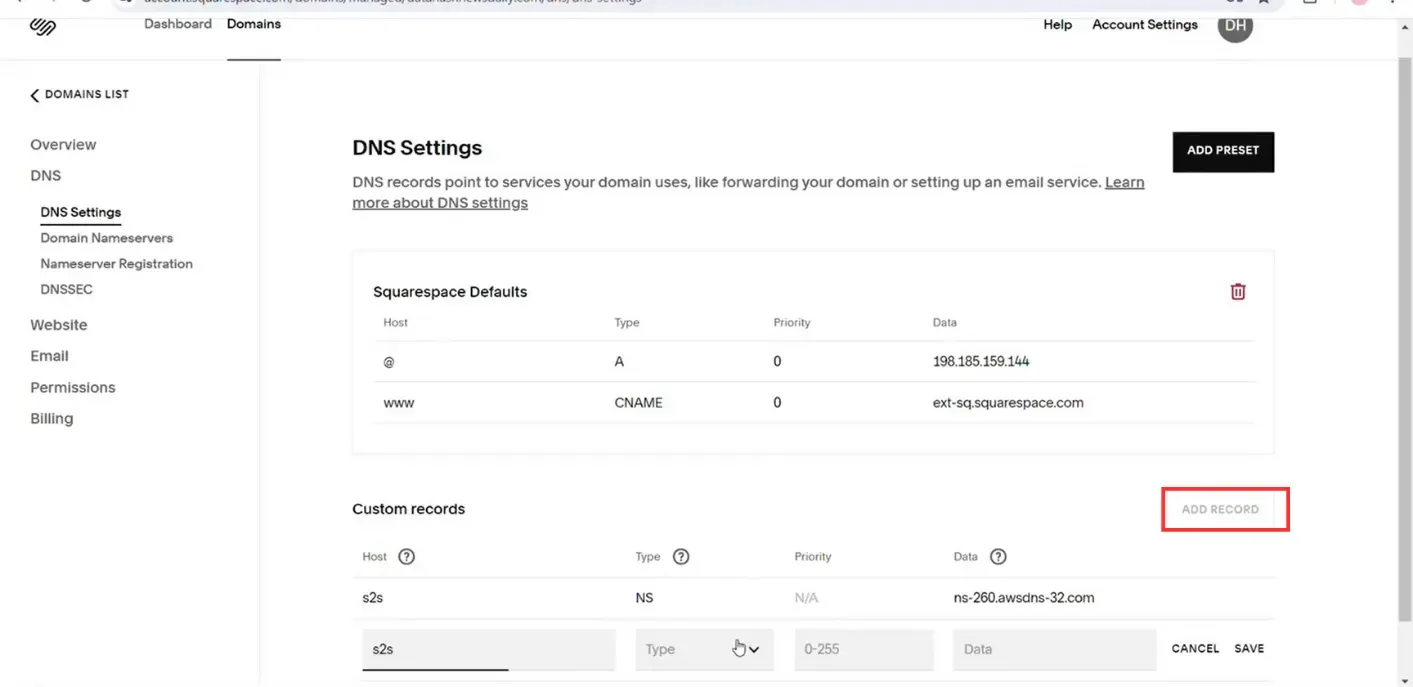
Custom records with Add Record boxed in red, one saved NS row above a new row where the host label is filled in and Type, Priority and Data are still empty, Cancel and Save at the end of it.
Adding NS records
Section titled “Adding NS records”-
Sign in to Squarespace and click Domains at the top.
-
Choose the domain you are configuring.
-
Click DNS settings under DNS.
-
Click Add Record and enter one of the NS values from the Datahash setup window.
You will have been given four nameserver values. Repeat the last two steps until all four records exist. A delegation with one of the four missing looks complete in DNS settings and does not resolve.
NS record walkthrough1 screenshot
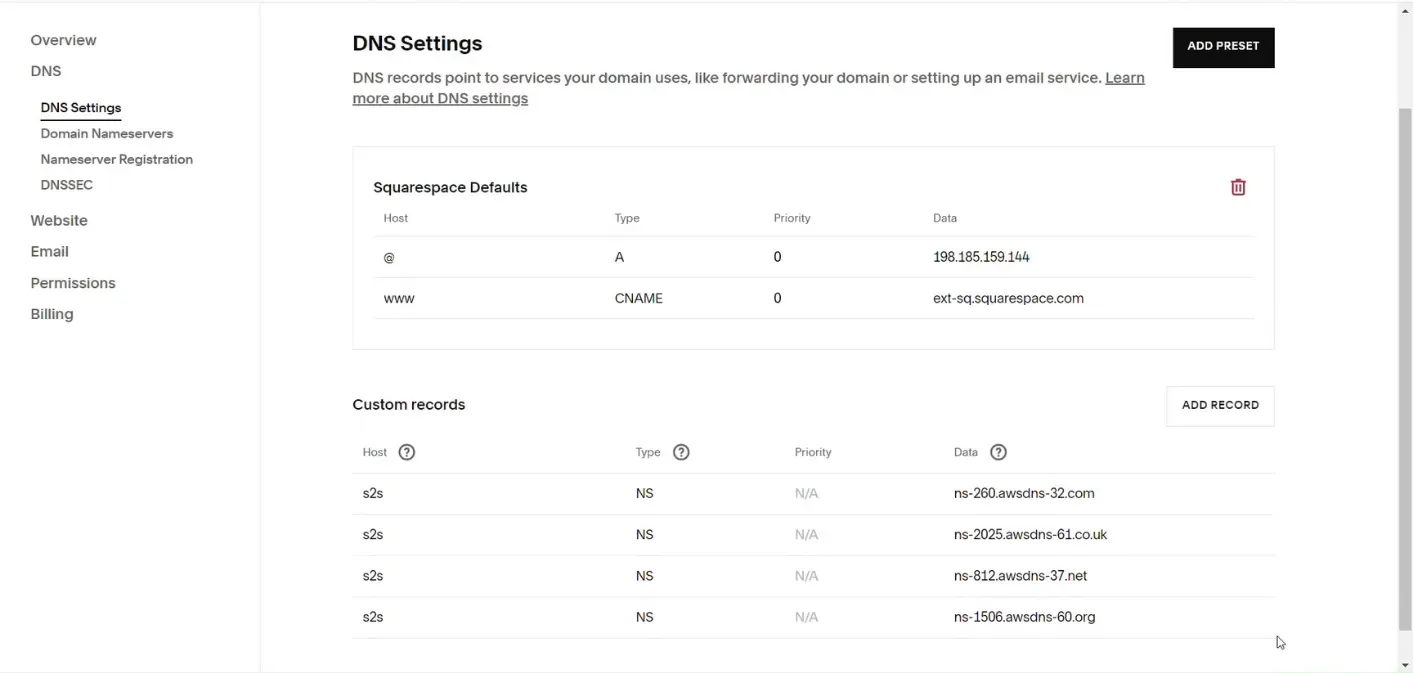
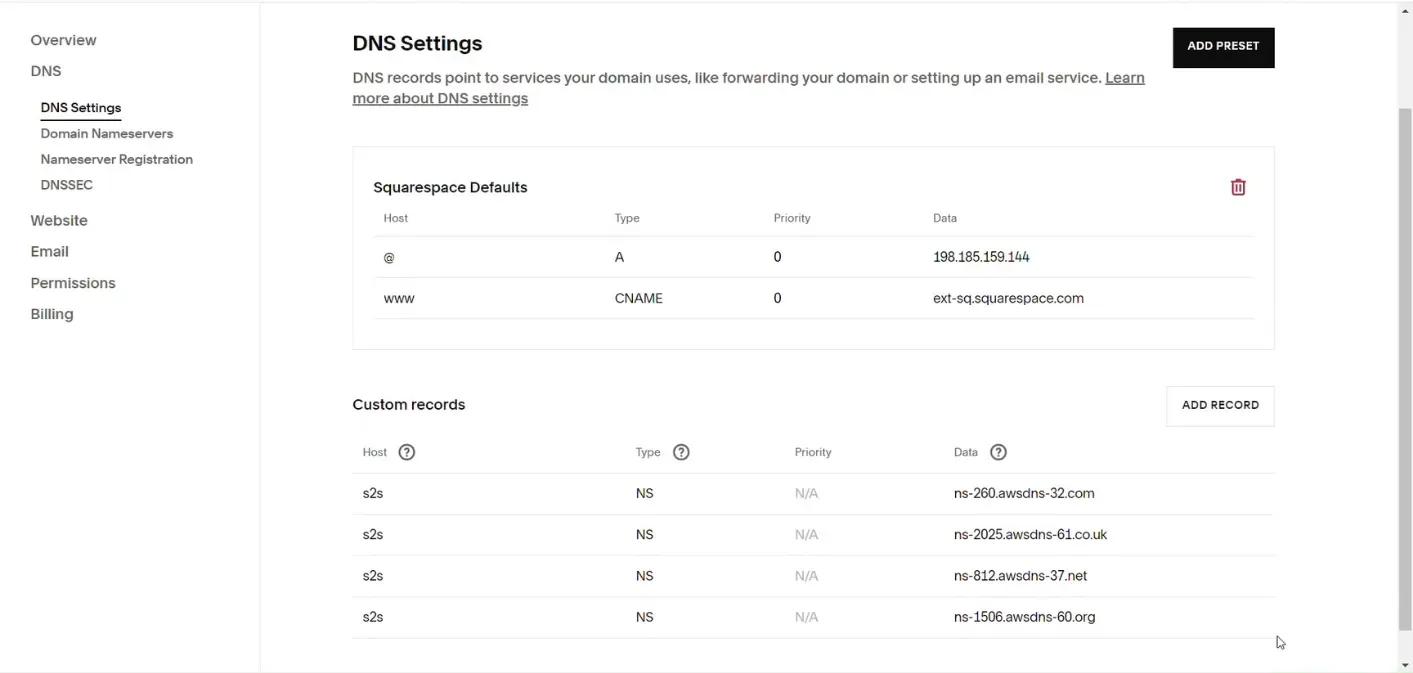
Custom records with four saved NS rows, all under the same host label and each pointing to a different AWS nameserver, Priority reading N/A on every row.
Adding a CNAME record
Section titled “Adding a CNAME record”-
Sign in to Squarespace, click Domains and choose the domain.
-
Click DNS settings under DNS.
-
Click Add Record, choose CNAME as the type, and paste the value Datahash gave you.
-
Click Save.
Every screenshot for this record type is in Getting to the DNS records panel at the top of the page.