

Add DNS records at Hover
These are the steps for Hover. For what the records do and how to check the setup afterwards, see Subdomain setup.
Datahash tells you which record type to use and gives you the values. Follow the matching section below and enter the values you were given.
Adding NS records
Section titled “Adding NS records”-
Sign in to hover.com.
-
Choose the domain, find Nameservers in the domain details and click Edit.
-
Enter the record name and one nameserver value, and click Save.
You will have been given four nameserver values. Repeat the last two steps until all four records exist. A delegation with one of the four missing looks complete in the domain details and does not resolve.
NS record walkthrough4 screenshots
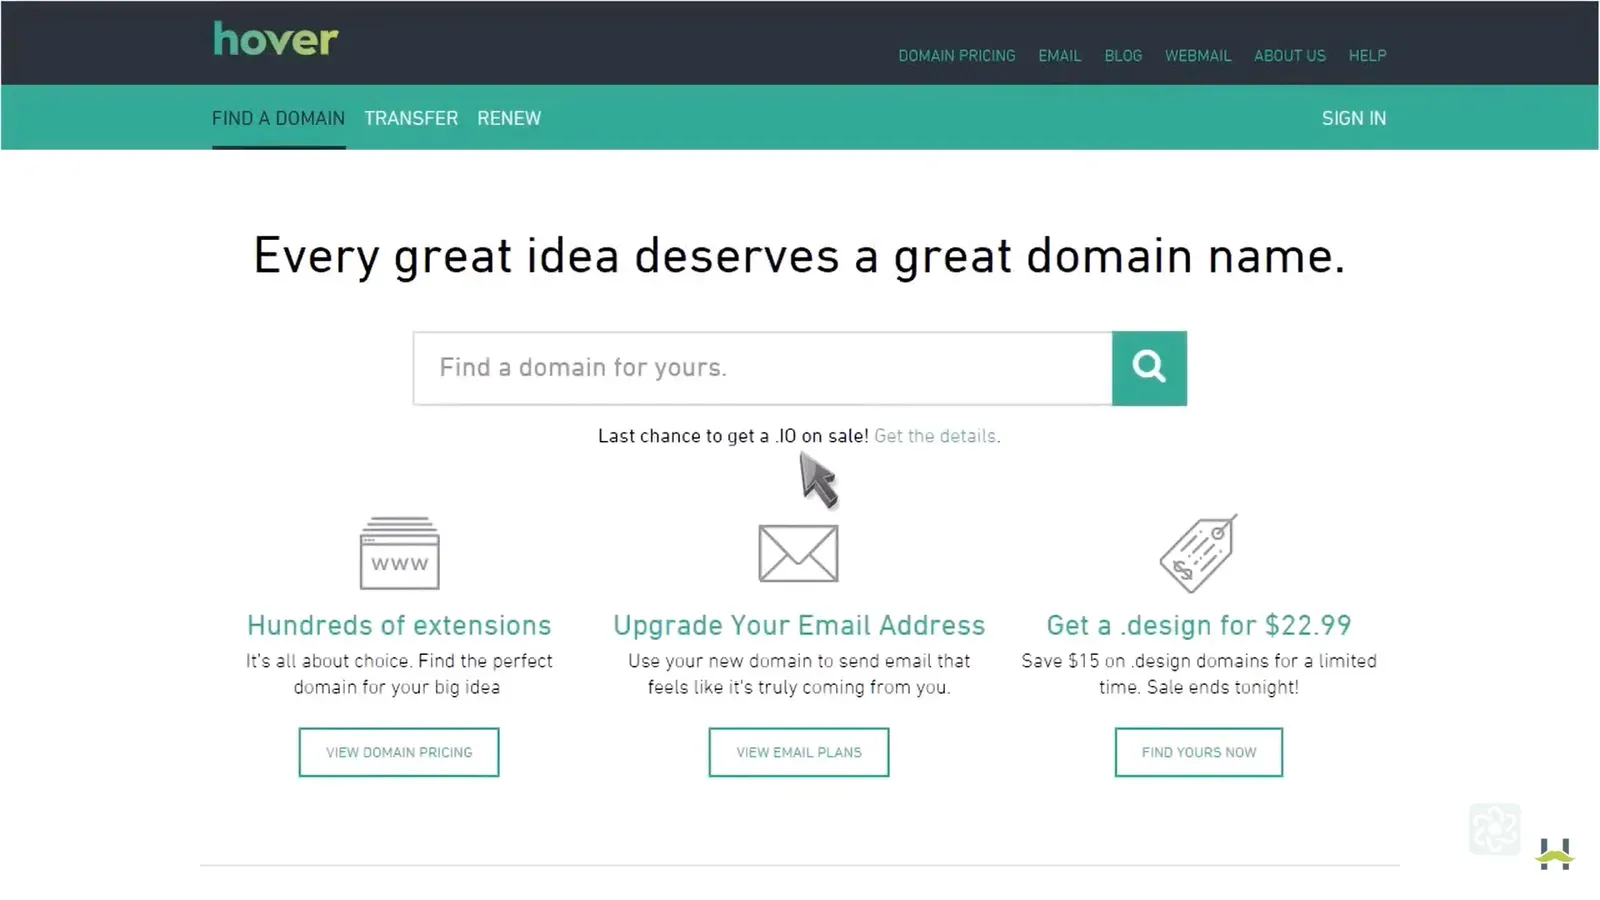
The Hover marketing homepage before sign in, with Sign In at the right of the green navigation bar. 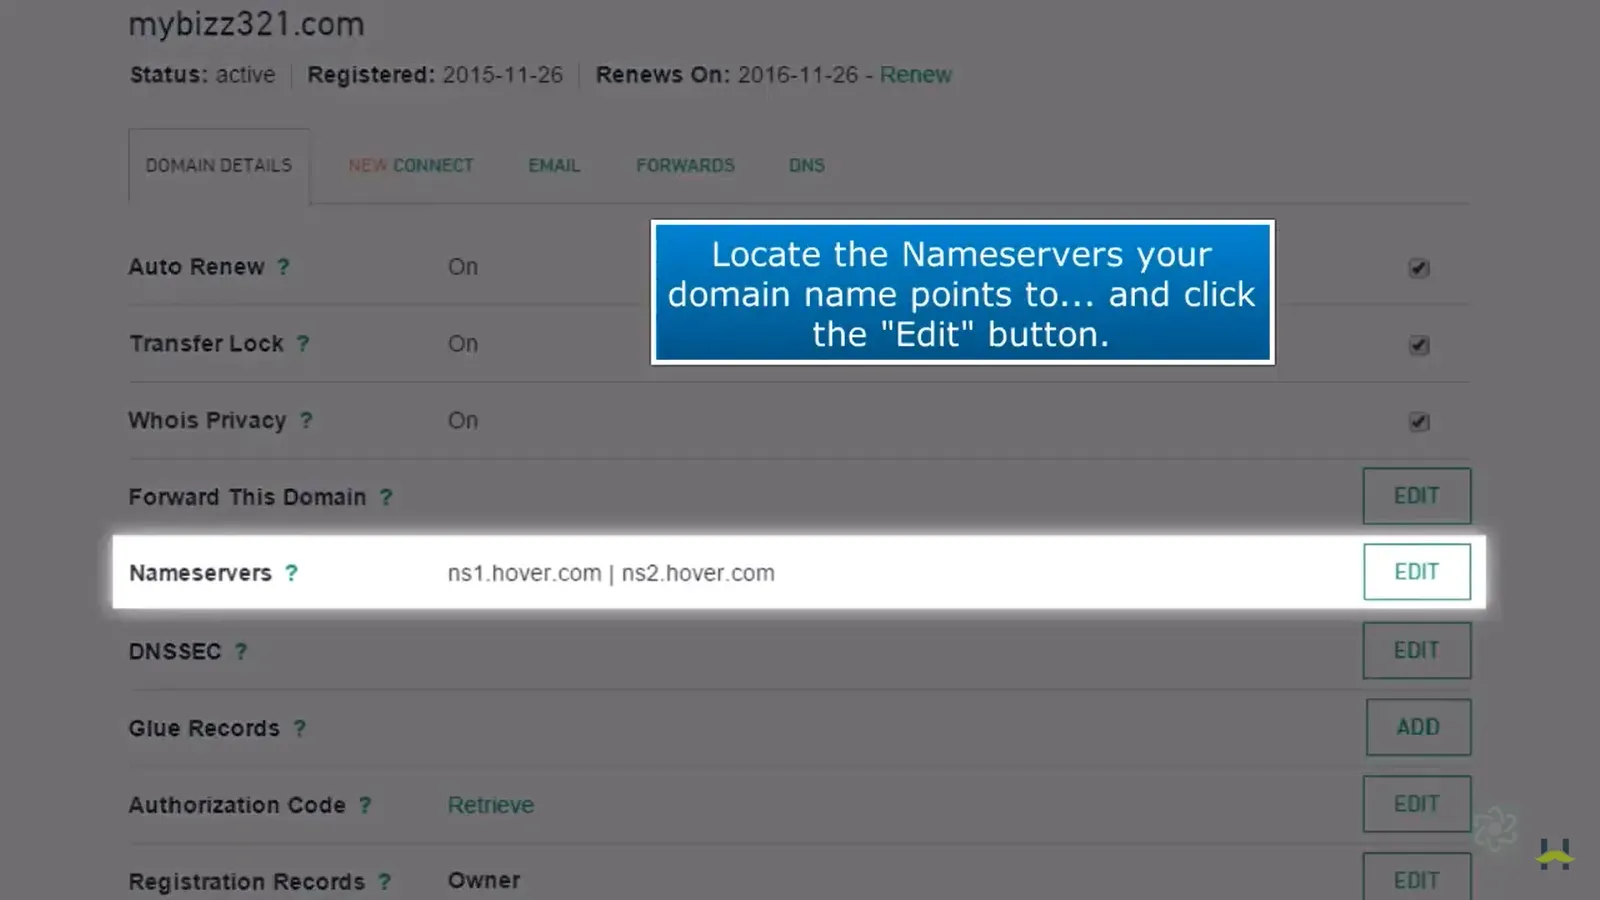
The Domain Details tab, with the Nameservers row lit while the rest of the page is dimmed, and a blue callout above it saying to find the Nameservers row and click Edit. 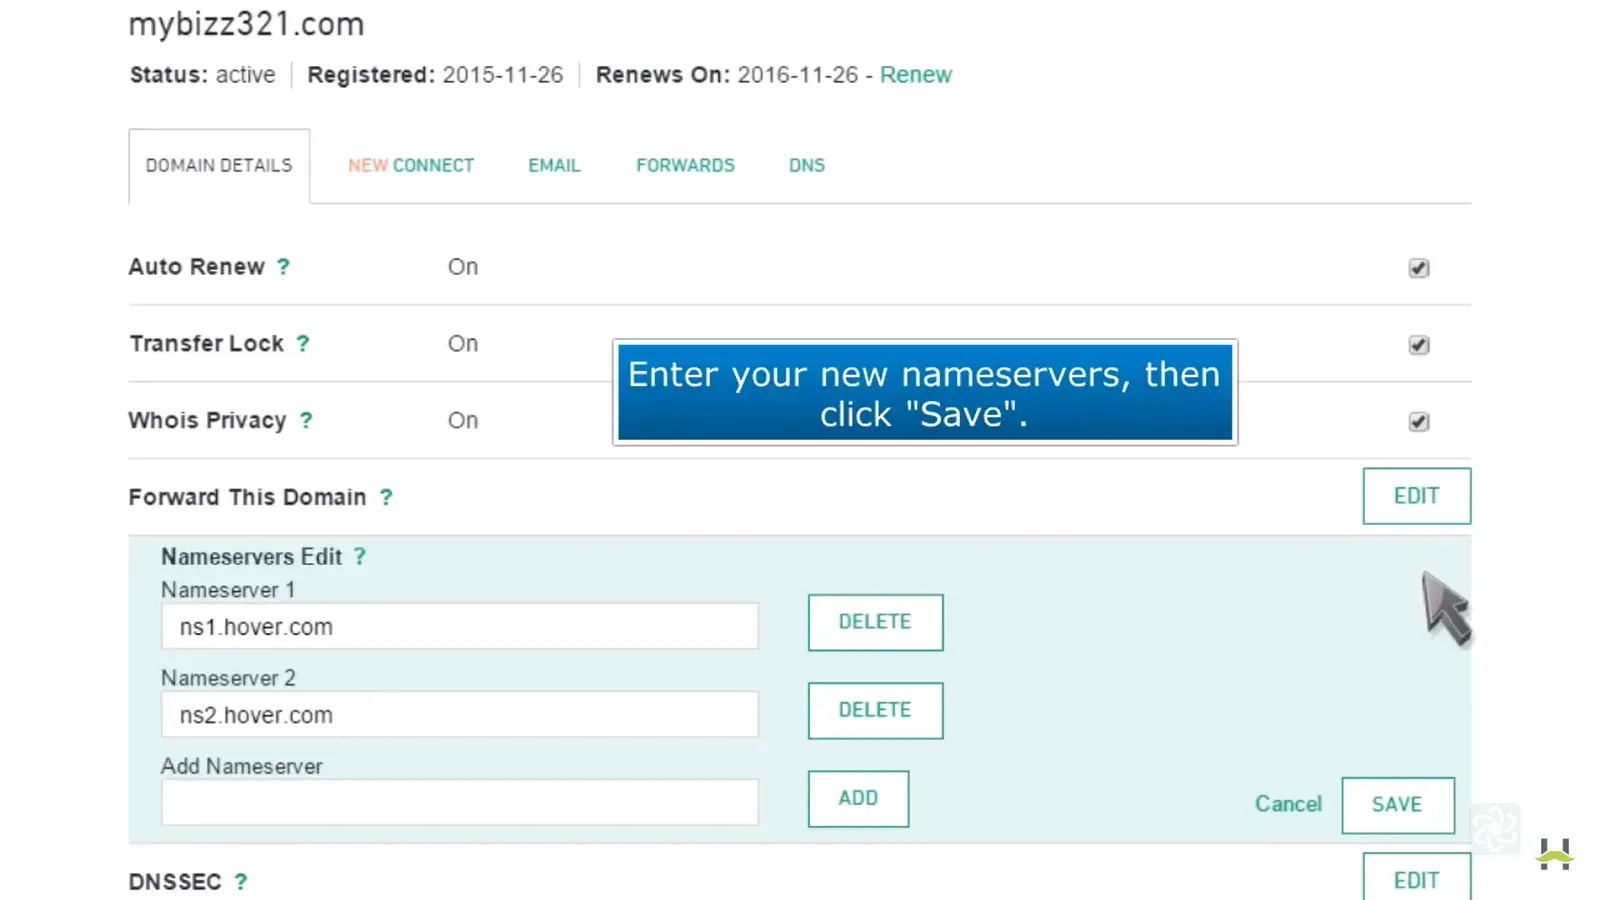
The Nameservers Edit panel open in place of that row, with Nameserver 1 and Nameserver 2 each carrying a Delete button, an empty Add Nameserver field with Add beside it, and Cancel and Save at the bottom right. 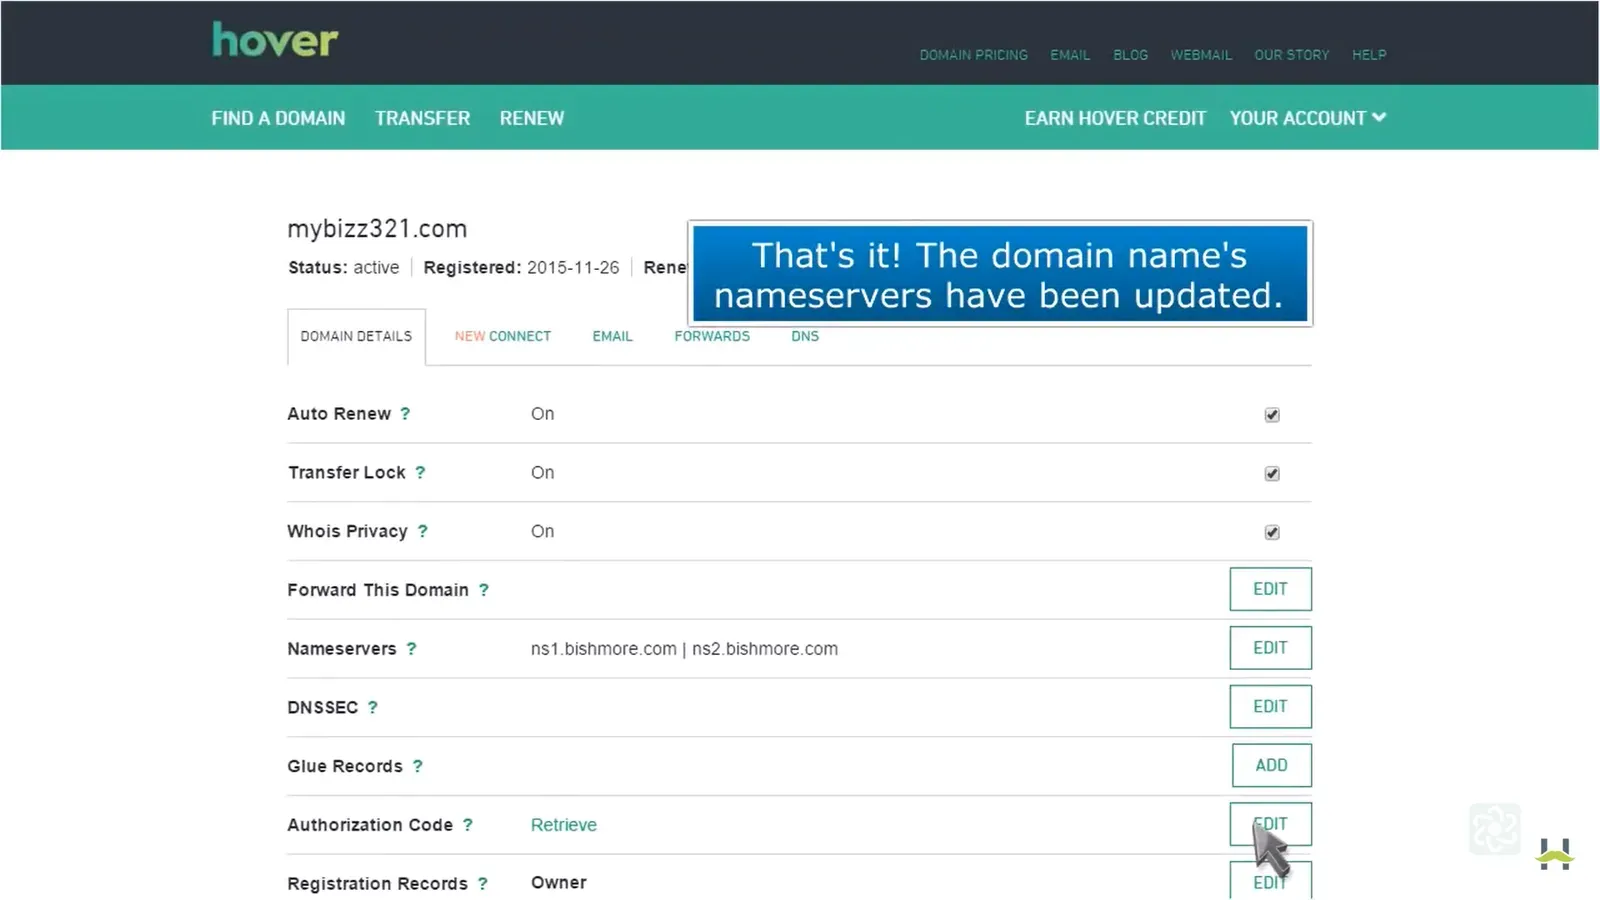
The Domain Details tab after saving, with the Nameservers row showing the two replacement values and a blue callout confirming the nameservers have been updated.
Adding a CNAME record
Section titled “Adding a CNAME record”-
Sign in to hover.com and open your control panel.
-
Click the DNS tab.
-
Click Add a record and select CNAME from the Type dropdown.
-
Paste the value you were given and click ADD RECORD.
CNAME record walkthrough8 screenshots
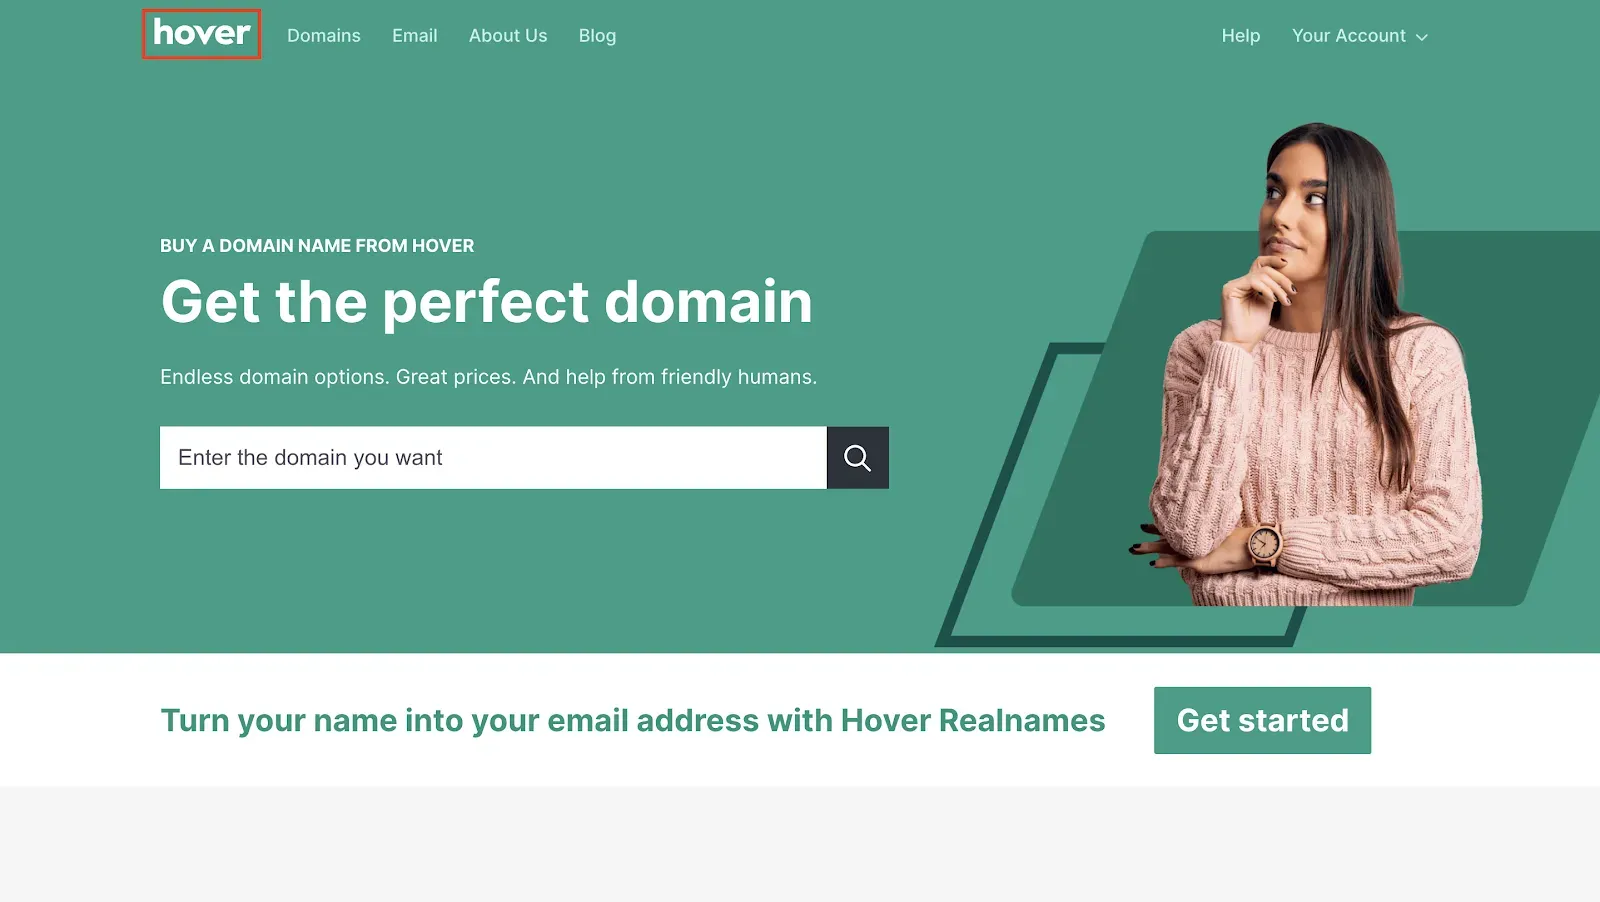
The Hover marketing homepage while signed in, with the hover logo boxed in red at the top left and Your Account at the top right. 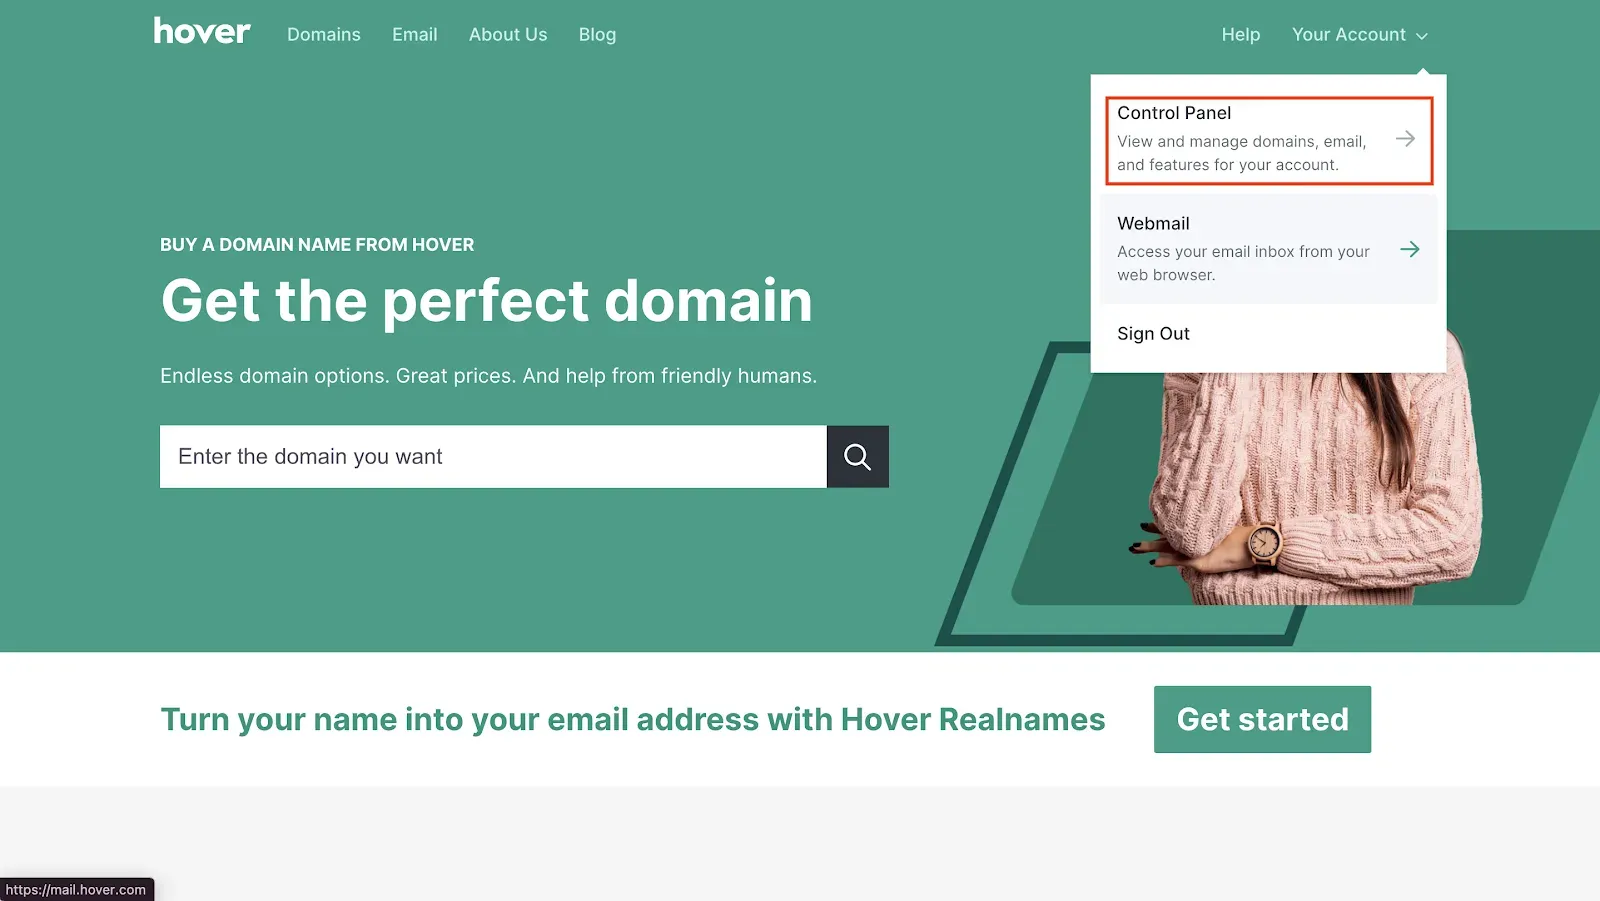
The Your Account menu open, with Control Panel boxed in red above Webmail and Sign Out. 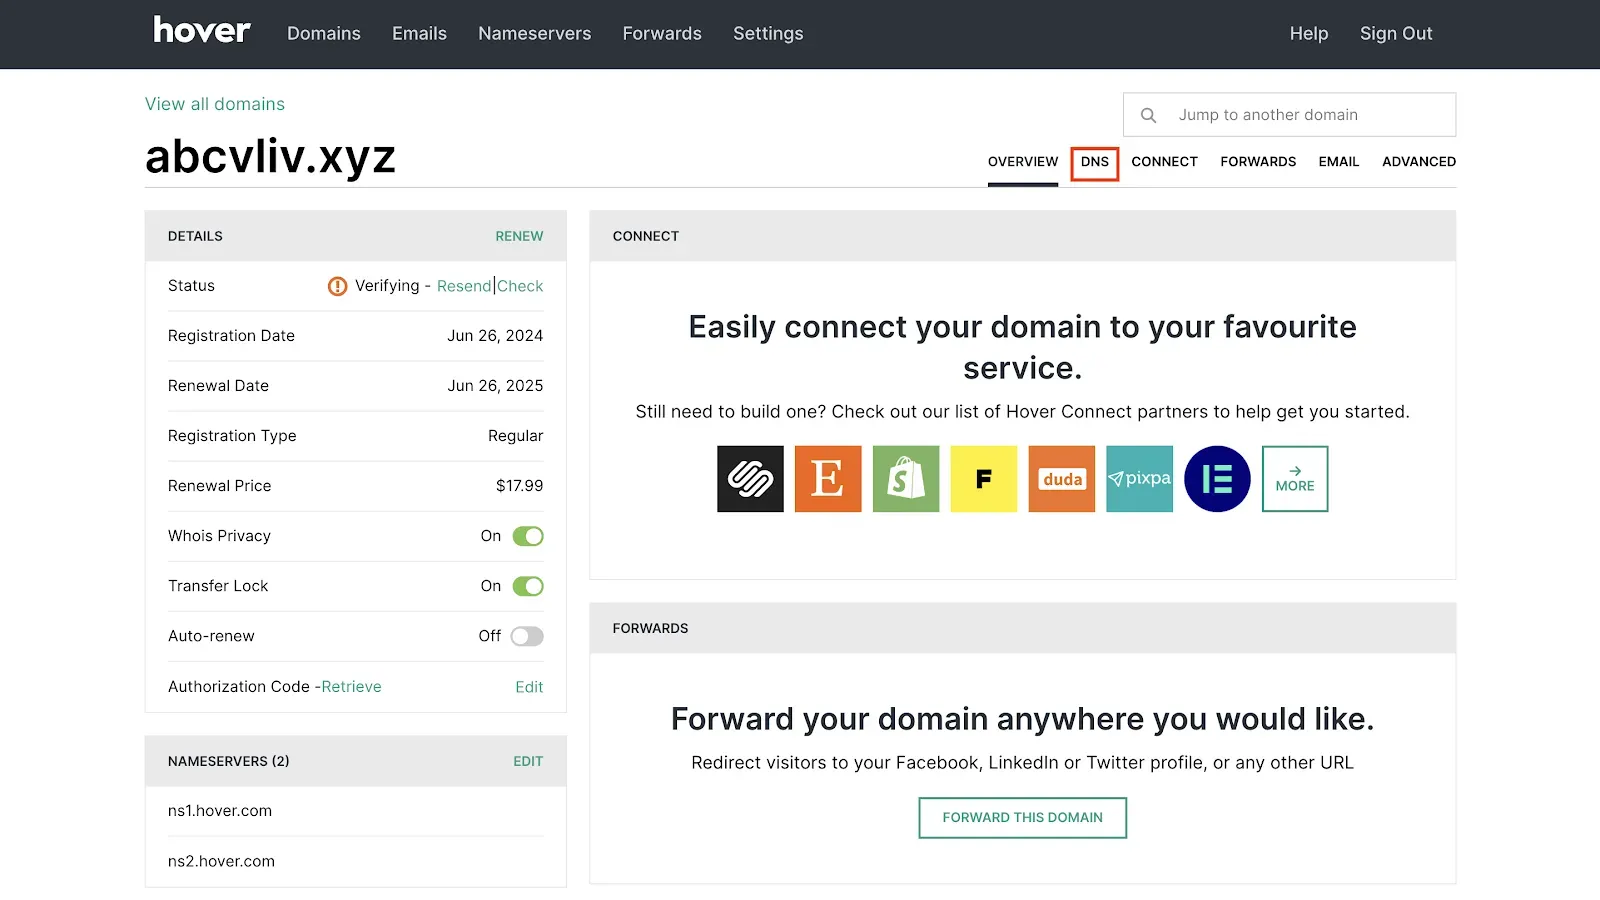
The Overview tab for the domain, with DNS boxed in red among the tabs and the two current nameservers listed at the bottom left. 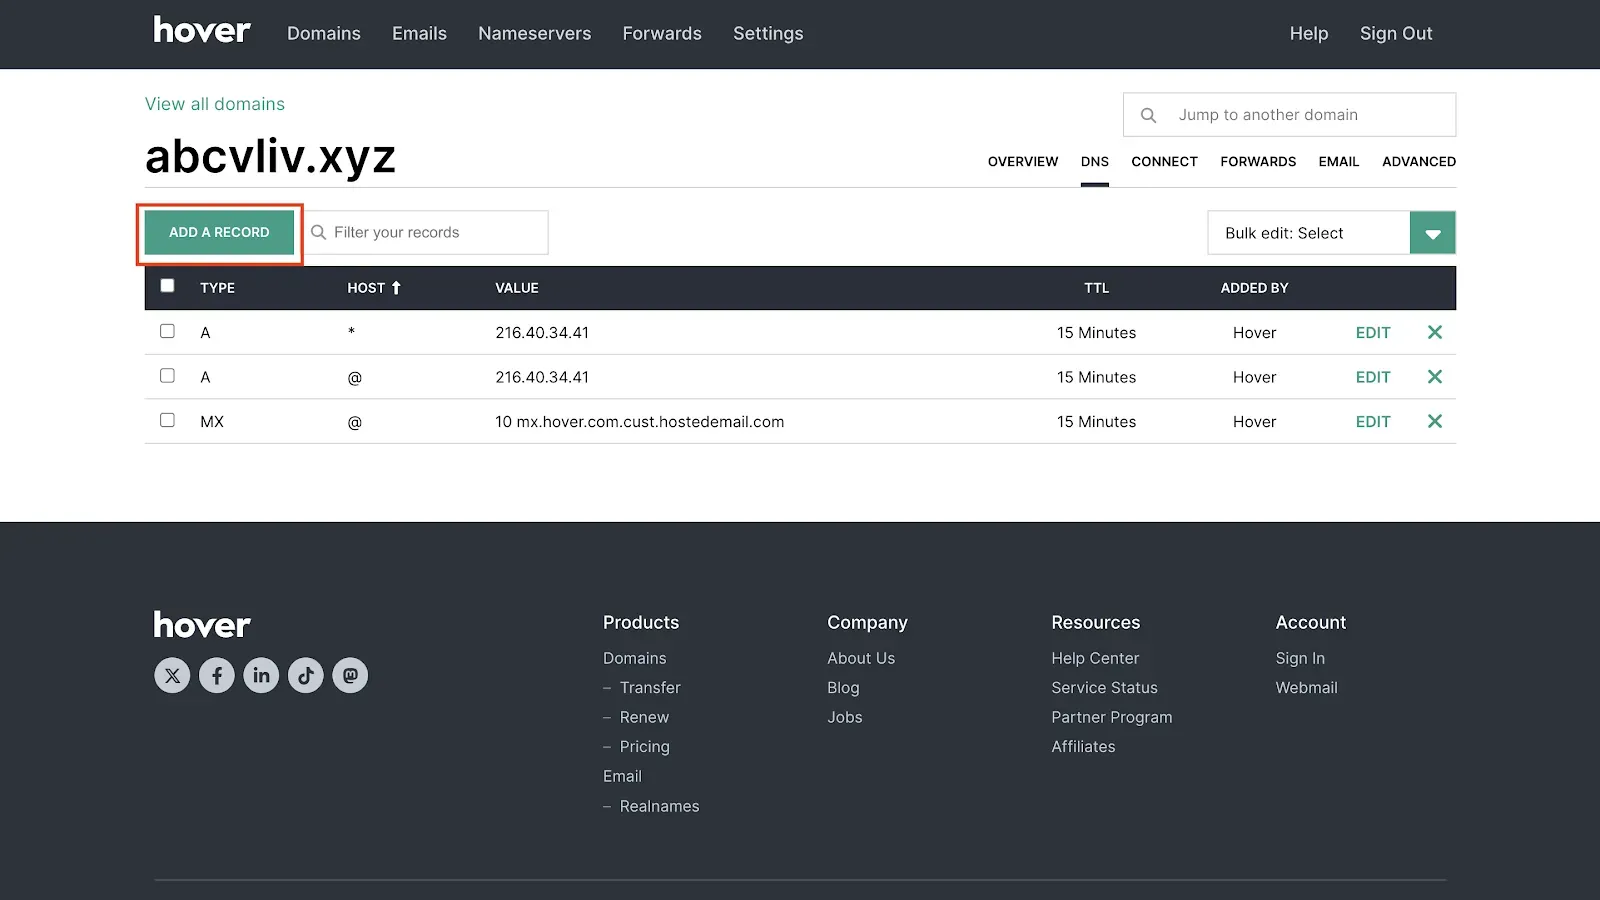
The DNS tab, with Add A Record boxed in red above a records table of two A rows and an MX row. 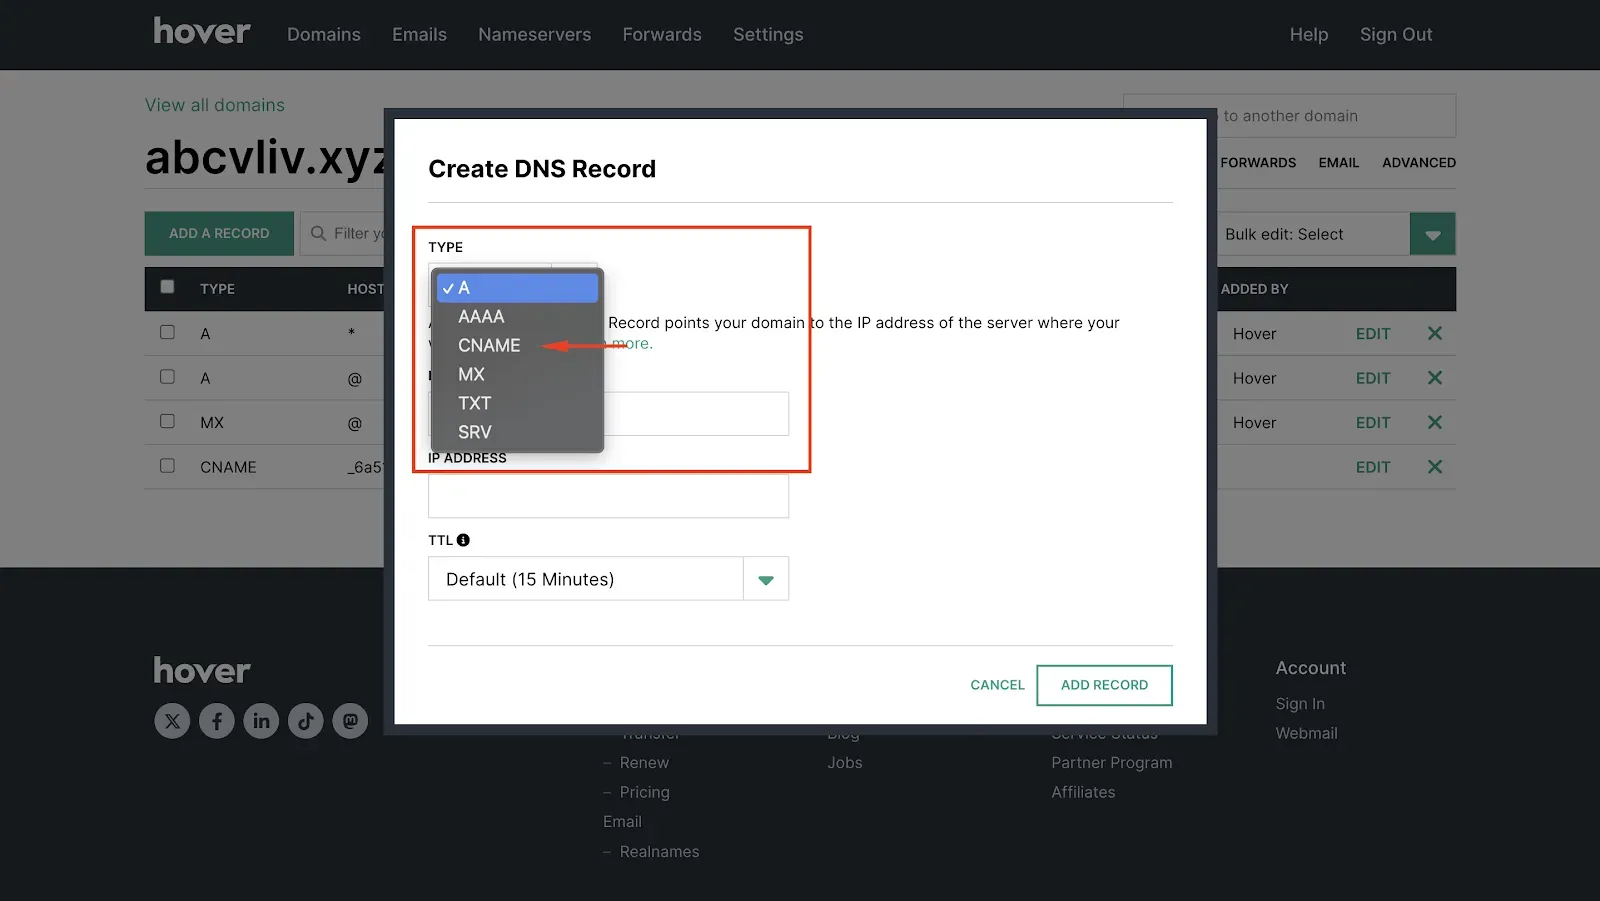
The Create DNS Record dialog with the Type section boxed in red and the type list open, the blue selection highlight still on A and a red arrow pointing at CNAME, which sits below AAAA rather than directly below A. 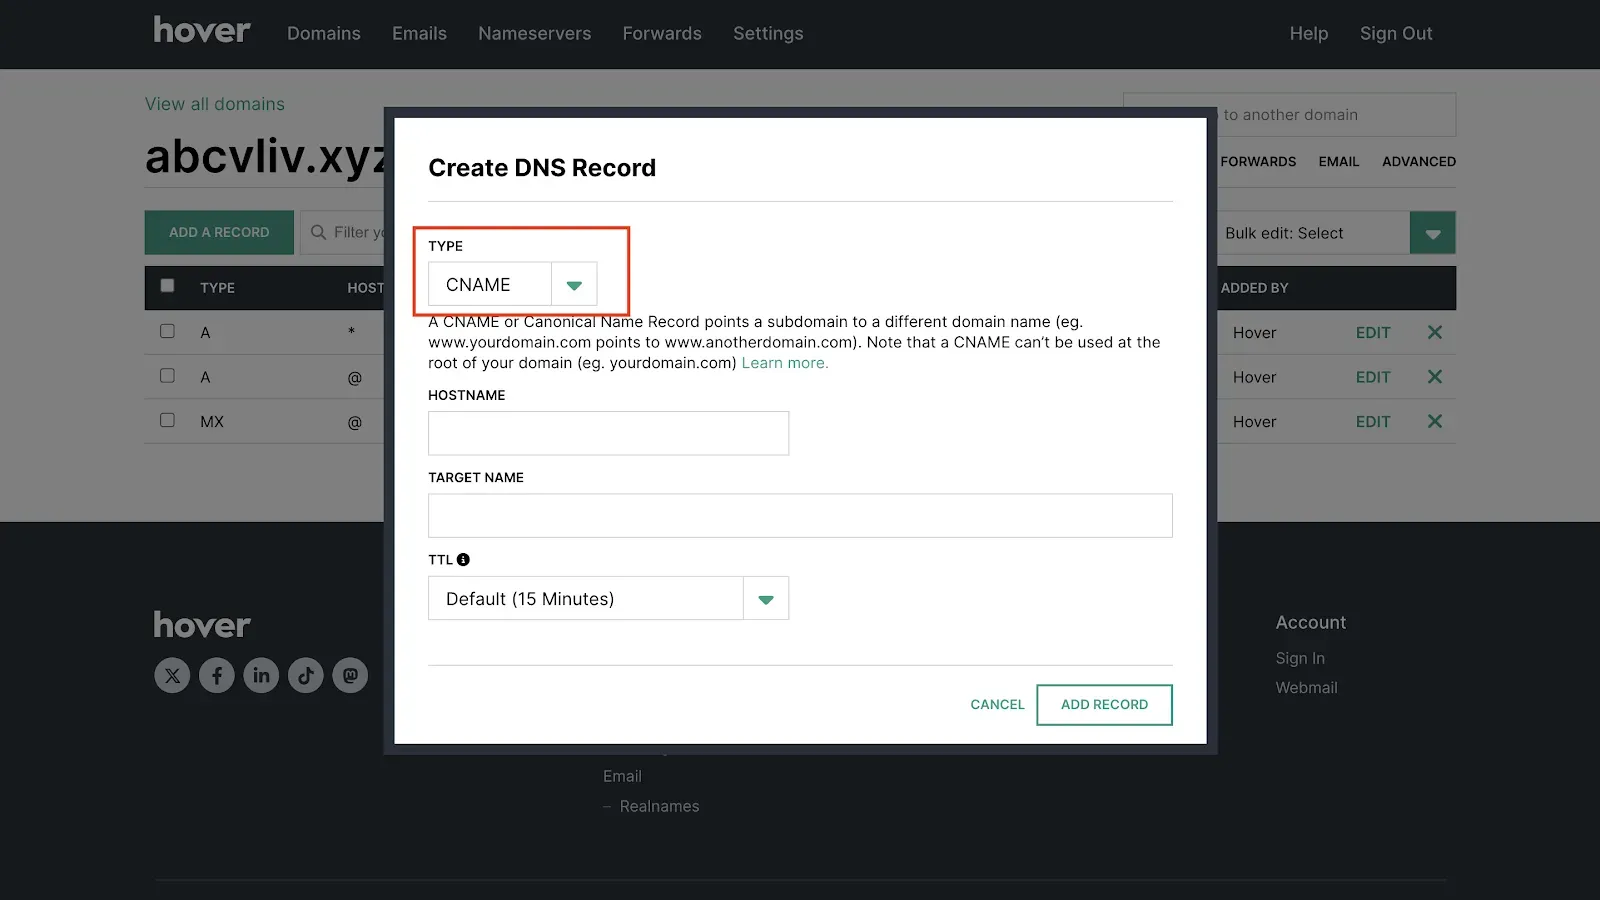
The dialog with CNAME chosen in Type, boxed in red, its description below noting that a CNAME cannot be used at the root of the domain, and Hostname and Target Name still empty. 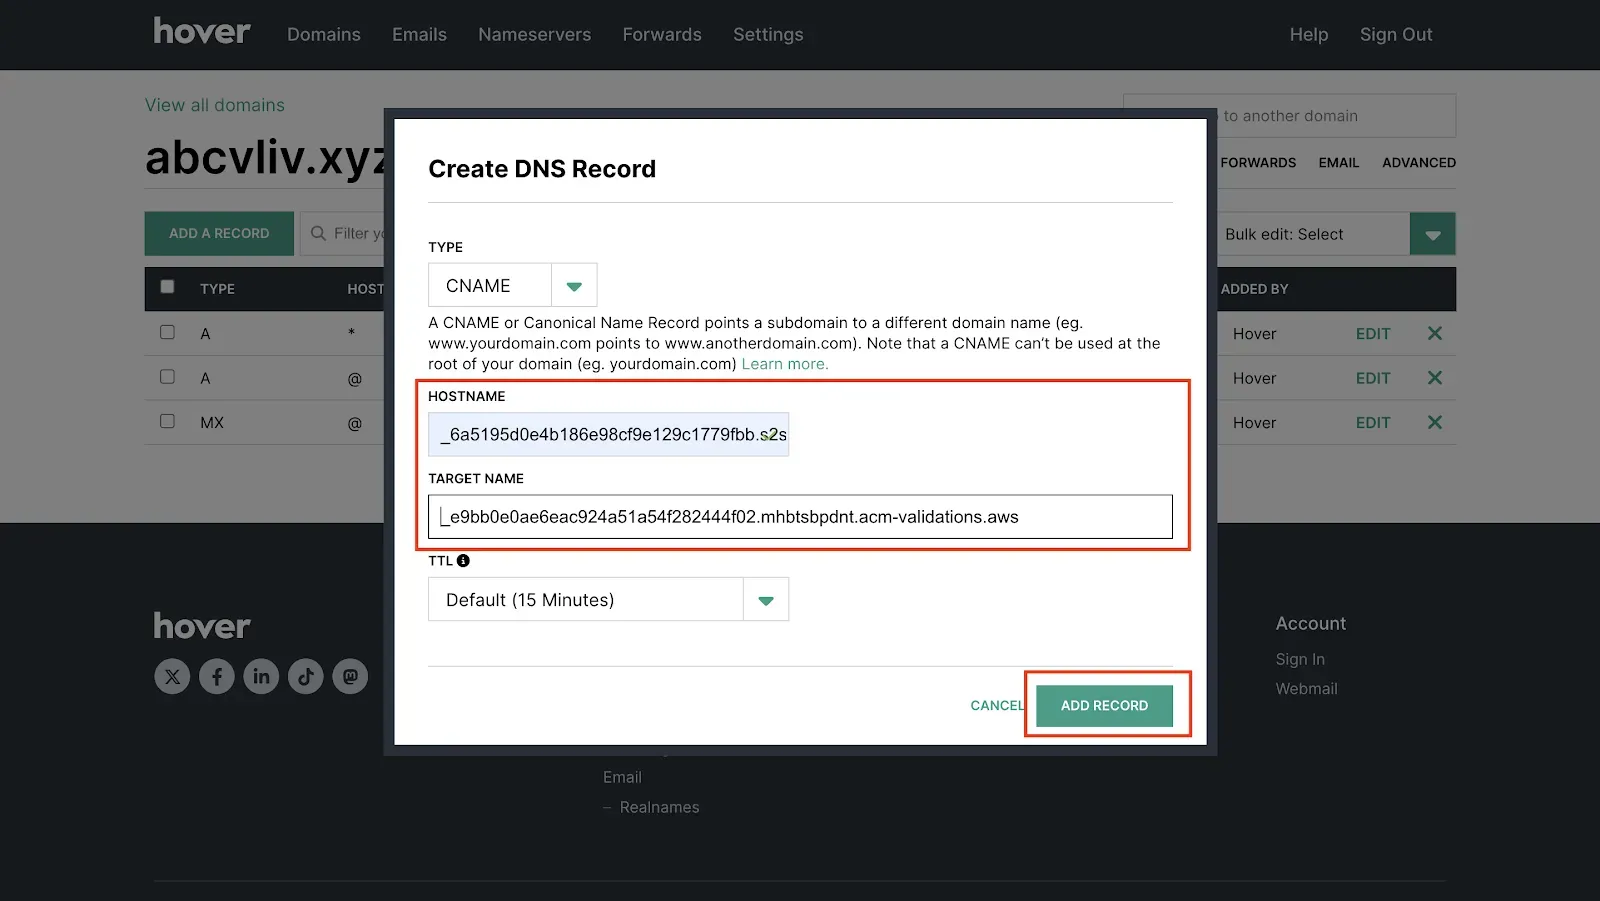
The dialog with Hostname and Target Name filled in and boxed in red together, and Add Record boxed at the bottom right. 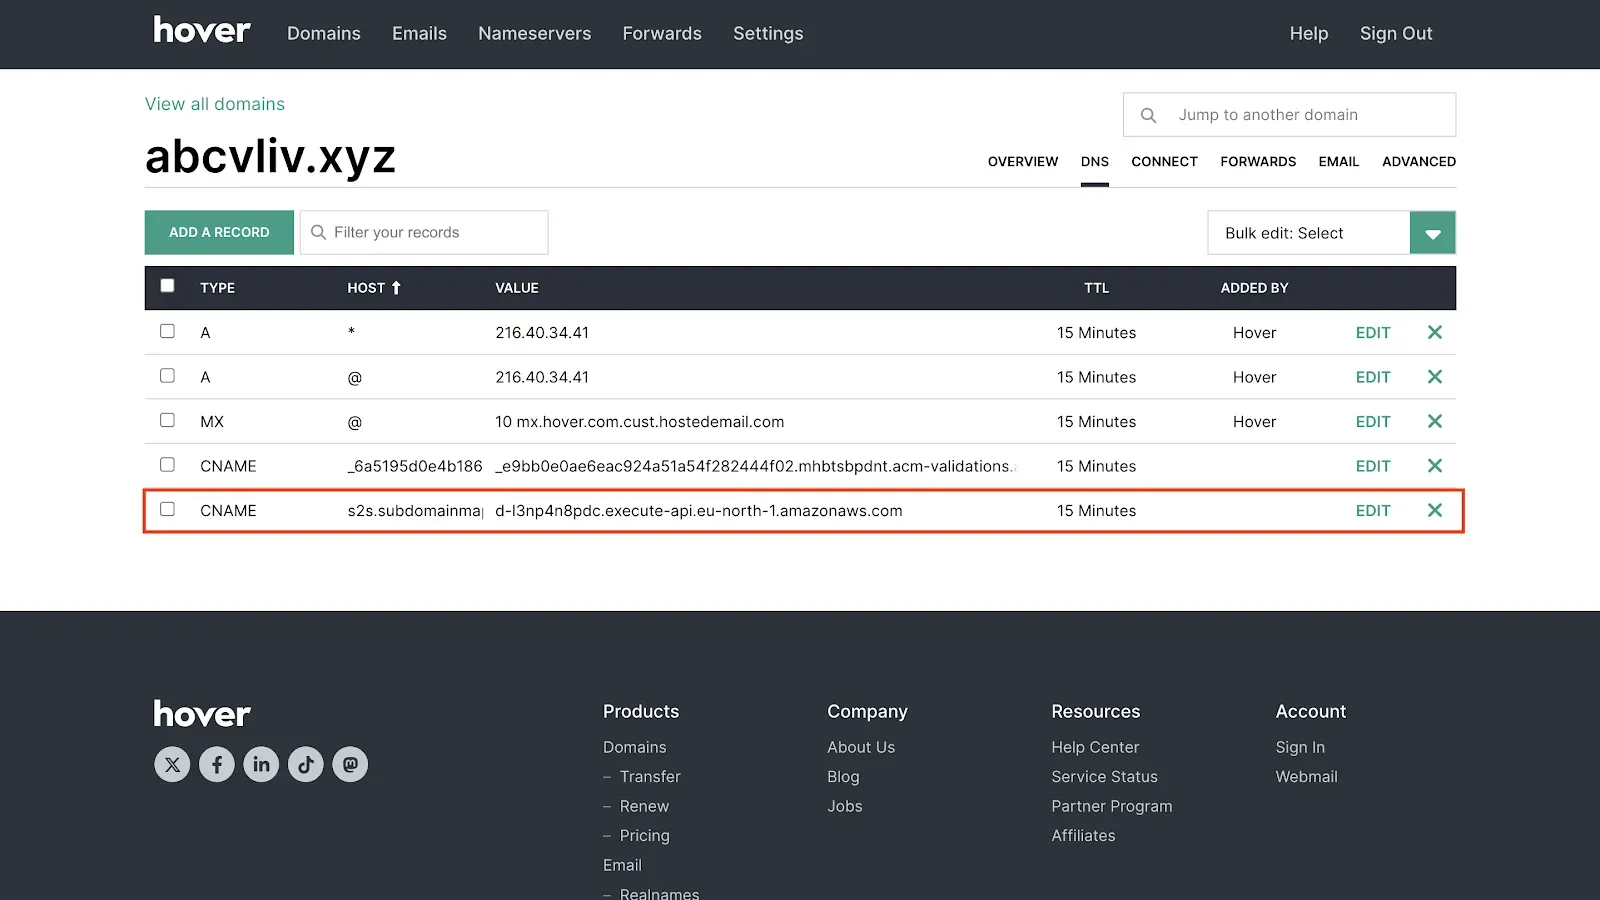
The DNS records table with the saved CNAME row boxed in red at the bottom, carrying the default 15 minute TTL.