

Add DNS records at Only Domains
These are the steps for Only Domains. For what the records do and how to check the setup afterwards, see Subdomain setup.
Datahash tells you which record type to use and gives you the values. Follow the matching section below and enter the values you were given.
Both record types start the same way in OnlyDomains, so these screenshots cover either one.
Getting to the DNS records panel6 screenshots
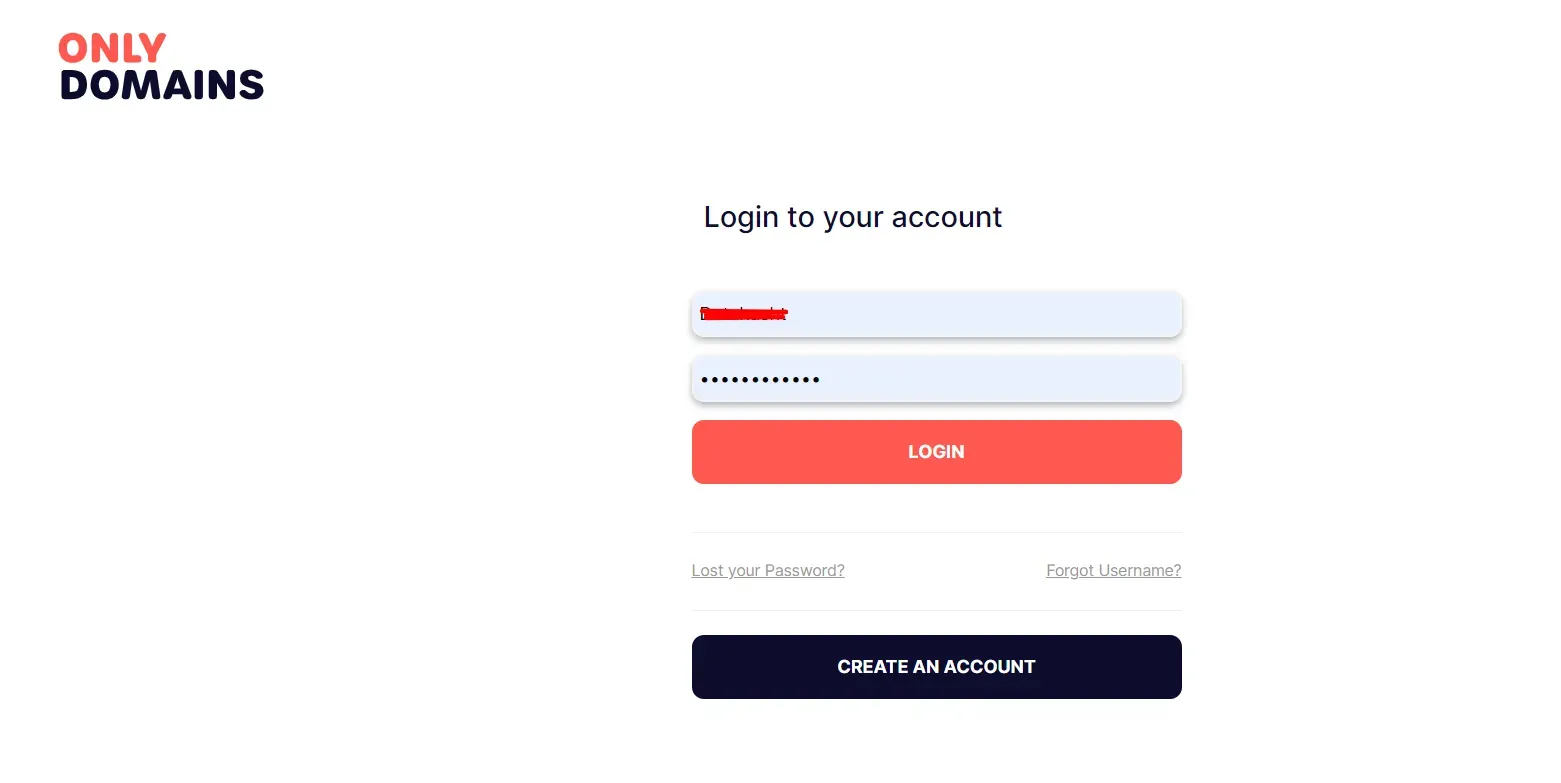
The OnlyDomains login screen, with the username field redacted and the password masked. 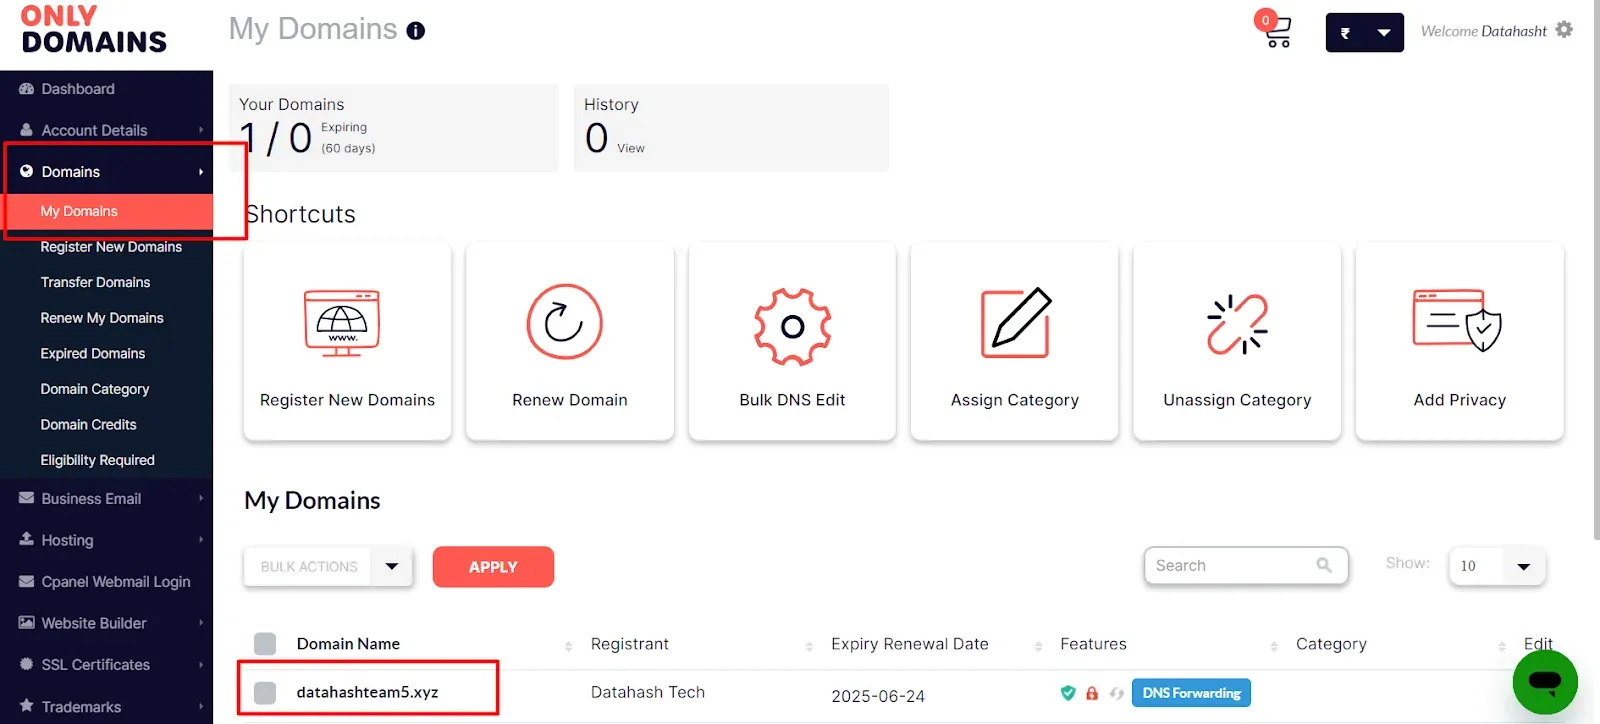
My Domains, with Domains boxed in the left sidebar and the domain row boxed in the list. 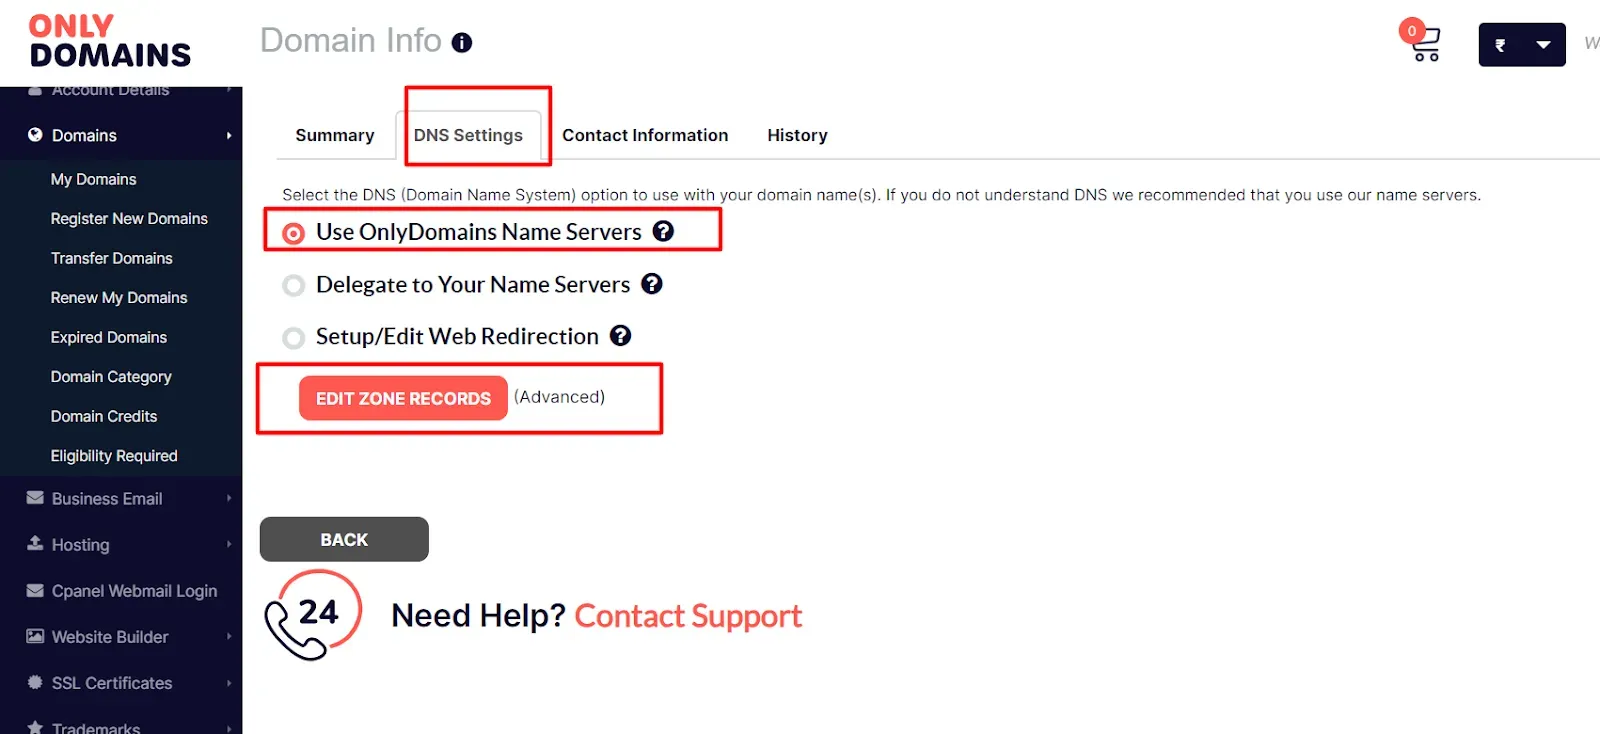
The Domain Info page on the DNS Settings tab, with the tab itself, Use OnlyDomains Name Servers, and Edit Zone Records all boxed. 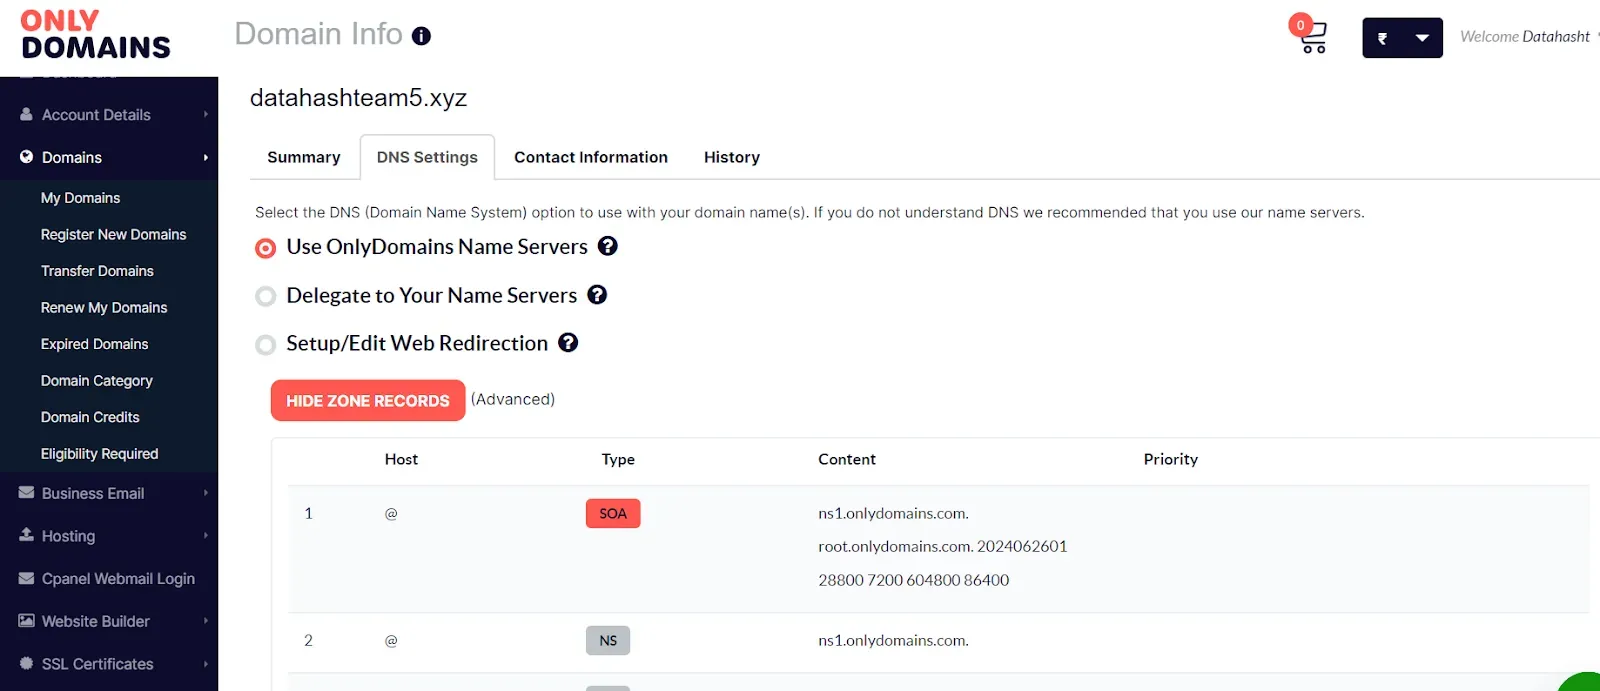
The zone records table after clicking Edit Zone Records, listing the existing SOA and NS entries. 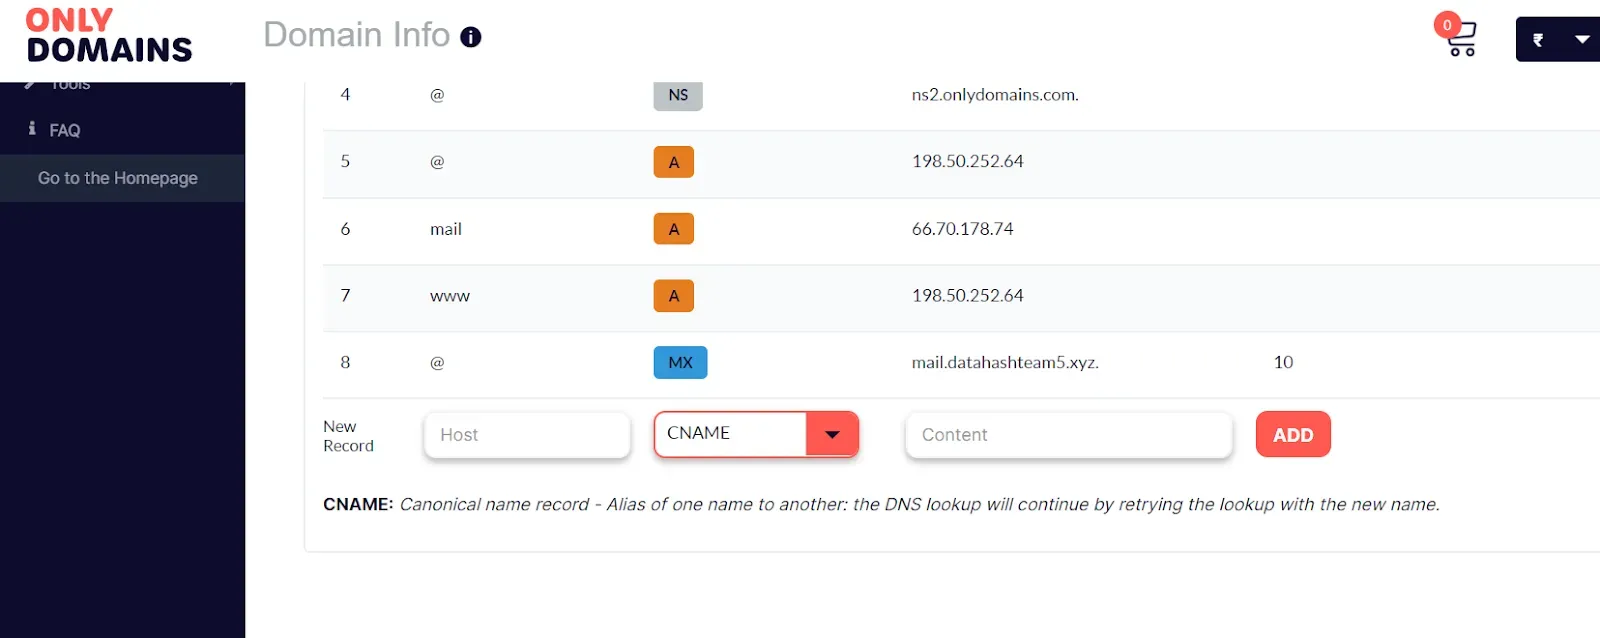
The zone records table scrolled down, with the existing NS, A and MX entries above the New Record row for adding another. 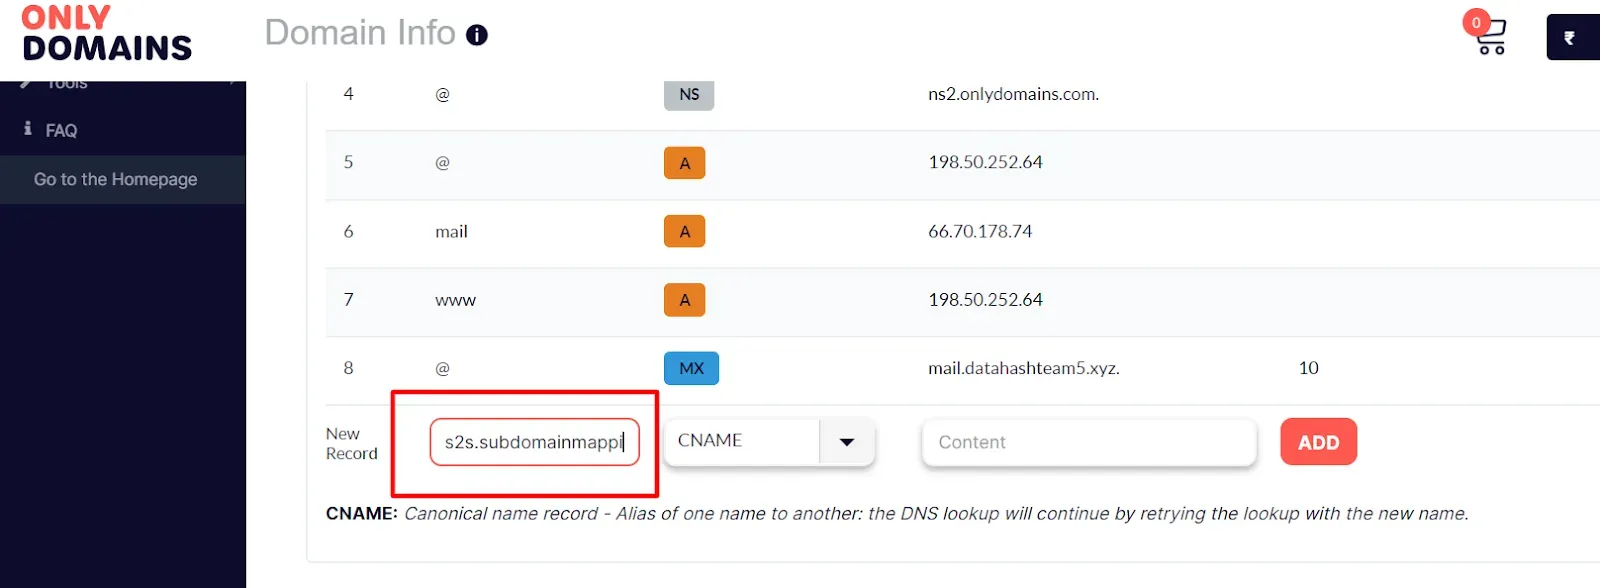
The New Record row, with the Host field active and CNAME already selected in the Type dropdown, and Content still empty.
Adding NS records
Section titled “Adding NS records”-
Sign in to your OnlyDomains account.
-
Select the domain from the dashboard.
-
Click DNS settings and select Use OnlyDomains Name Server.
-
Select NS from the Type dropdown, enter one nameserver value, and click Add.
You will have been given four nameserver values. Repeat the last two steps until all four records exist. A delegation with one of the four missing looks complete in DNS settings and does not resolve.
Every screenshot for this record type is in Getting to the DNS records panel at the top of the page.
Adding a CNAME record
Section titled “Adding a CNAME record”-
Sign in to OnlyDomains and select the domain.
-
Click DNS settings and select Use OnlyDomains Name Server.
-
Select CNAME from the Type dropdown and paste the value you were given.
-
Click Add.
CNAME record walkthrough2 screenshots
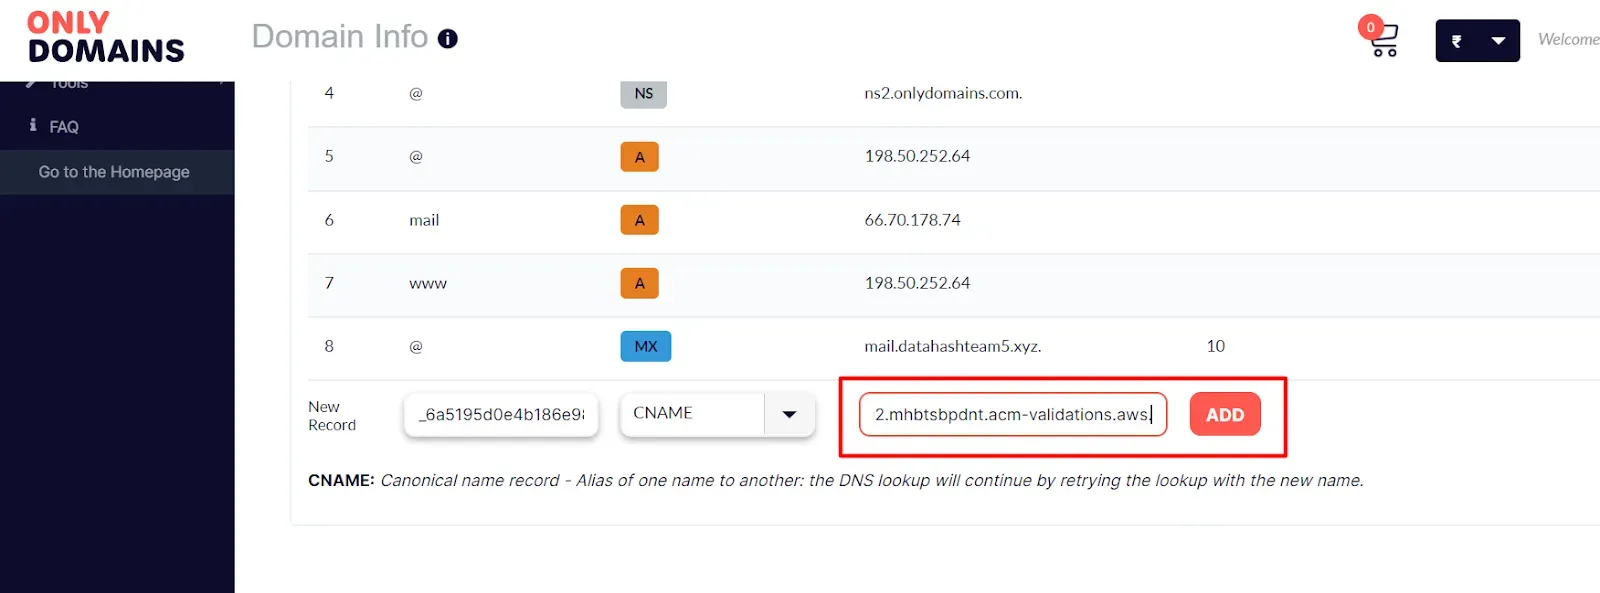
The New Record row filled in for a CNAME record, with the host and Content values entered and Add beside them, all three boxed together. 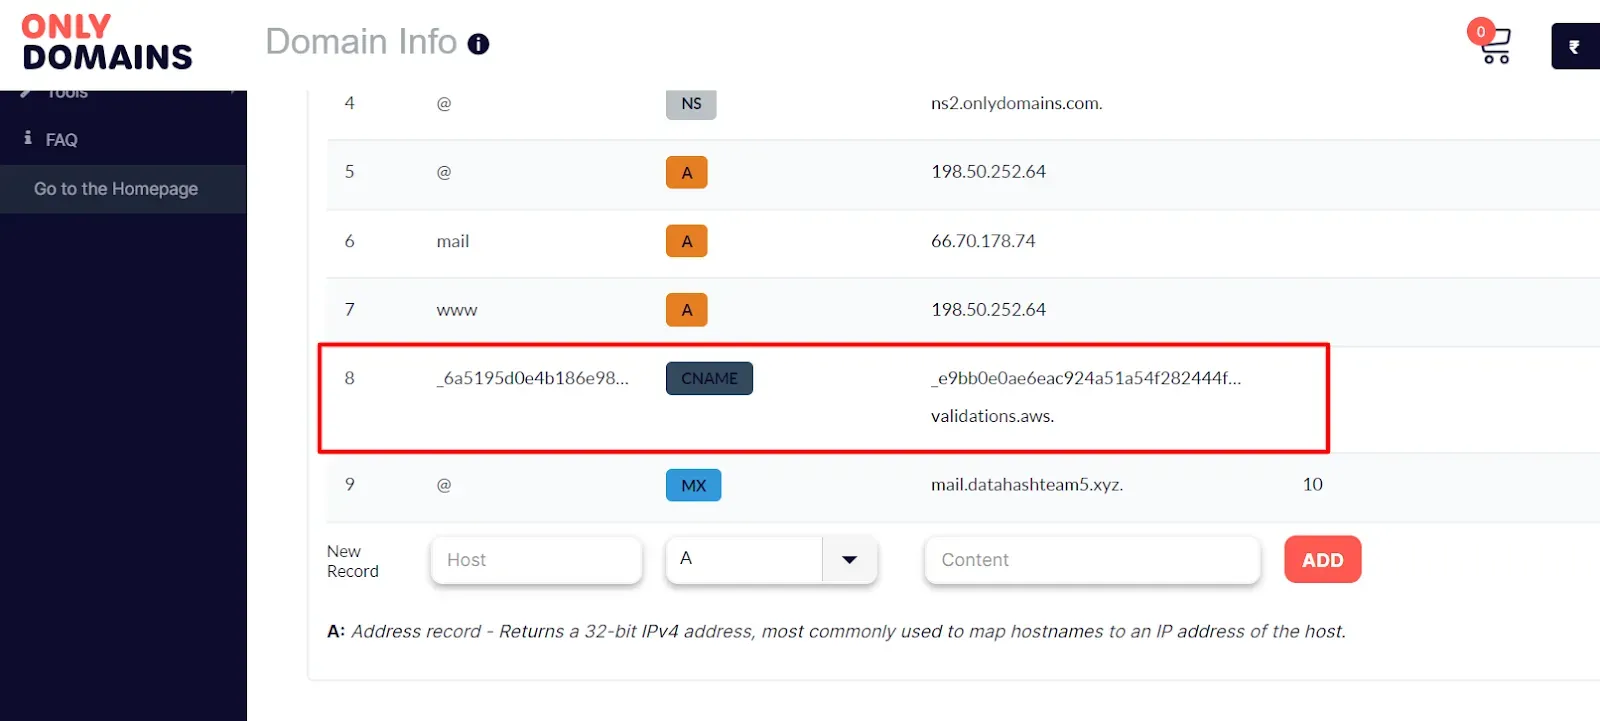
The zone records table with the new CNAME entry boxed at row 8, added above the MX record.