
Add DNS records at Dotster
These are the steps for Dotster. For what the records do and how to check the setup afterwards, see Subdomain setup.
Datahash tells you which record type to use and gives you the values. Follow the matching section below and enter the values you were given.
Both record types start the same way in Dotster, so these screenshots cover either one.
Getting to the DNS records panel5 screenshots
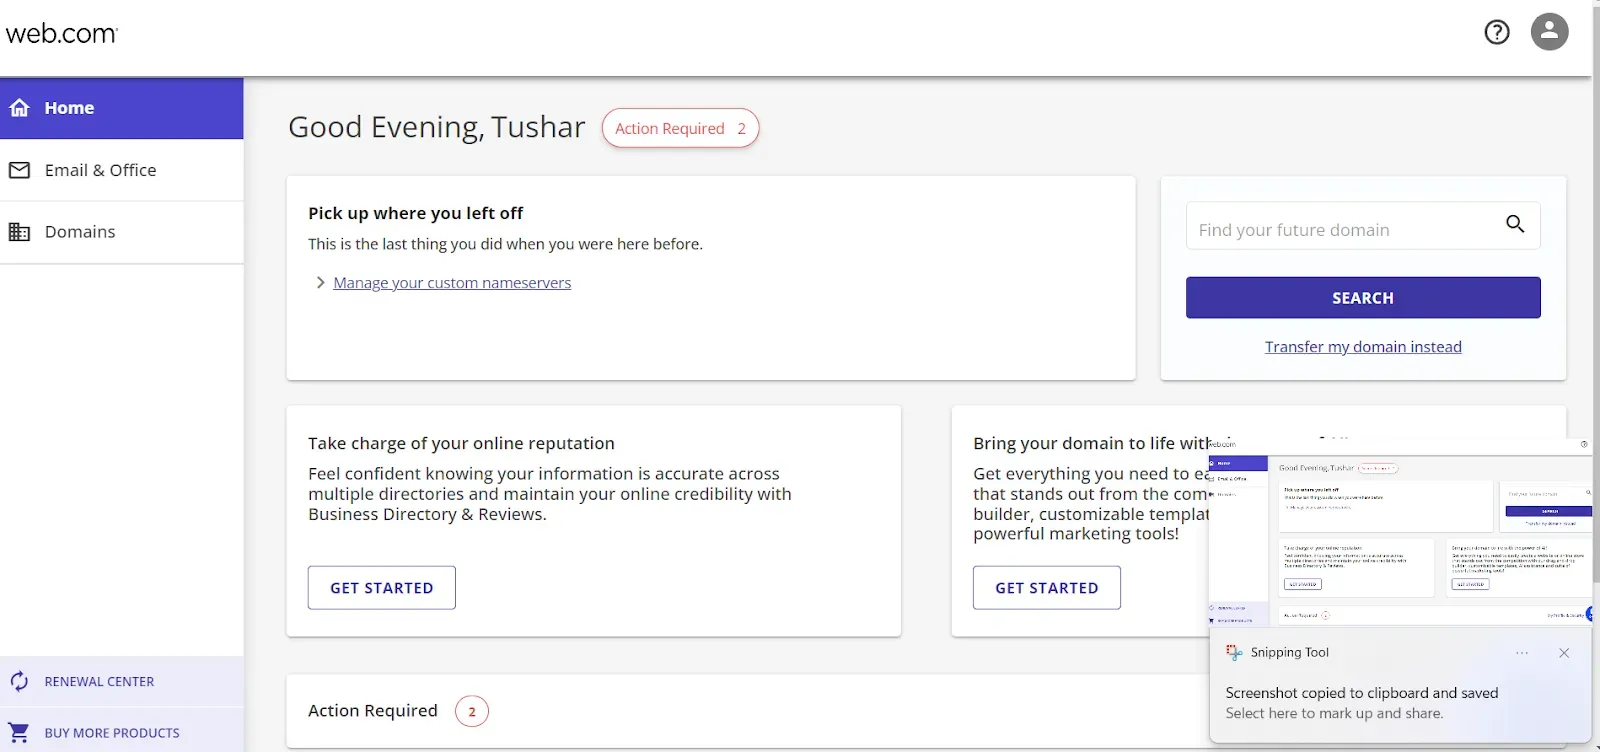
The web.com home dashboard Dotster uses after sign in, with a Snipping Tool notification overlapping the page. 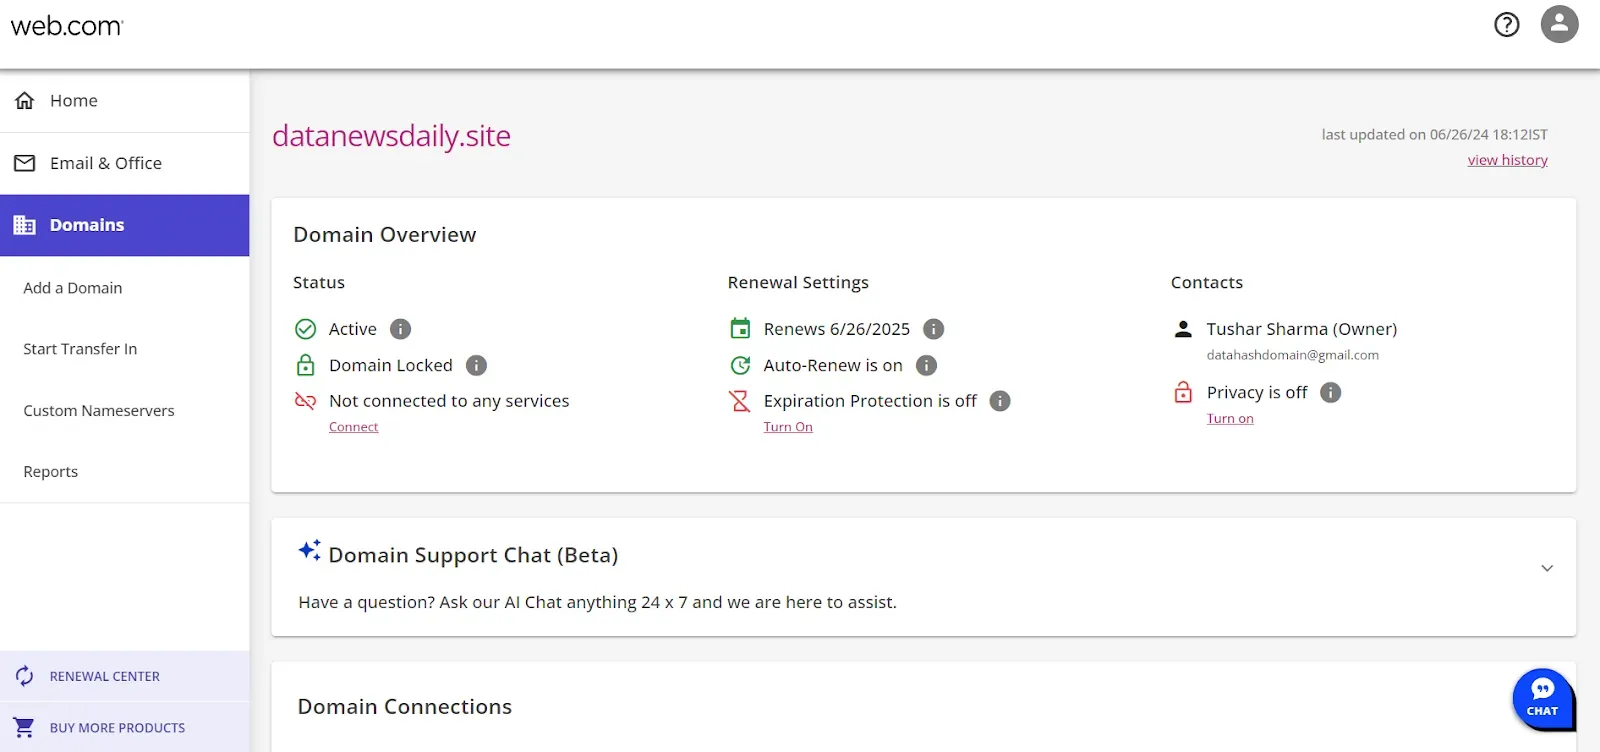
The domain overview page, with Domains highlighted in the left sidebar. 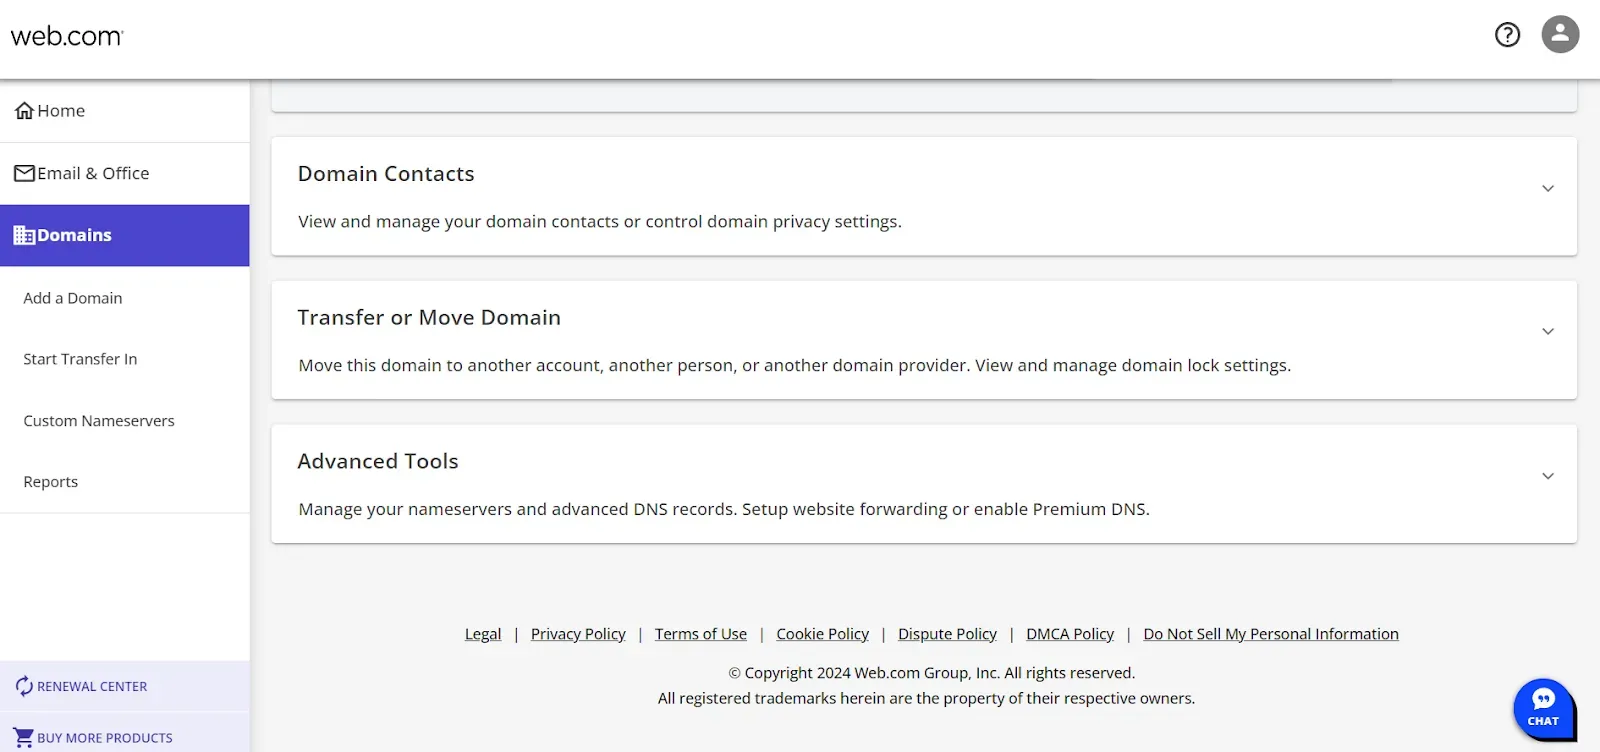
The domain settings page, with Advanced Tools among the expandable sections. 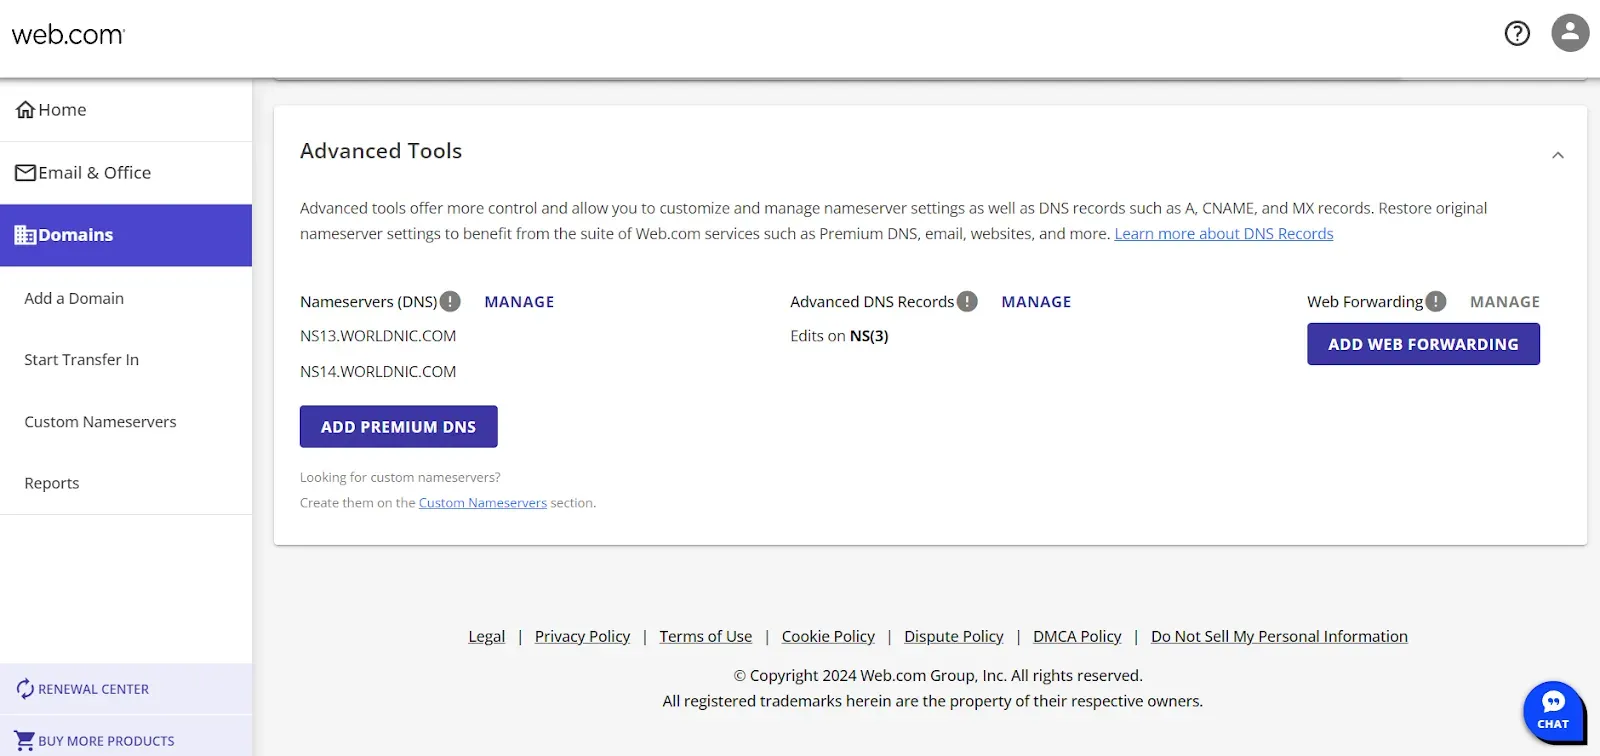
The Advanced Tools panel expanded, with Manage beside Advanced DNS Records. 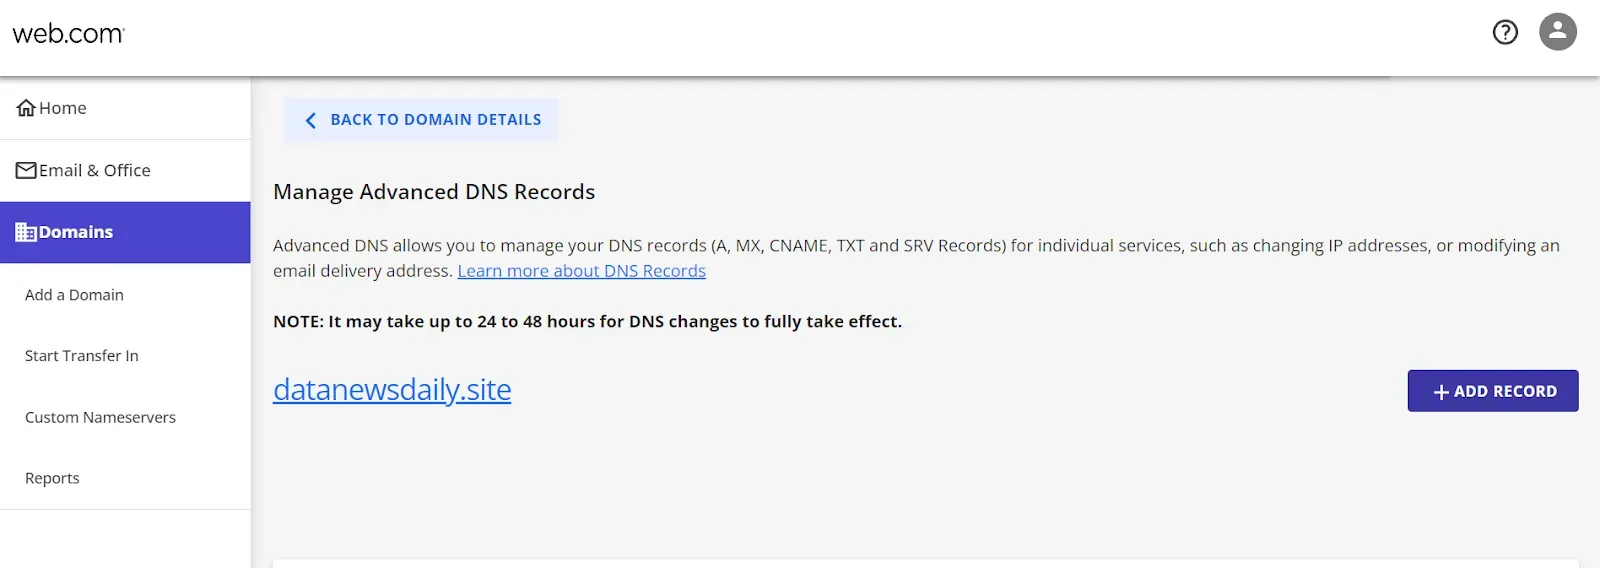
The Manage Advanced DNS Records page, with Add Record beside the domain link.
Adding NS records
Section titled “Adding NS records”-
Sign in to Dotster and go to Domains.
-
Scroll down and click Advanced tools.
-
Click Manage beside Advanced DNS records.
-
Click Add Record, enter the record name and one nameserver value, and click Add.
You will have been given four nameserver values. Repeat the last two steps until all four records exist. A delegation with one of the four missing looks complete in Advanced DNS records and does not resolve.
NS record walkthrough2 screenshots
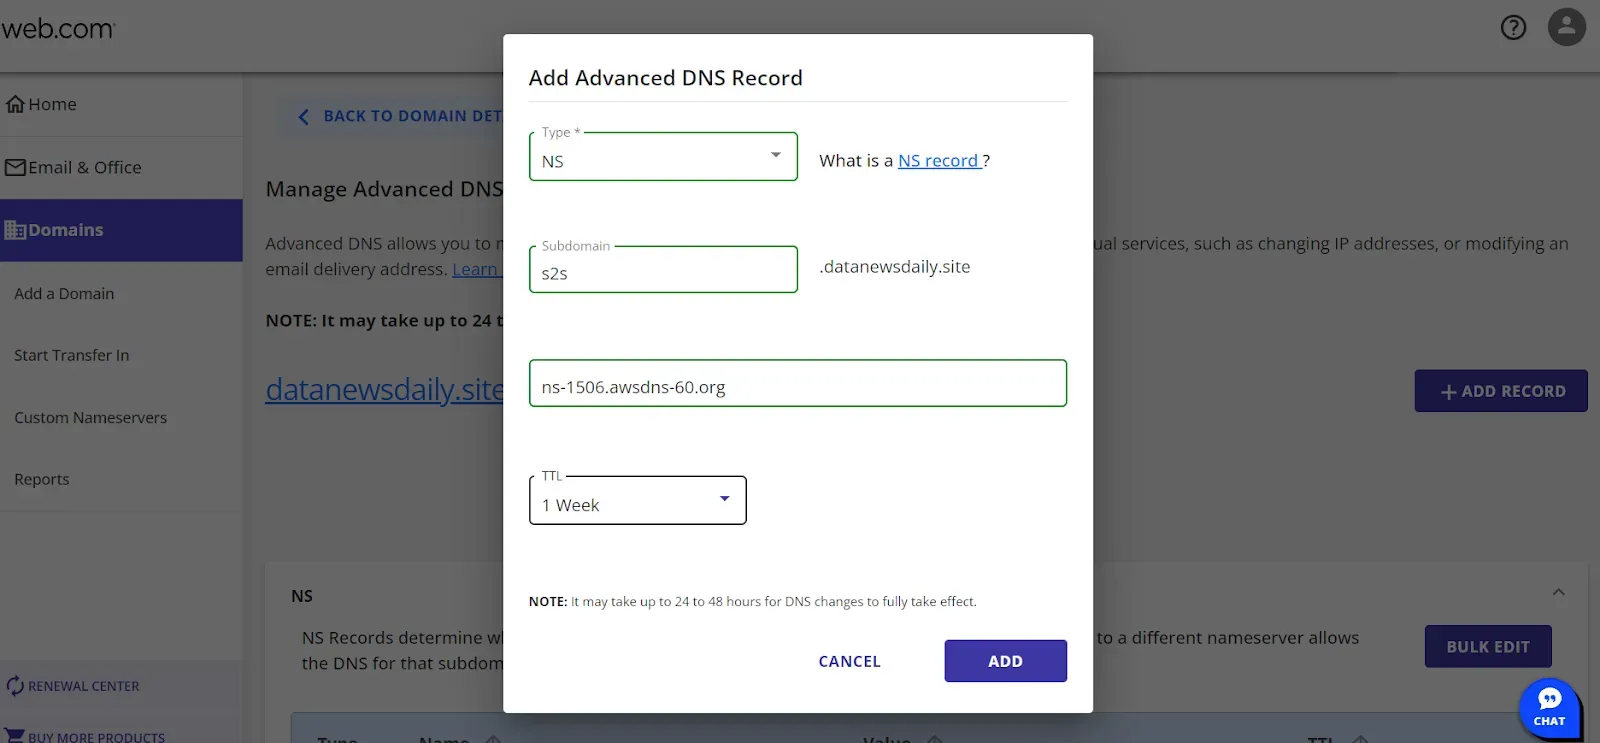
The Add Advanced DNS Record dialog set to NS, with the subdomain, nameserver value and TTL fields highlighted. 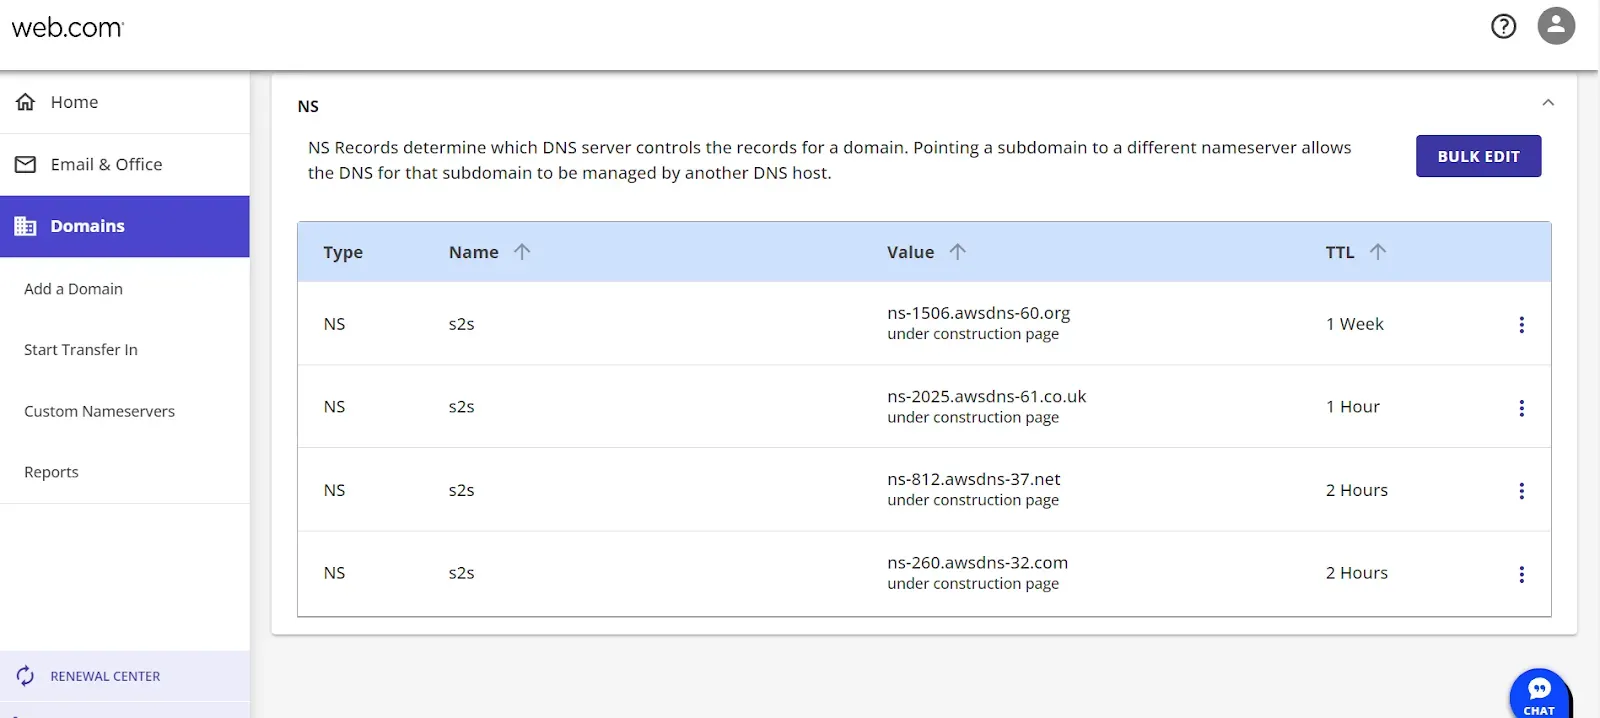
The DNS records table, listing all four saved NS records under the same subdomain name.
Adding a CNAME record
Section titled “Adding a CNAME record”-
Sign in to Dotster, go to Domains and click Advanced tools.
-
Click Manage beside Advanced DNS records.
-
Click Add Record, paste the value you were given, and click Add.
CNAME record walkthrough1 screenshot
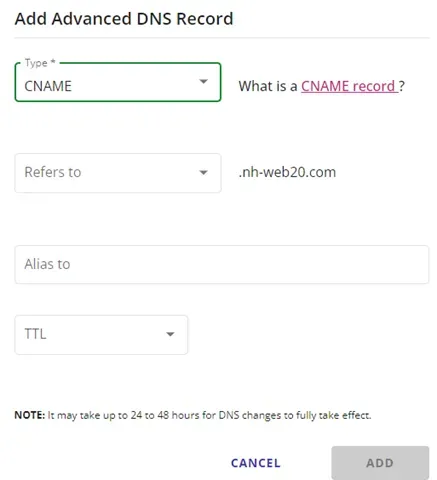
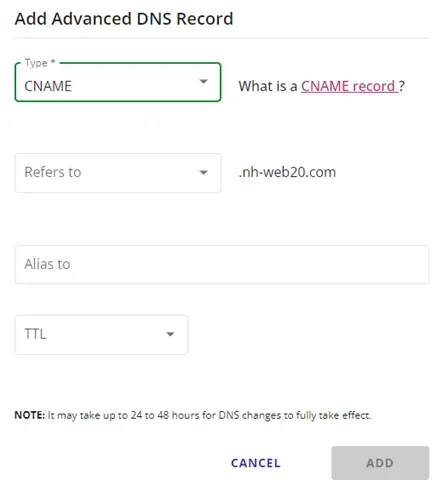
The Add Advanced DNS Record dialog set to CNAME, with the Alias to field for the value Datahash gave you.