Prerequisites
- Login credentials to HubSpot admin account that is set-up to capture leads from Meta Lead Ads (Instant Forms)
- A custom field created in HubSpot contact detail page that captures Meta Lead ID from Meta Lead Ads (Instant Forms). The Meta Lead ID field in the Contacts module of Hubspot should be either text or number (not decimal) data type.
- Minimum two lead life cycle stages/lead status configured in the CRM to be pushed to Conversion Leads
- Implementation Steps on Datahash
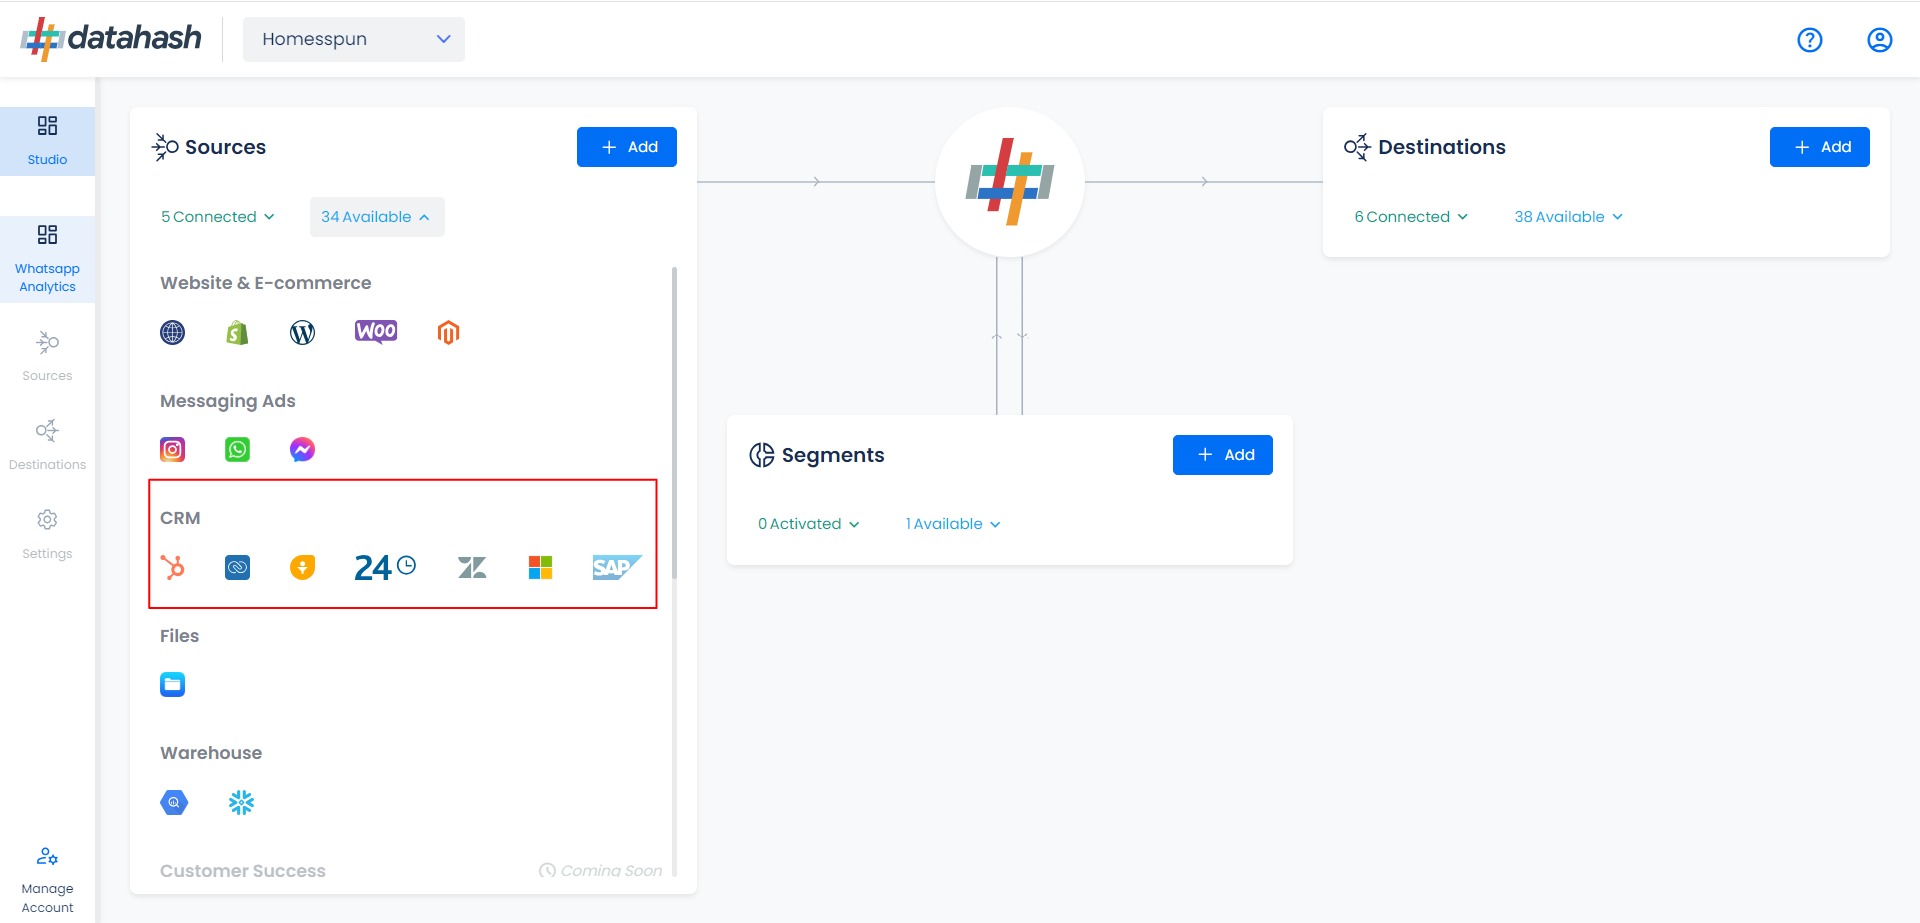
Step 1: Authorization - Choose HubSpot under source connector and click on the “Sign in with HubSpot” Single Sign-On button to authorize the connection.

Step 2: Create Connector Instance - Once the permissions are verified, choose the data entity & give a name to identify this connection in the HubSpot source connector as you can create multiple instances within the connector.

Step 3: Field Mapping
Specify the Hubspot Contacts module columns for Meta Lead ID, Last Modified Date and Lead Lifecycle Status data points required to fetch lead data to be pushed to Meta Conversion Leads.
- Lead Source ID: This is the unique identifier generated at the source where the lead was captured. For instance, for Facebook leads, the ID would be “Meta Lead ID”. Please select the CRM column name for capturing this ID.
- Last Modified Date Column: This is the field that indicates the lead’s most recent update time to synchronize the latest updates. Please specify the CRM column name for capturing this update. The default sync frequency is 15 minutes.
- Lead Lifecycle Status Column: Lead lifecycle status refers to the field in the CRM that is used to track the stages that a lead moves through during the lead lifecycle. Updates in these stages are tracked as events and pushed to a destination. Example, If a status of lead changes from “New Lead” to “Opportunity” we can send that as conversion signals in Meta Conversion Leads for Lead Ads campaign optimisation.
Click on Preview Data to show values of the selected columns for a sample set of leads from your connected HubSpot account to validate if the field mapping is correct and required data is being fetched.
Click Finish to successfully setup your Hubspot CRM Source Connector. The source connector set-up will be marked ‘Completed’ as below. If the set-up is exited before finishing the set-up, the connector will remain in pending status and still be completed any time later by clicking the Connection Name in the below step.
Proceed to Step 2 to set-up Meta Conversion Leads as data destination to capture lead status update events through Conversion Leads