The Website data source setup consists of two main parts:
Part 1: Subdomain and DNS Mapping setup ( Prerequisite for Web data source)
Part 2: Website data source setup
Sub Domain and DNS Setup (Pre-requisite for Web data source)
Before setting up your first Web data Source Connector in Datahash, you need to complete a prerequisite step – setting up a subdomain. If you have already set up a subdomain in your project, you can skip this step.
Note that you can only set up one subdomain per project. To add a new subdomain, you will need to create a new project.
To start the subdomain setup, click on the central Datahash engine icon. There are two main steps to complete:
- Providing Sub Domain and Domain Name: Provide a domain and sub-domain name
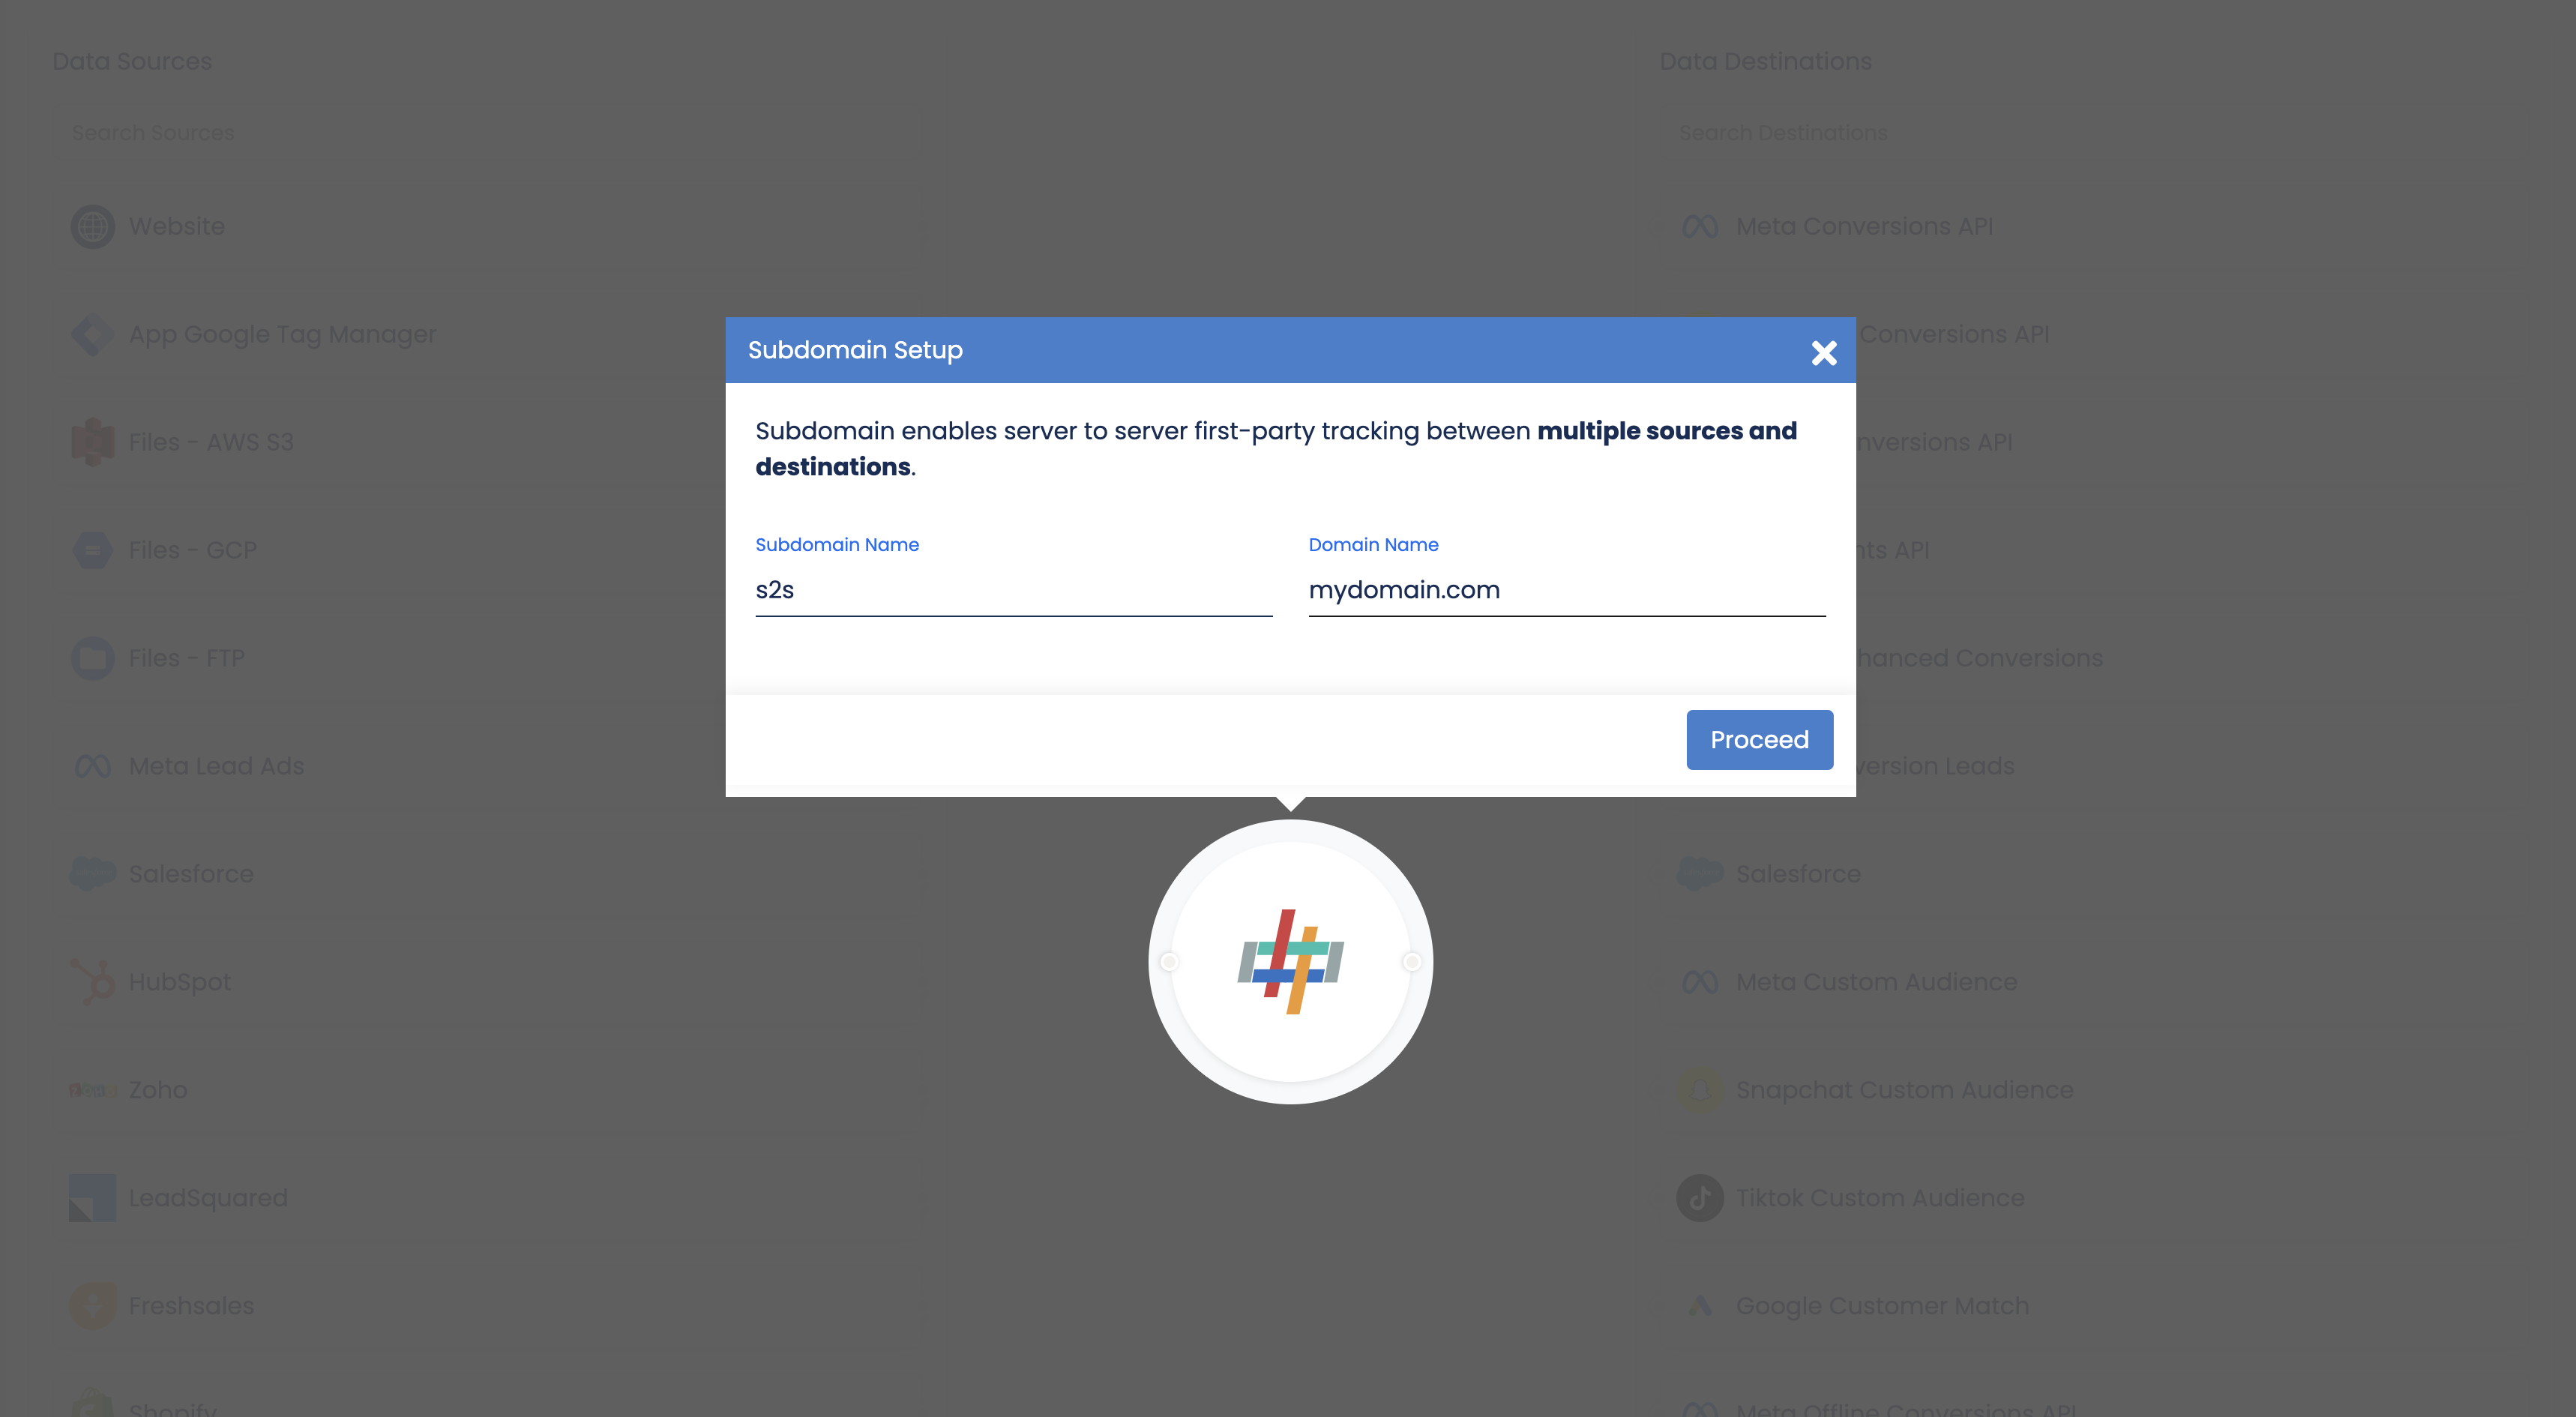
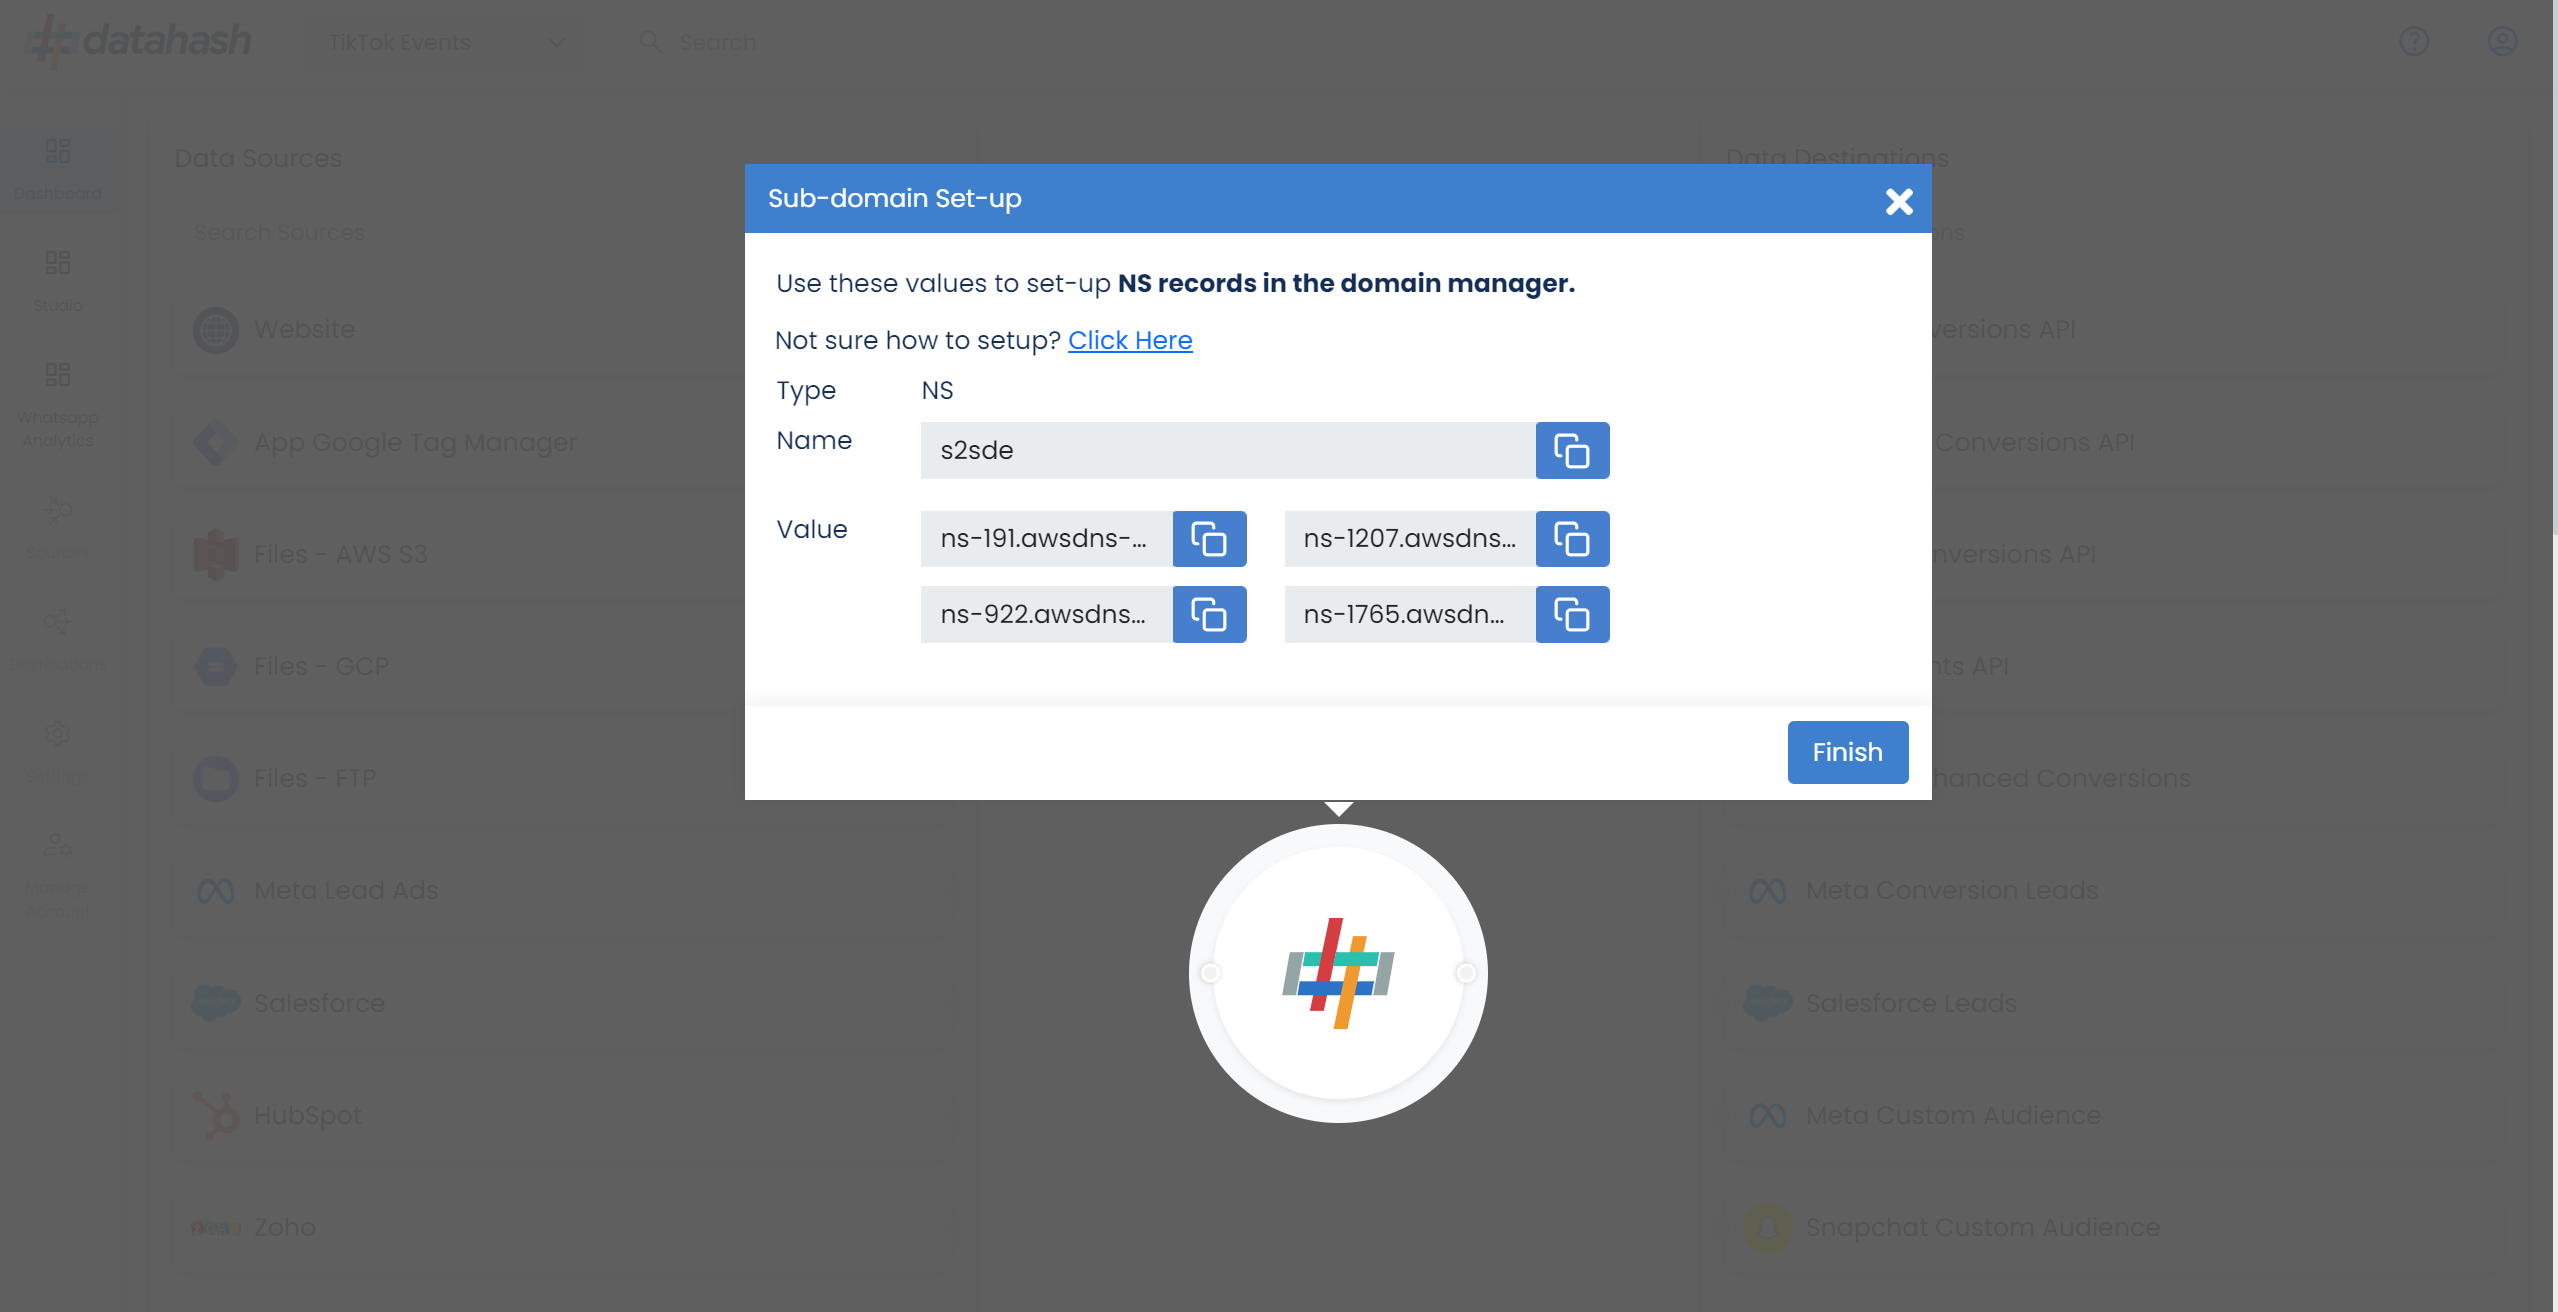
- Set up the NS records in the Domain Manager – Datahash currently supports Cloud Flare, GoDaddy, and AWS partners for setting up the Domain Manager. The documentation is available in the platform itself on how to set up sub-domains on these 3 different partners.
- Setting up a subdomain is essential for enabling server-to-server first-party tracking across various sources and destinations.
- Once you have successfully set up your subdomain, proceed to set up your Website Source Connector
Click finish to complete the setup.
Setup your website as a data source for Web events
When setting up your first connector in Datahash, you will be directed to the following screen.

To search for the Website Source Connector, you can type in the data sources search box.
There are 2 steps which needs to be completed in order to setup the connector.
Step 1: Data fields selection
Choose the user data fields that you would like to send with your events from your website.
Click Next.

Step 2: Neo Tag/TikTok platform tag code implementation
This is where you will set up the Neotag for multiple marketing platforms or a TikTok platform-specific tag.
After implementing the desired tag in your Tag Manager, click Finish. Datahash will verify the overall setup and send an update via email or notification when the data starts flowing.
Components:
To better understand the setup, here are some technical details about the components involved:
Data Fields:
We recommend selecting as many fields as possible to improve event match quality at the destination. The minimum fields that should be selected are:
- Phone
- First Name
- Last Name
- State
- Zip code
- Client User Agent
Neotag Tag Manager Implementation:
1. Go to Google Tag Manager and log in with your account.
2. In Tag Manager Go to Tags> Click Next
3. Select Custom HTML as a tag type and put copied base code (Copy the Neotag base code from Datahash dashboard) here.
Neo-Tag Code from Datahash: Copied from Datahash Dashboard
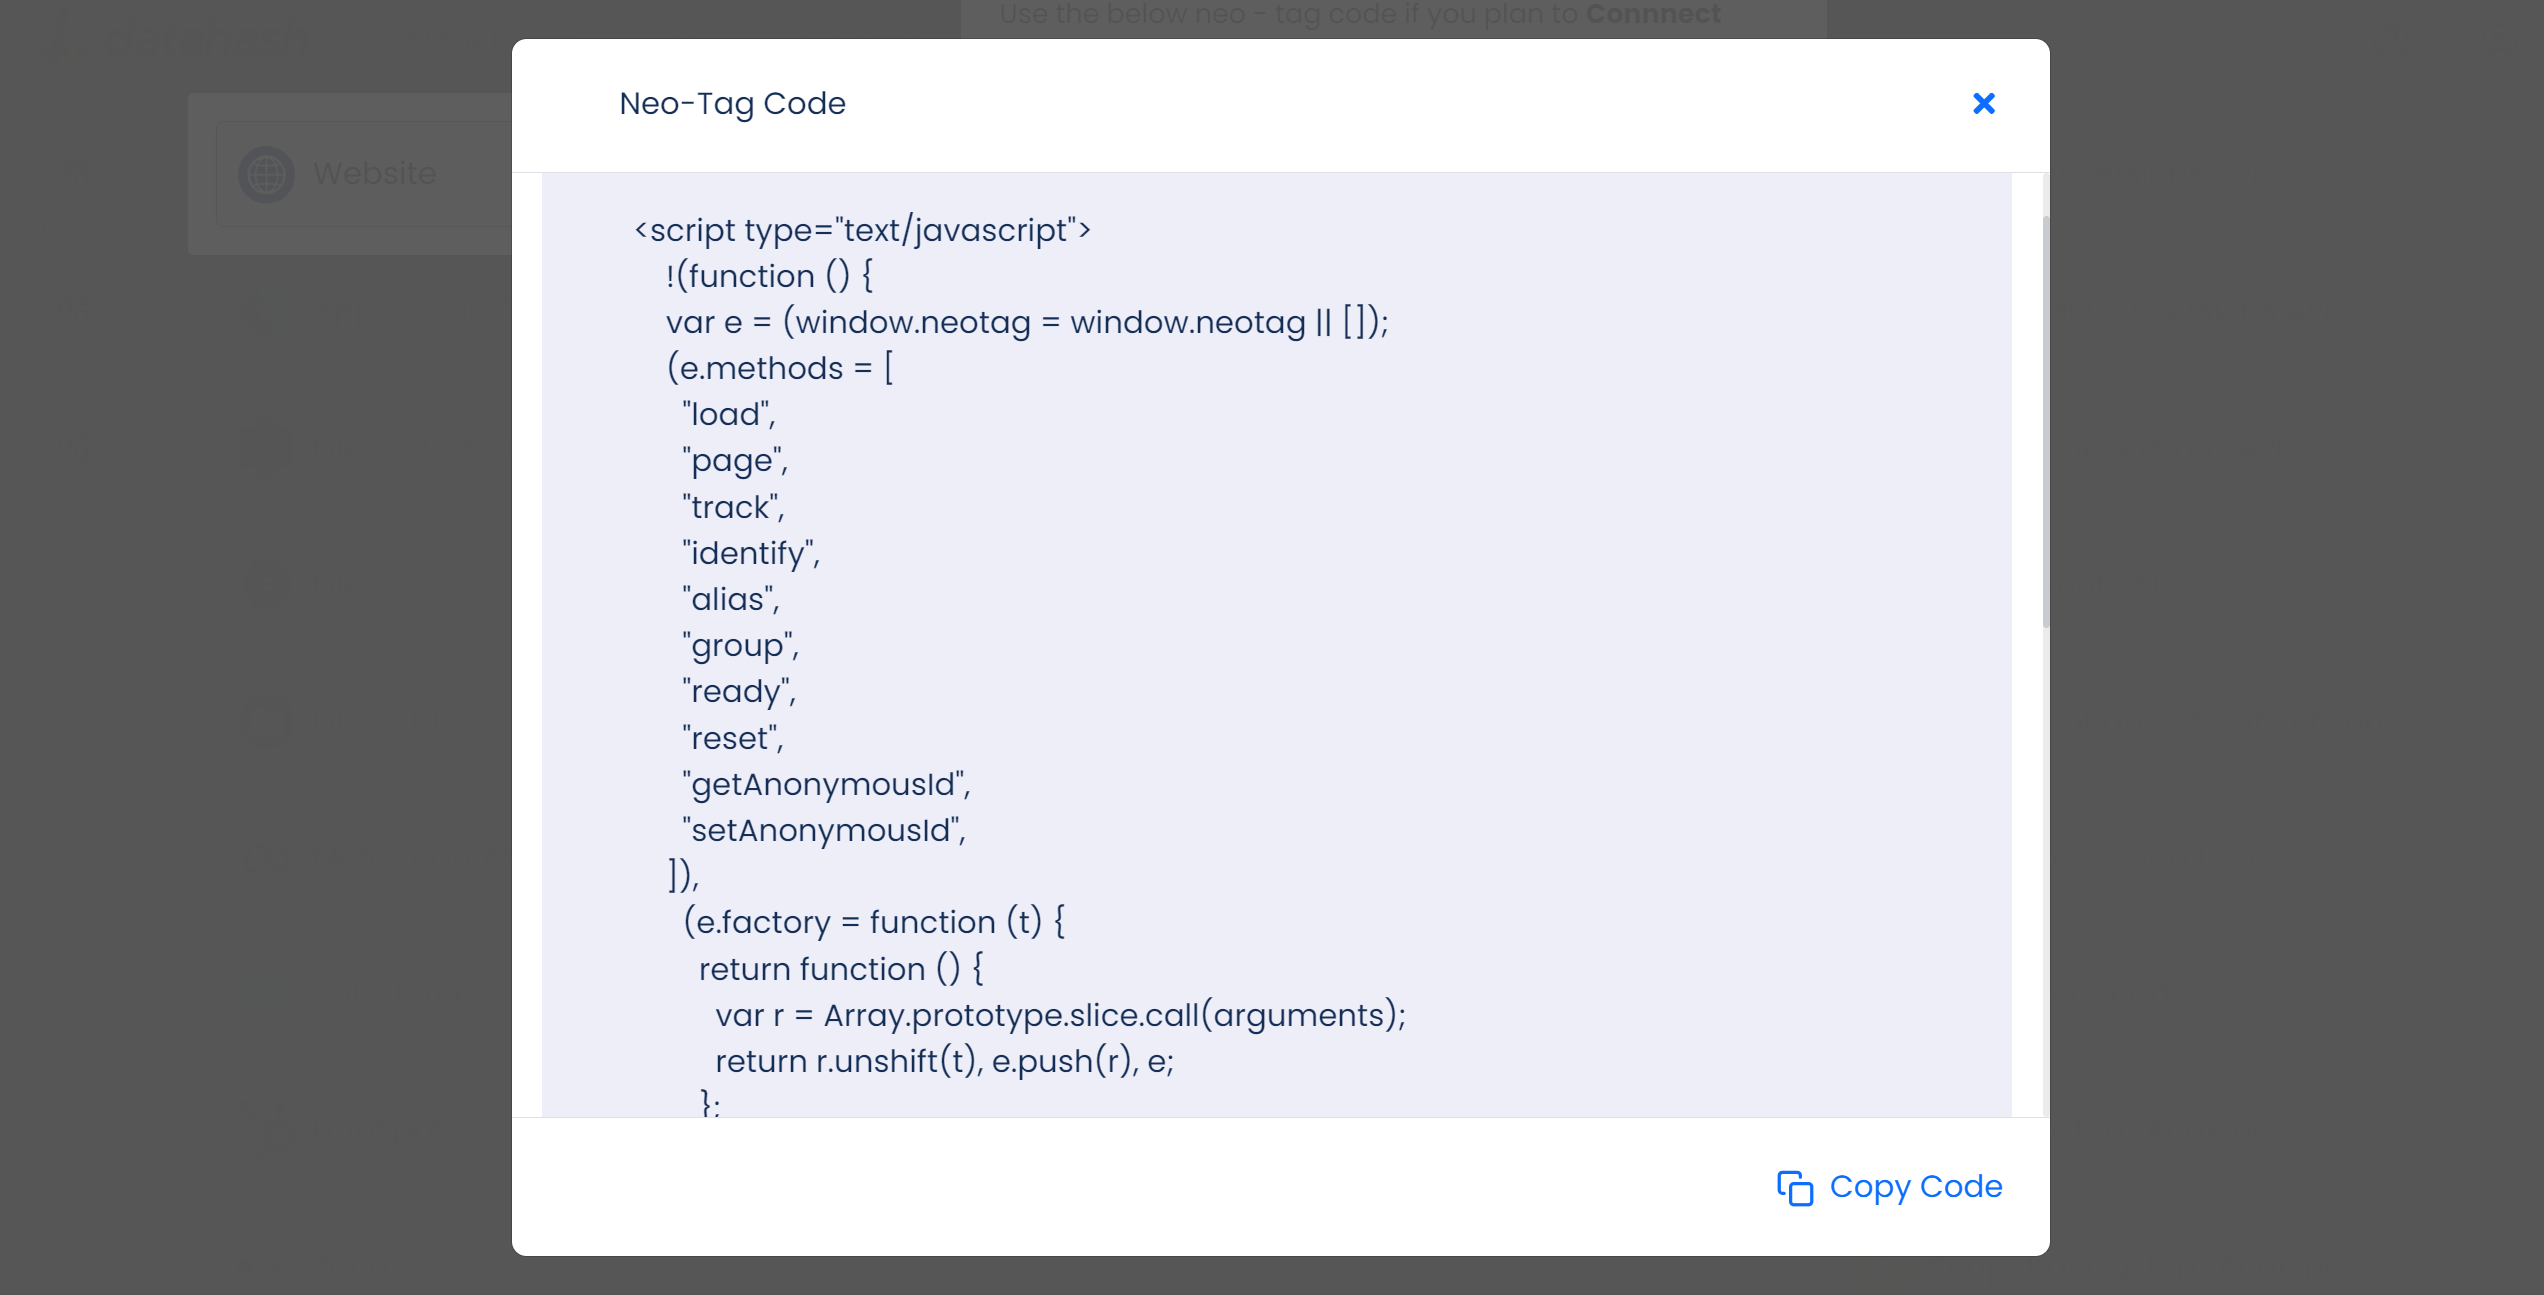
Paste the Neo-Tag code in the Custom HTML tag being created and hit save.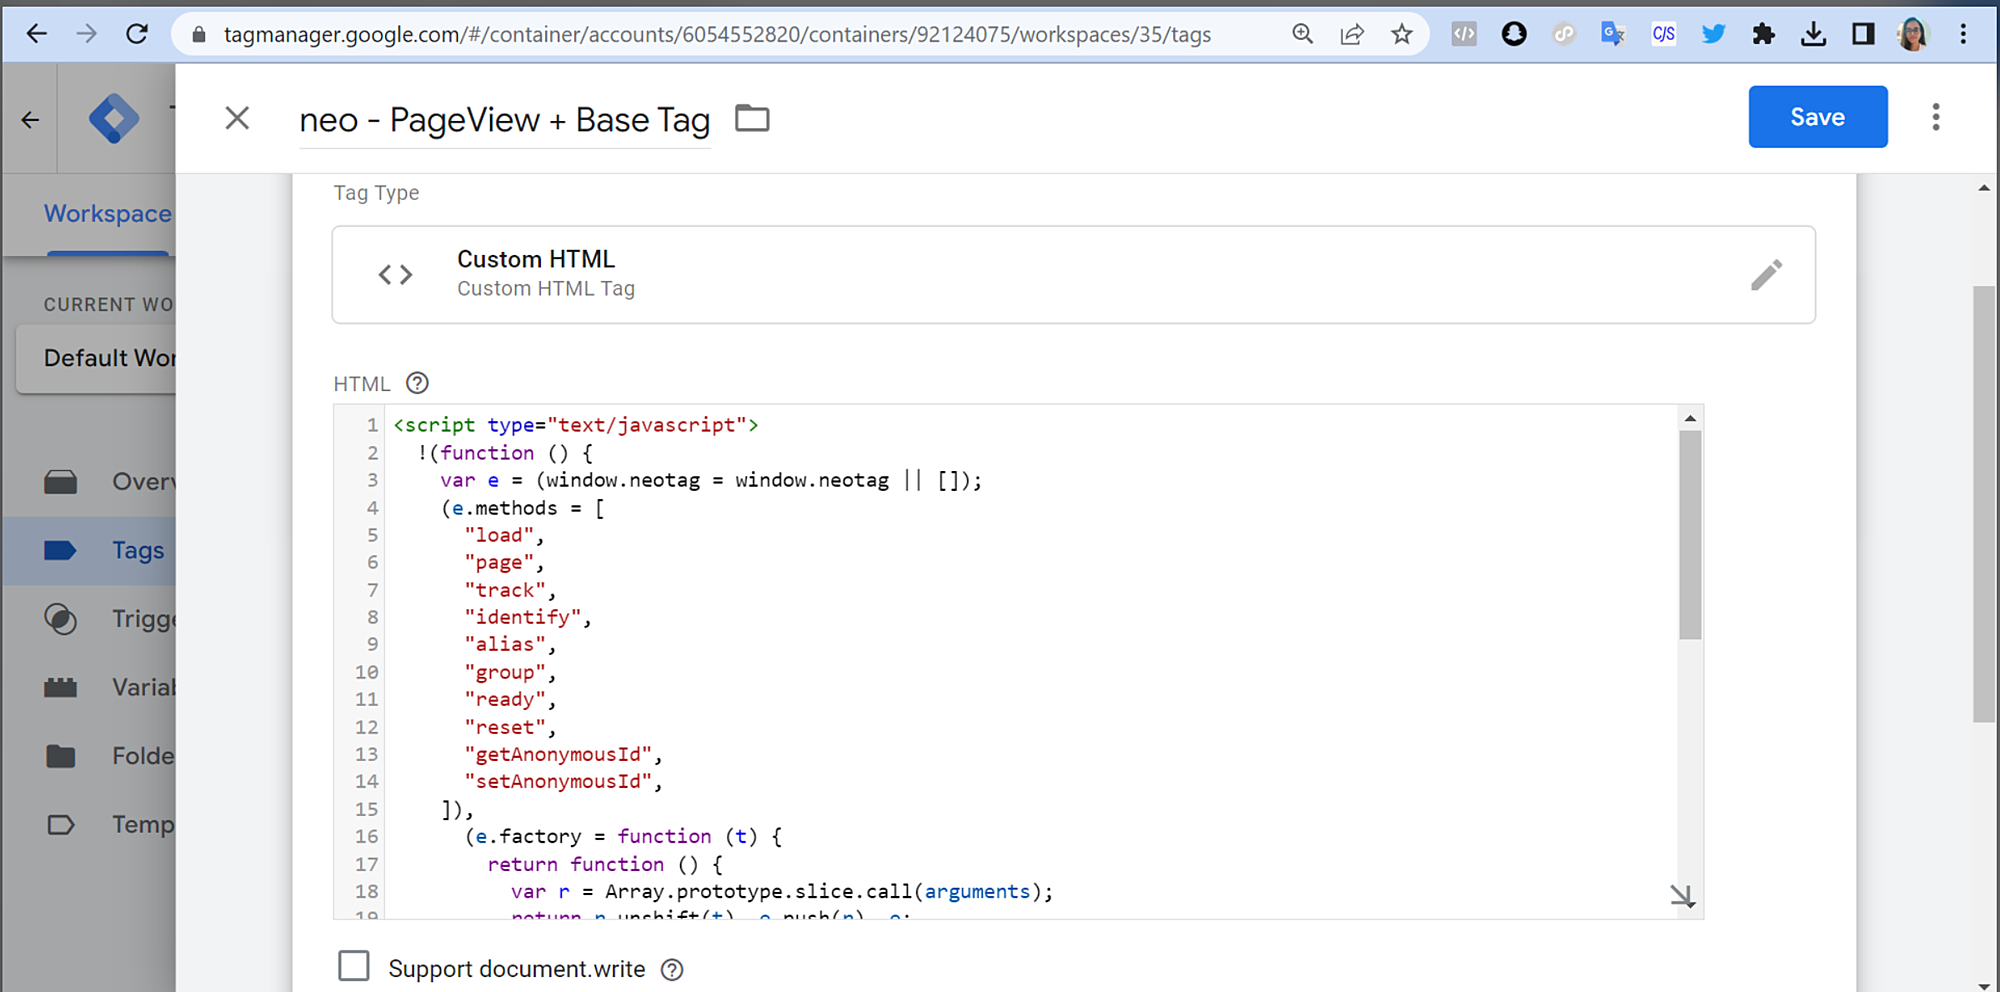
4. To track events on the website, create new tag and implement the TikTok event code on the tag. Assign a specific event trigger and Click on Save
Click save and Datahash will verify the overall setup and send an update via email or notification when the data starts flowing.
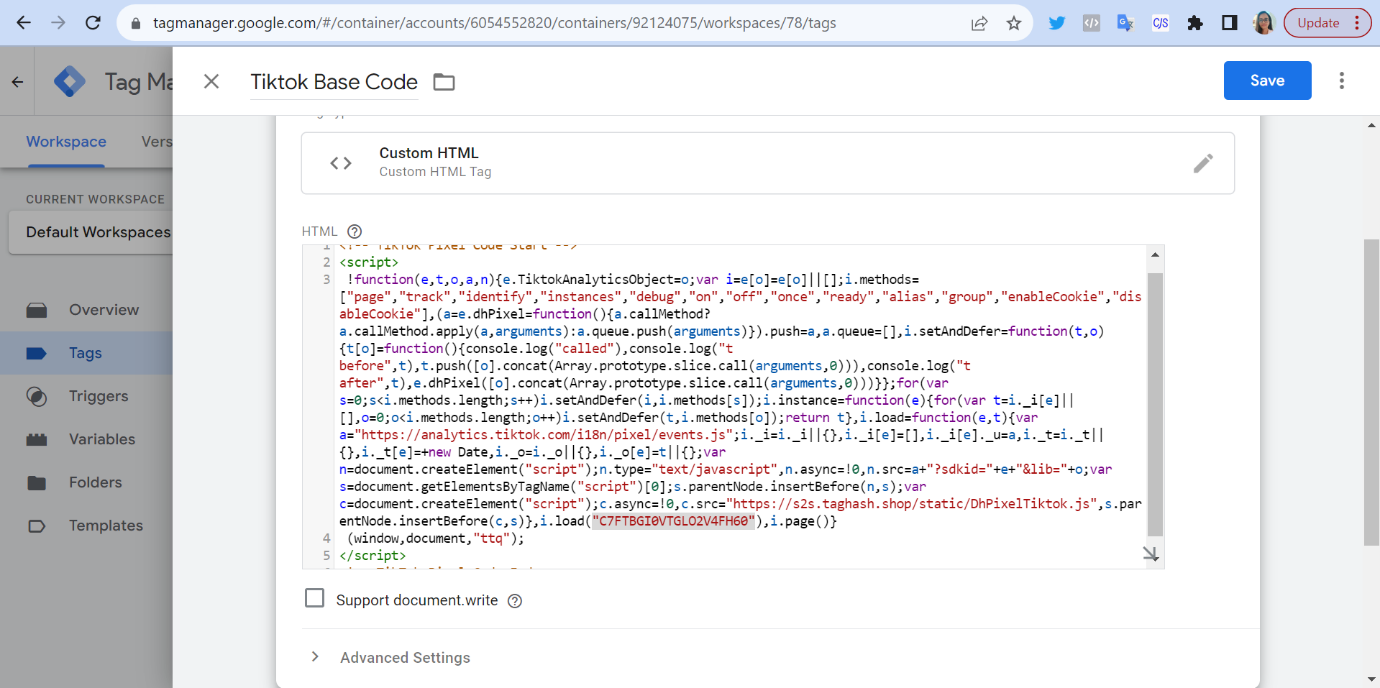
DhPixel for TikTok Implementation:
- Go to GTM, Open Tags
- Search for TikTok tags
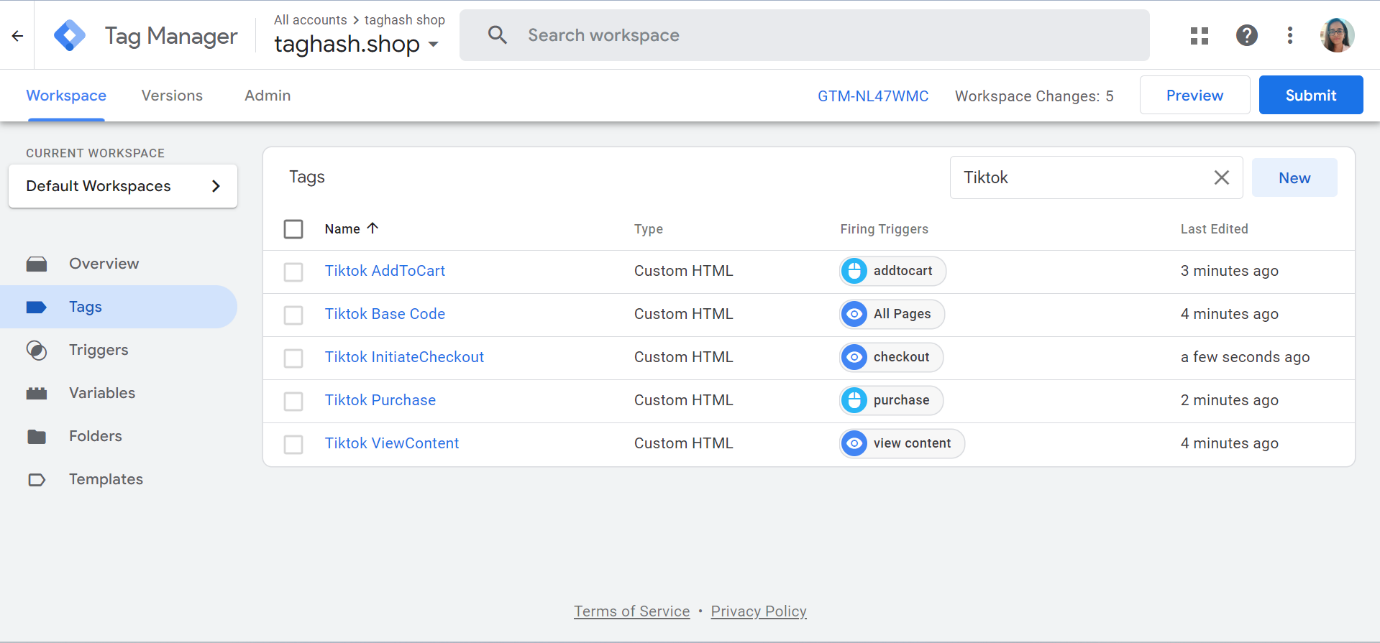
3. Open the tag which includes TikTok base code
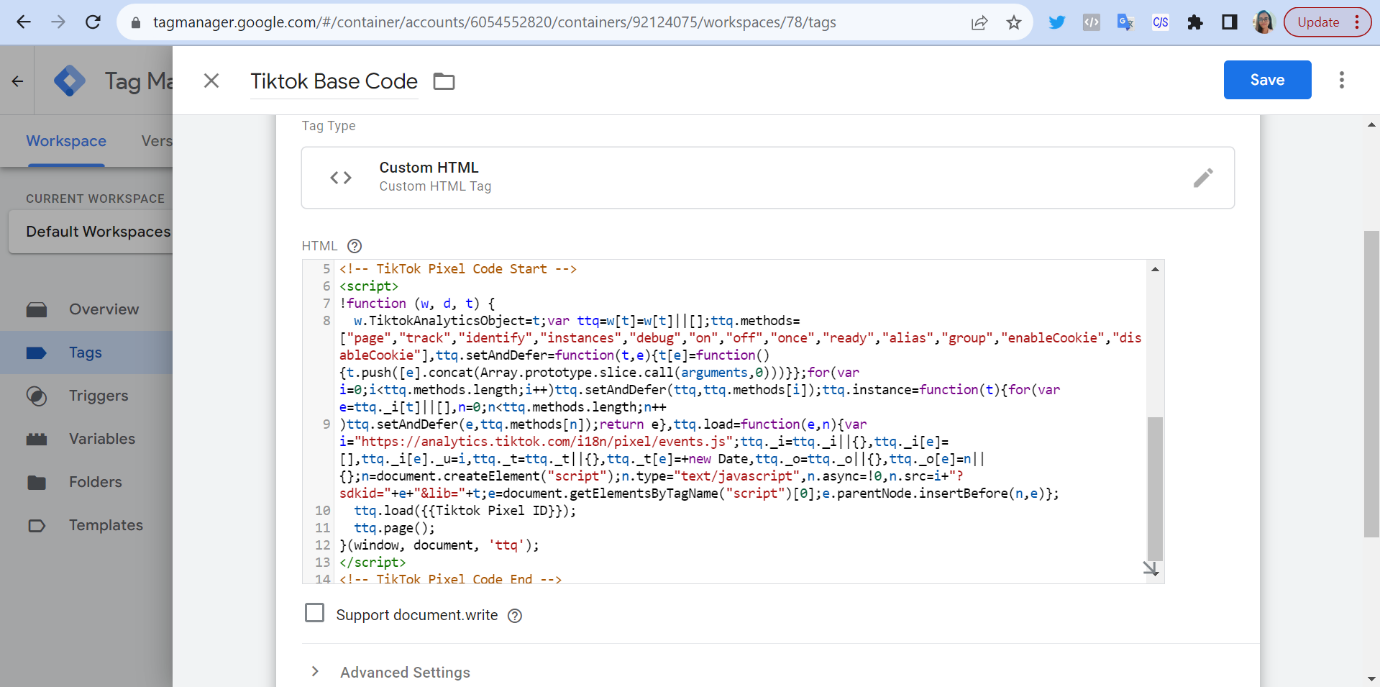
4. Replace the TikTok base code with code given by Datahash and click save.
DhPixel TikTok code copied from Datahash Dashboard
Paste the copied DhPixel TikTok code in the base code of your TikTok GTM tag.
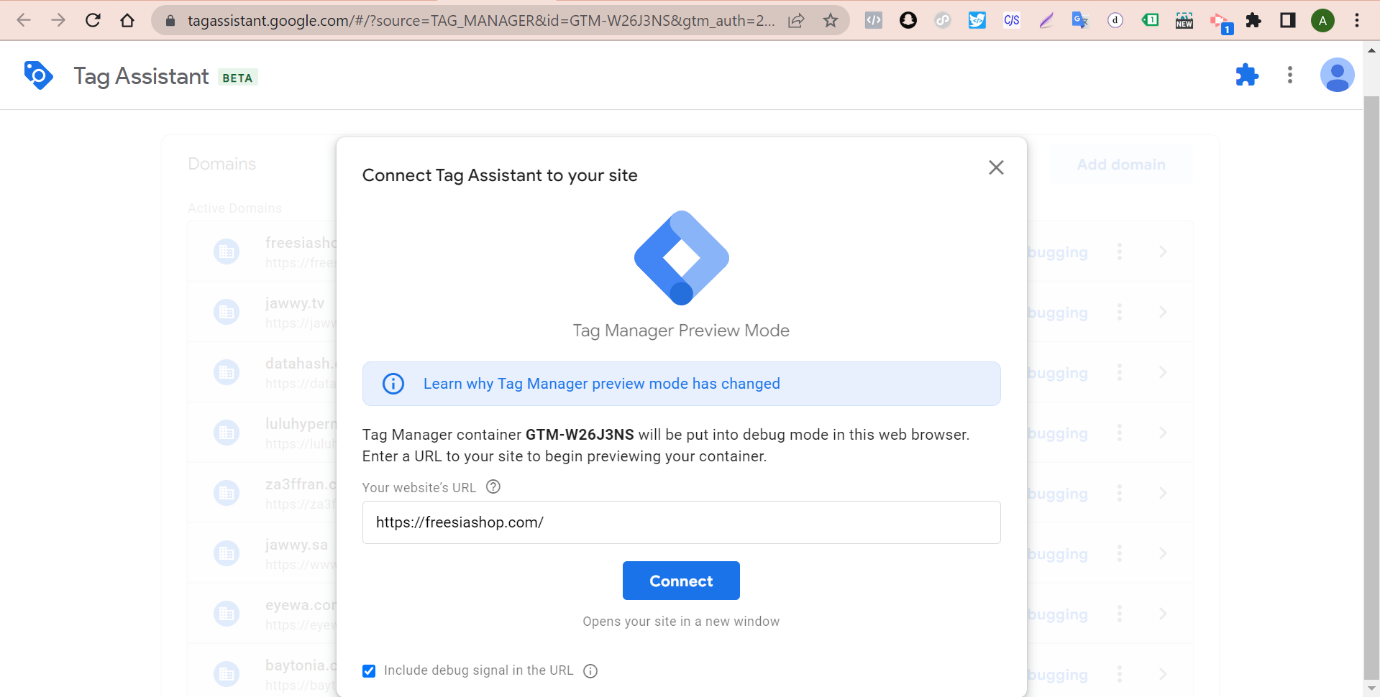
5. After clicking save, you will be redirected to the Tags screen. Here click on Preview screen to validate the tags.
6. Once clicked you will be asked to connect the tag assistant to your site. Here, you need to provide your website URL and click connect.