
Get started with Datahash – set up a connection in a snap! Before you can integrate your sources and destinations, you will need a Datahash account. Here are the steps to get started with Datahash Cloud:
Account Setup:
The account setup process includes the following steps: Visit https://new.tatahash.datahash.com/login to start the setup process.
- Sign up
- Plan selection
- Project creation
It is a simple process where you are required to provide some basic details to complete the sign-up process on the platform.
Account Information
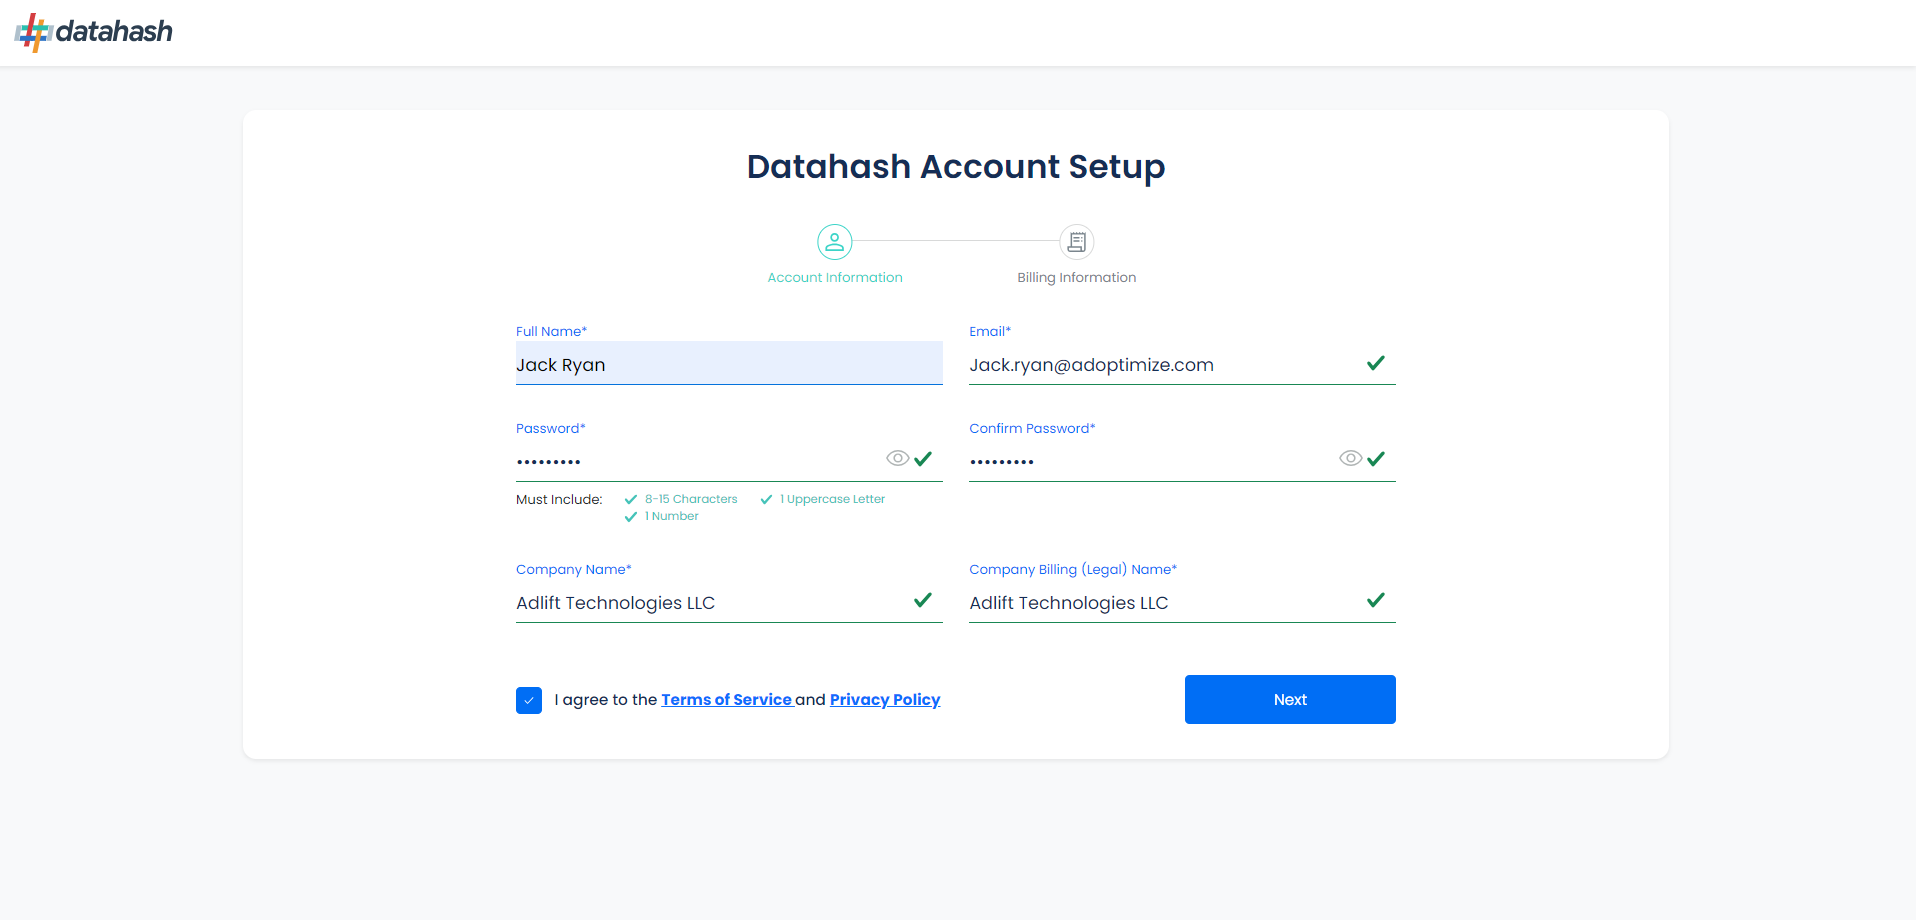
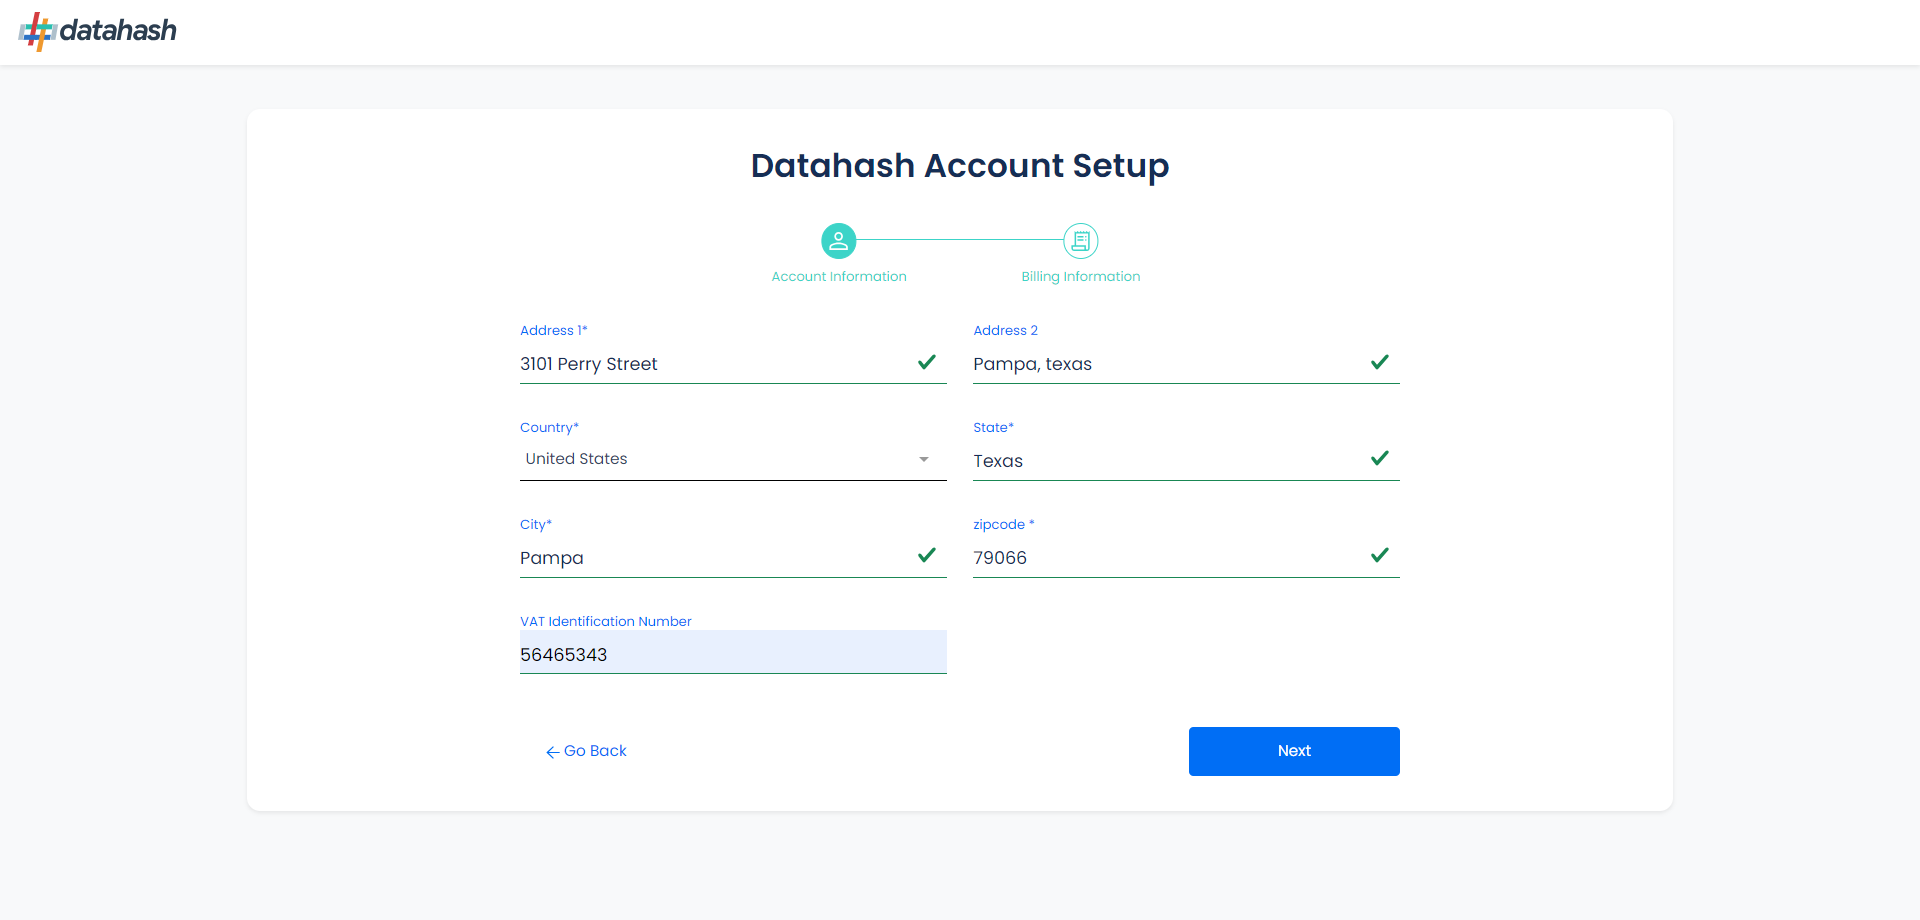
Billing Information
Account Verification
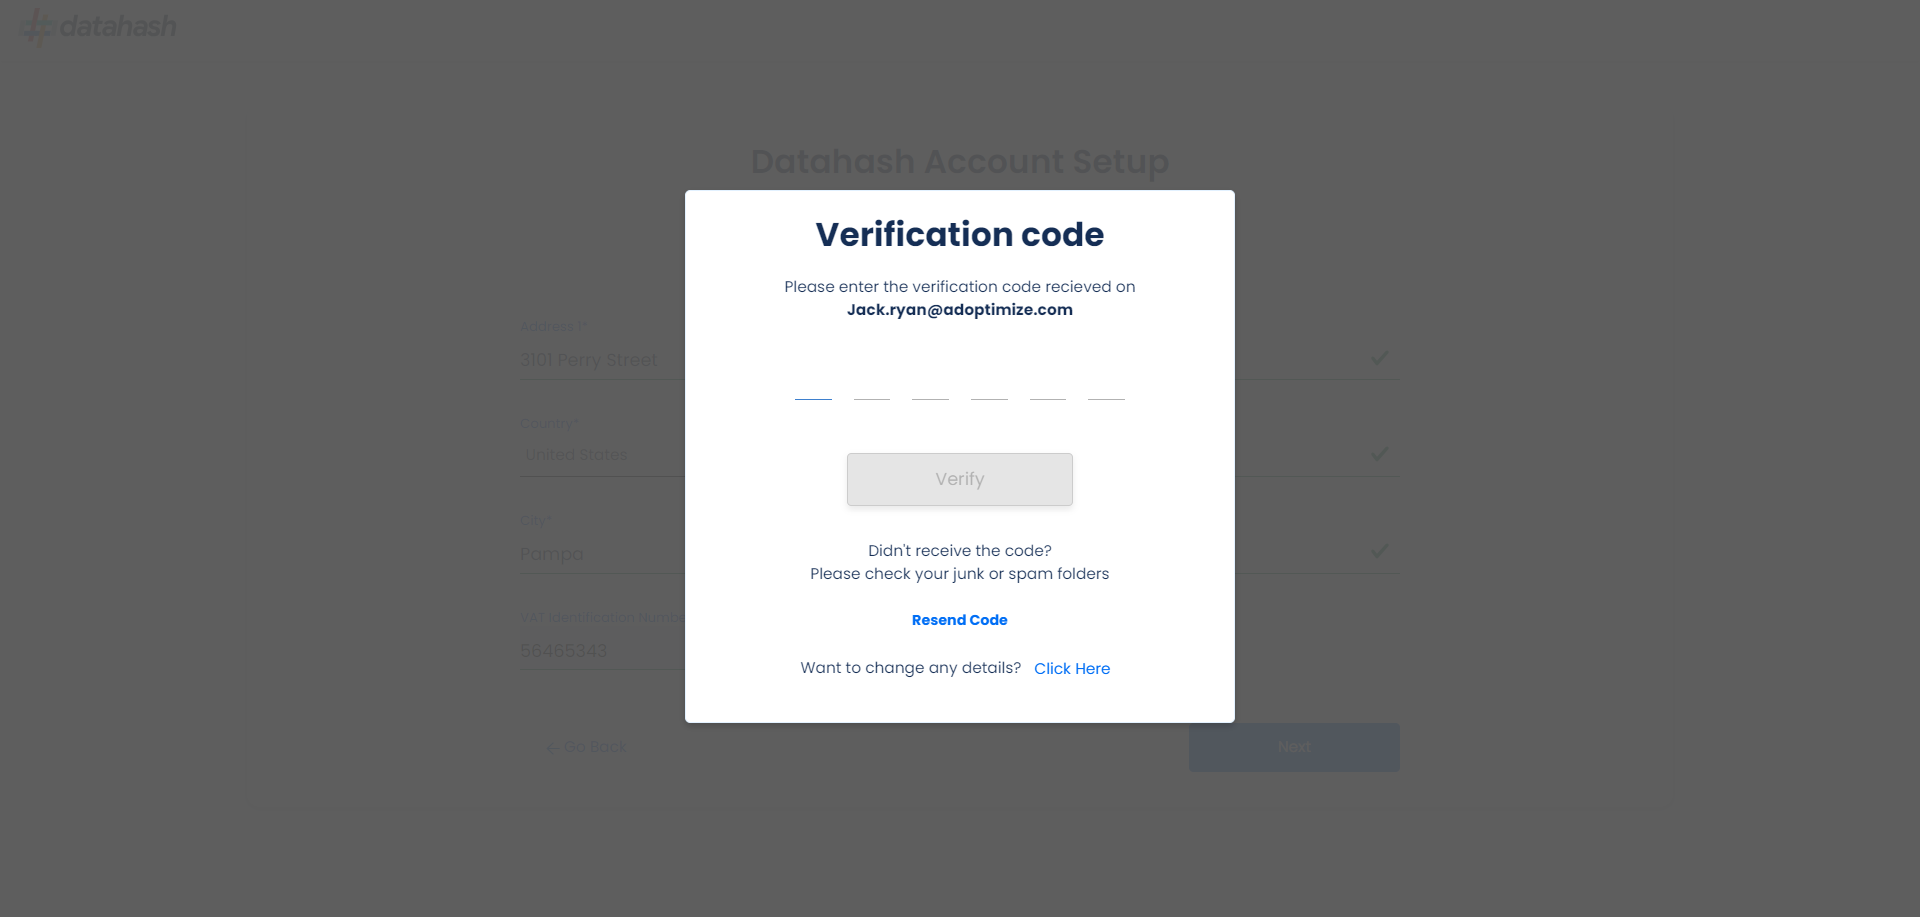
Once the account is verified, you would have successfully created an account on Datahash.
The next step is to select a plan, provide the payment details and get started with the project creation.
ONBOARDING
You will be presented with the Startup screen after you create an account. Hit on Start setup.
Project Creation & Plan Selection:
- This is a crucial step as it will determine how you will be billed. Datahash offers different plans to cater to the needs of different businesses having varying levels of functionality and pricing with monthly/yearly options. Choose the plan that best fits your needs.
- Select the option that suits your needs the most. To streamline billing and payments, you can set up your credit card information right here for added convenience.
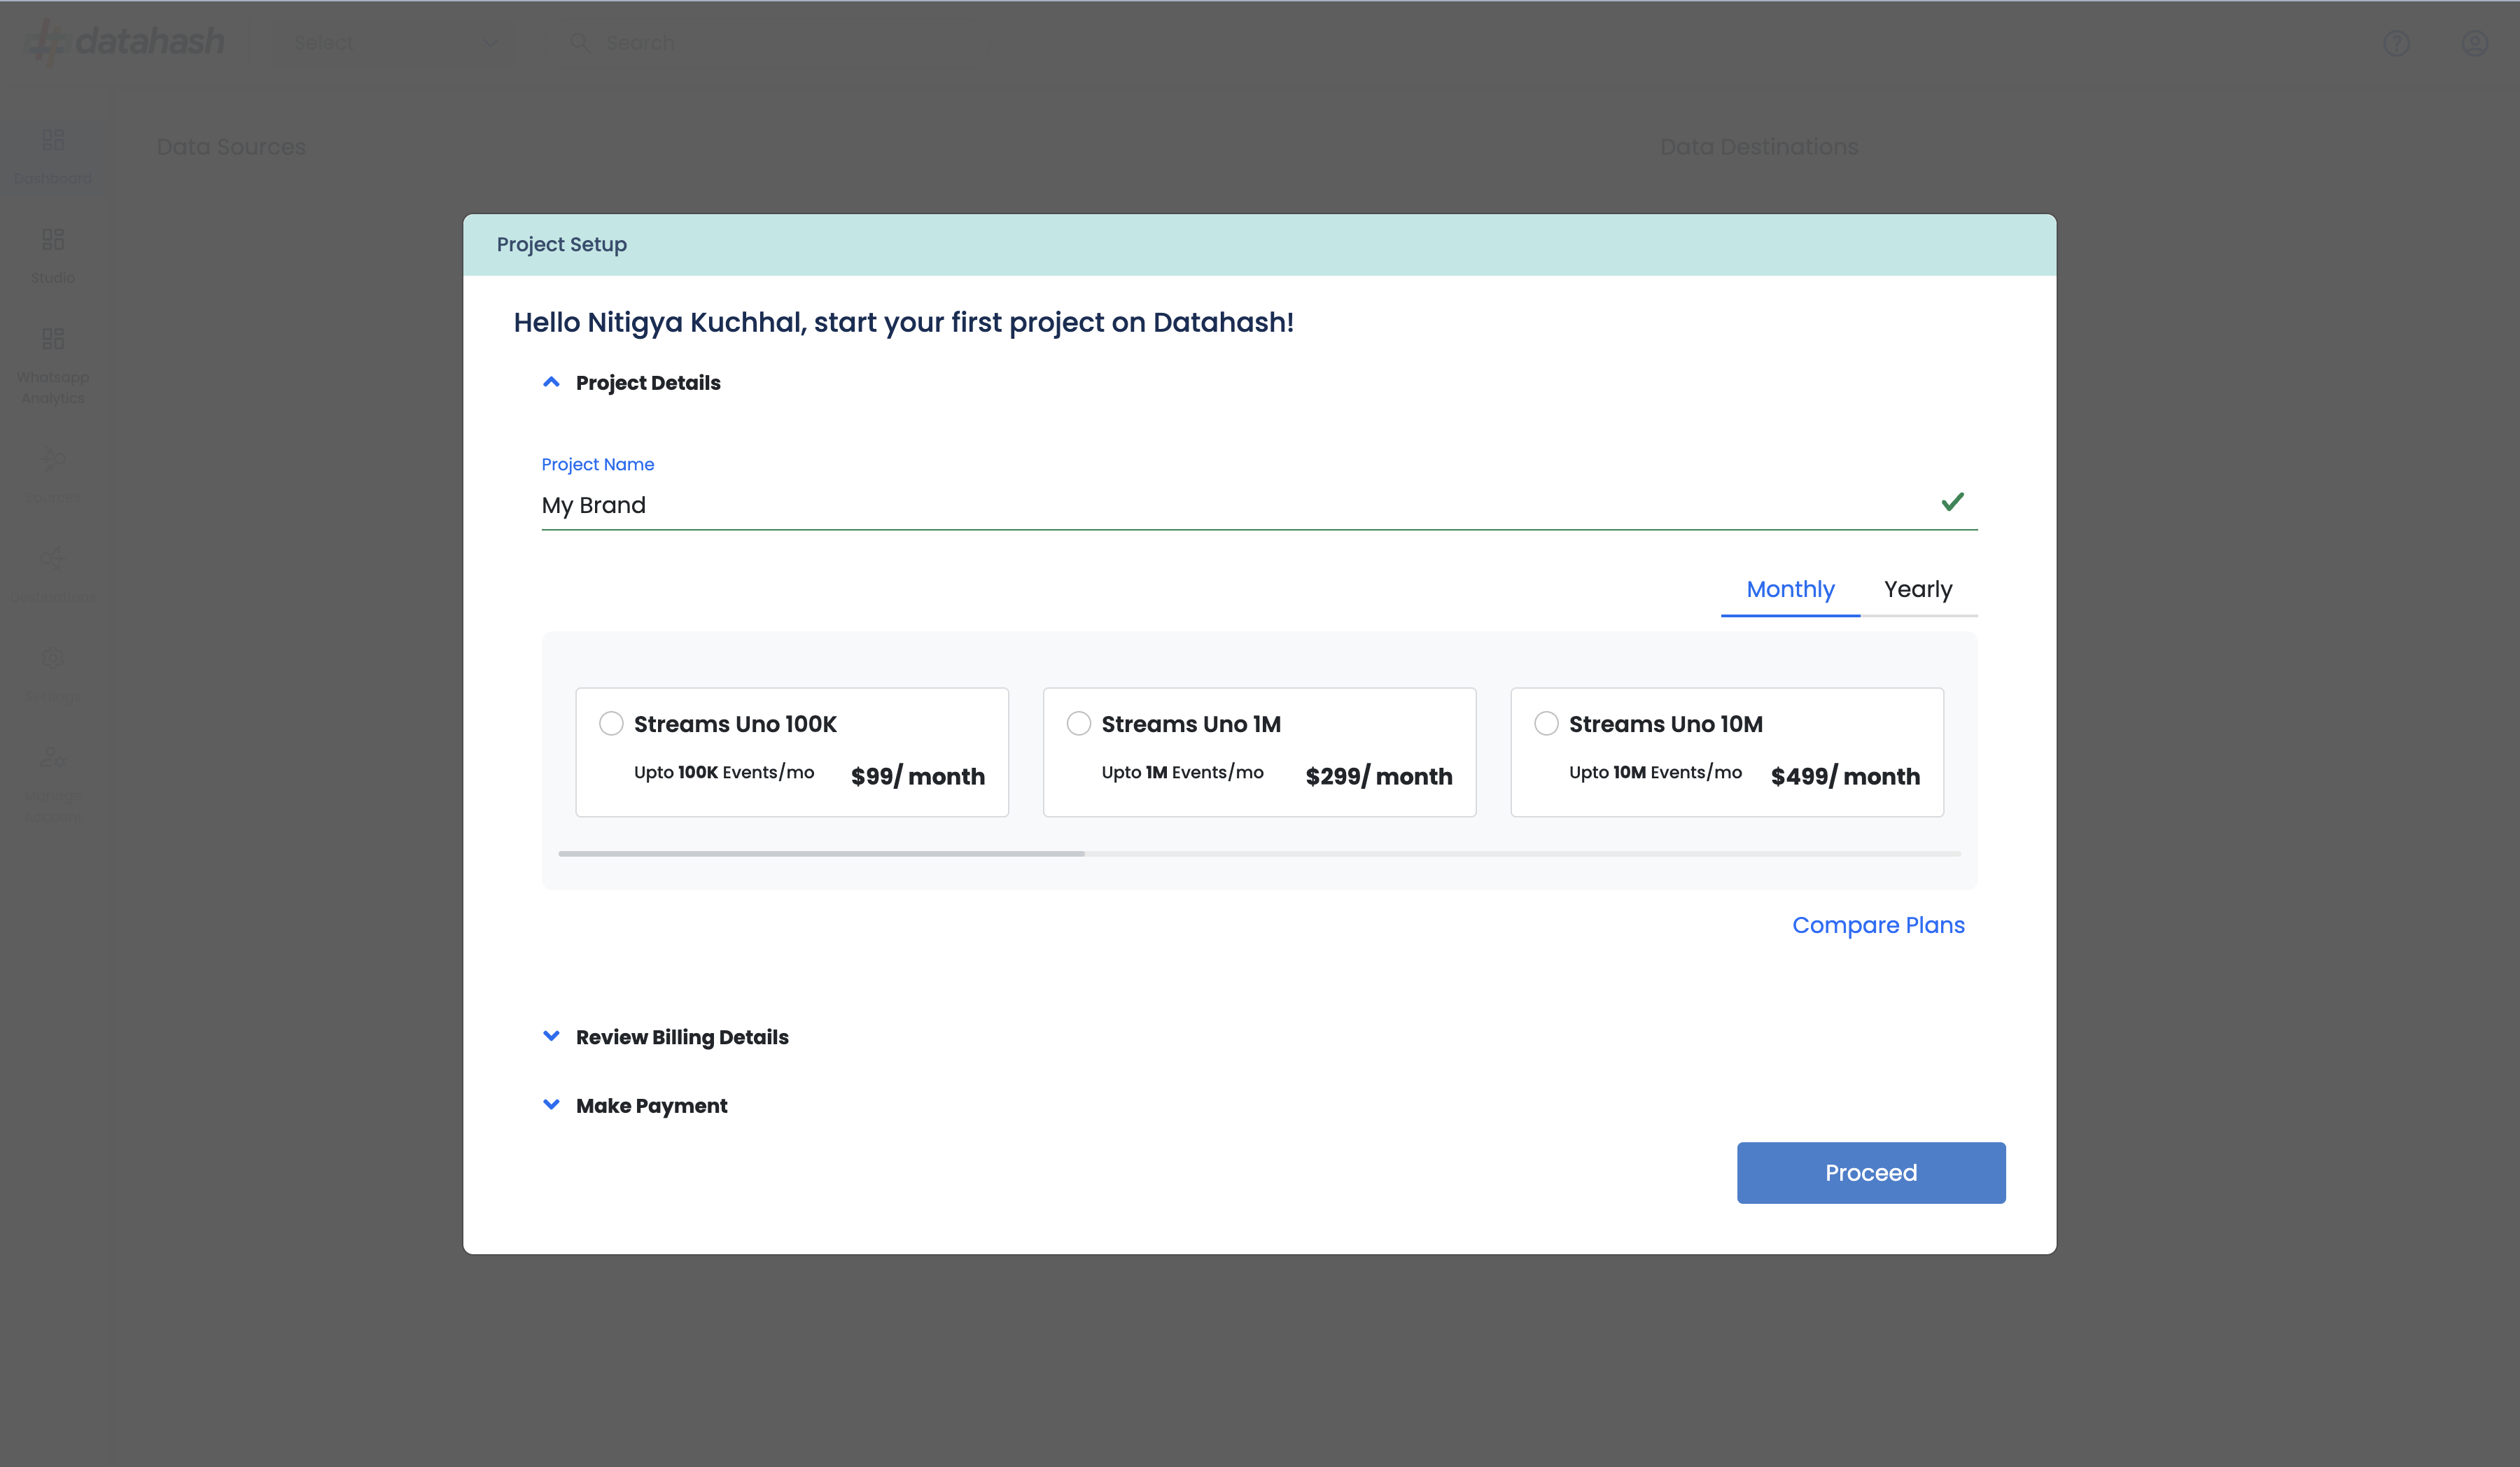
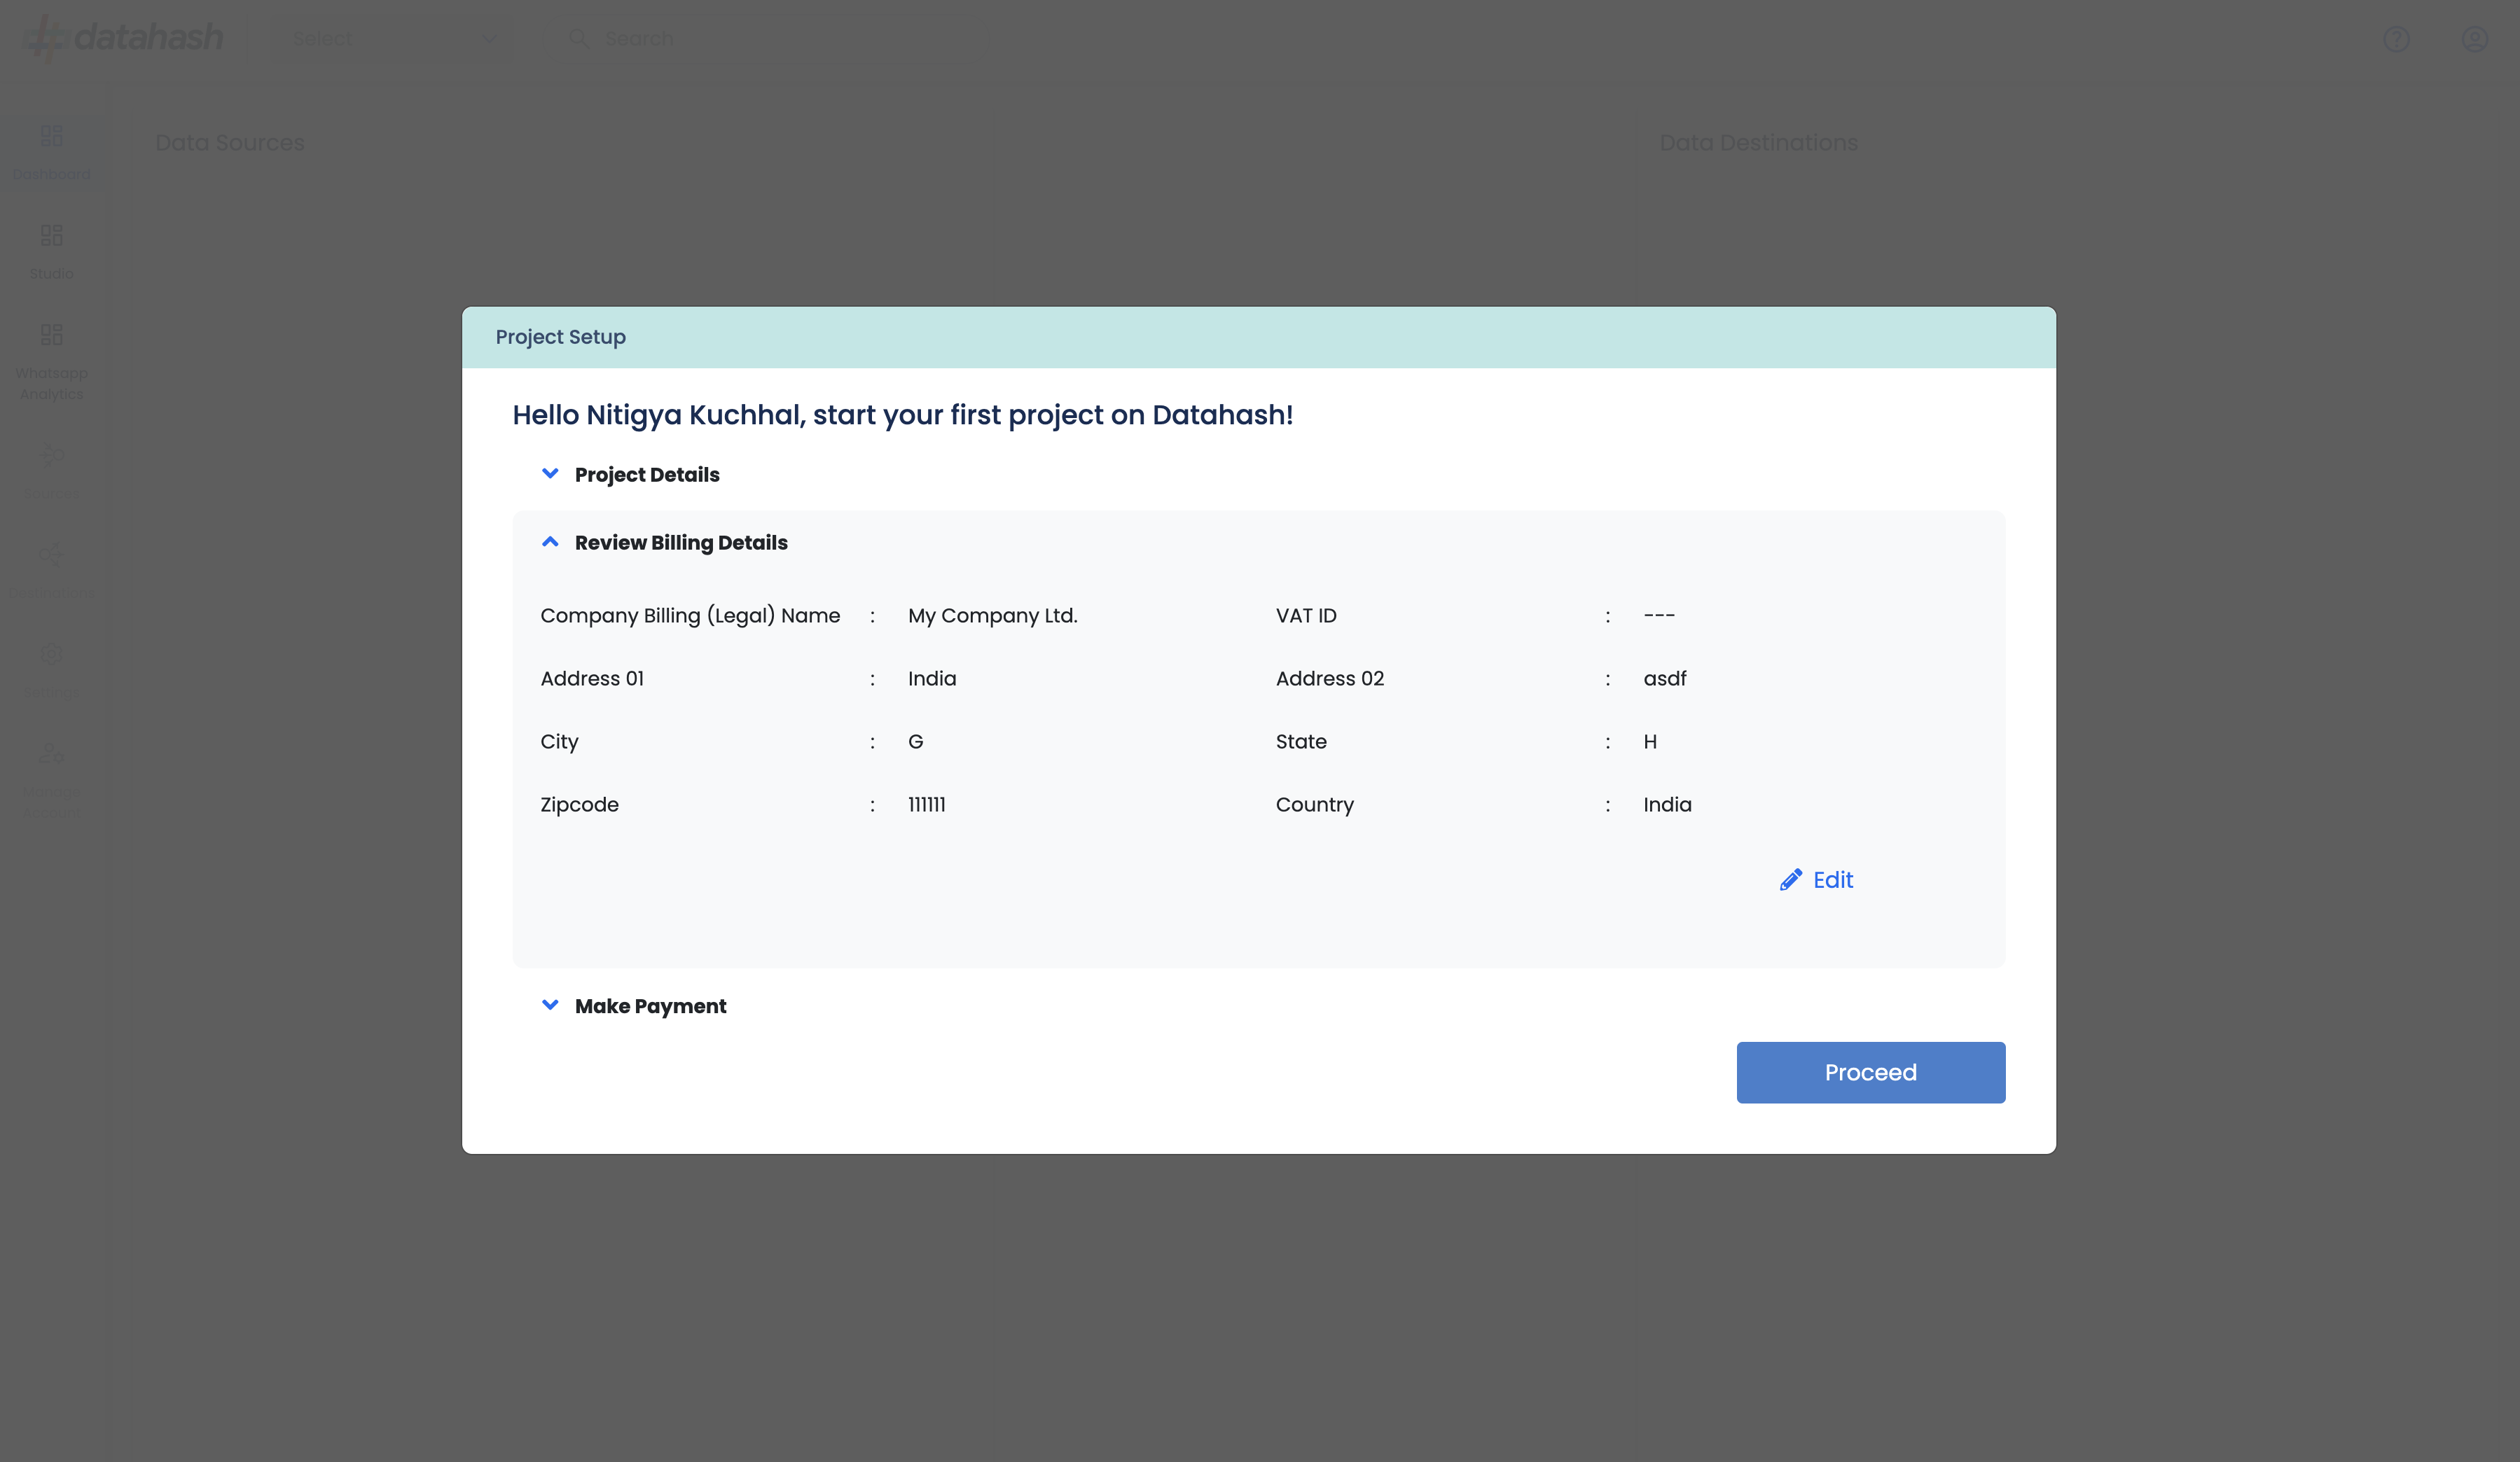
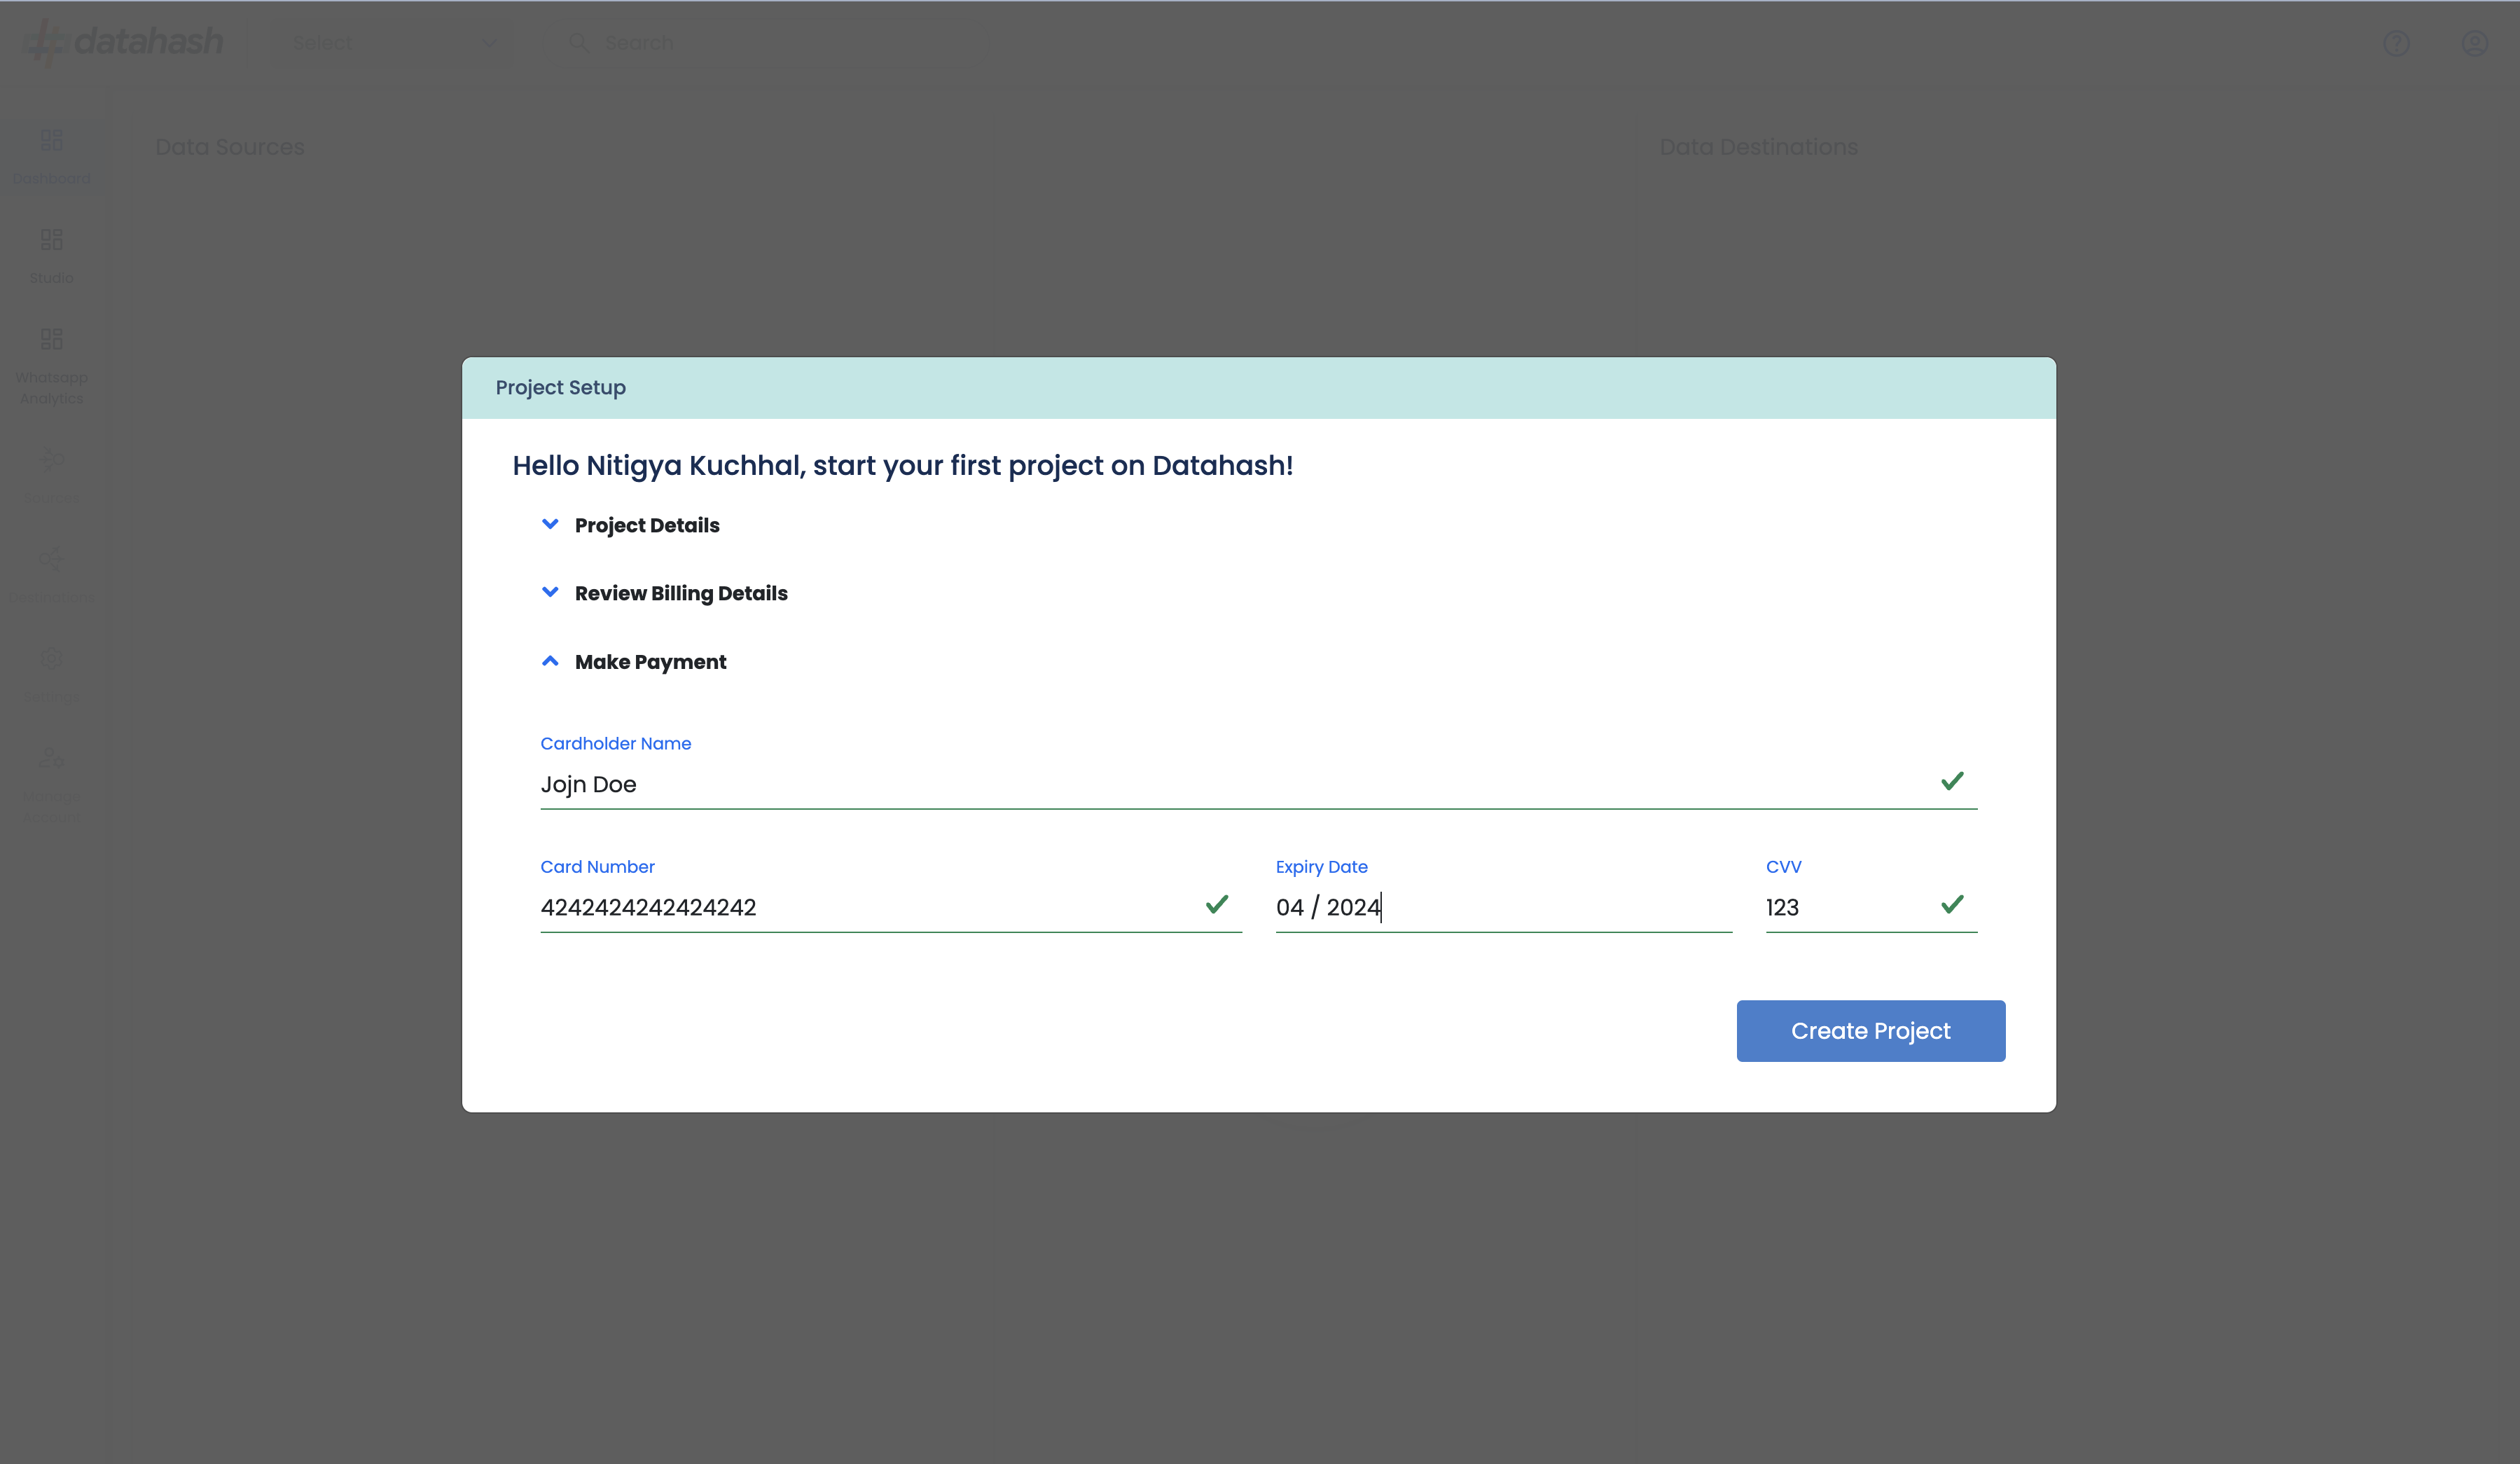
Click Proceed to Finish the Account and Billing setup and get started with the Source and destination setup.