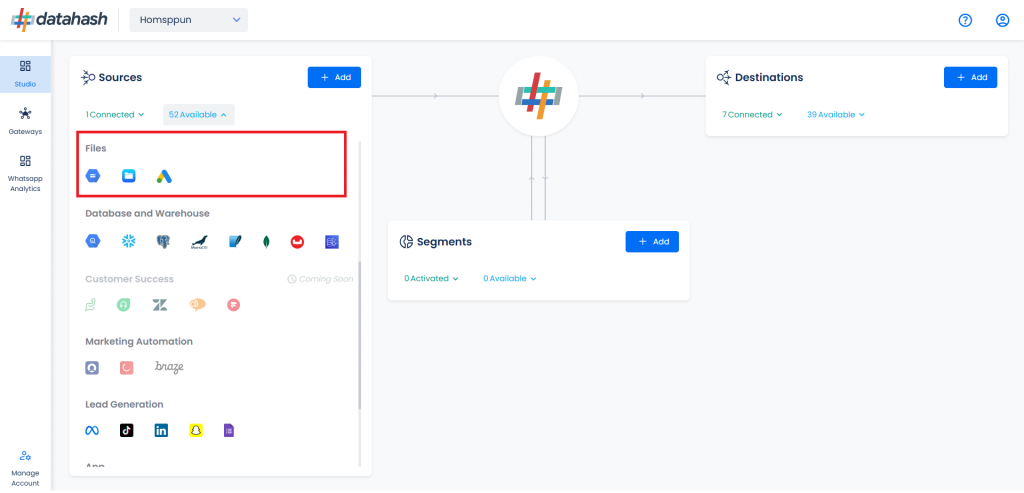
Navigate to the Files category under the Sources list in the left section.
Click on the “Files FTP” connector tile.
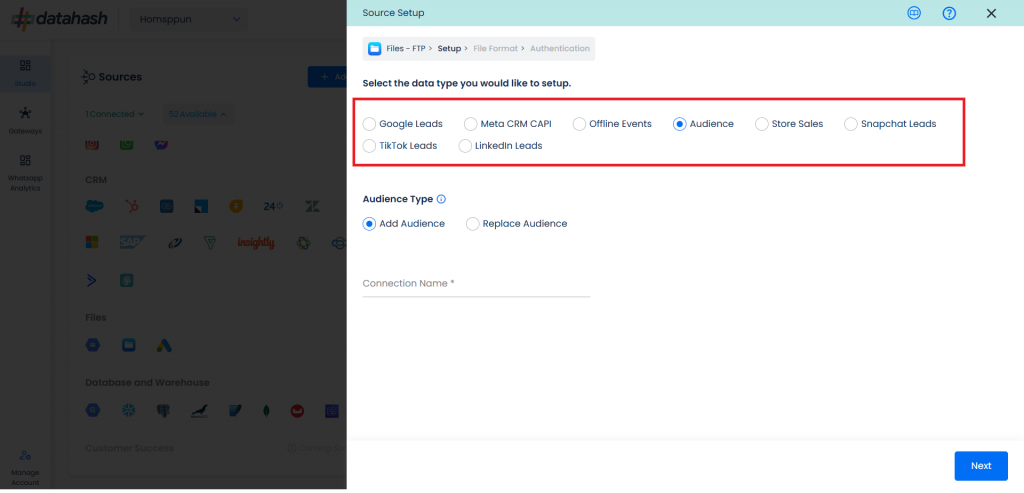
Choose the data entity as Audience. Also, choose the Audience Type.
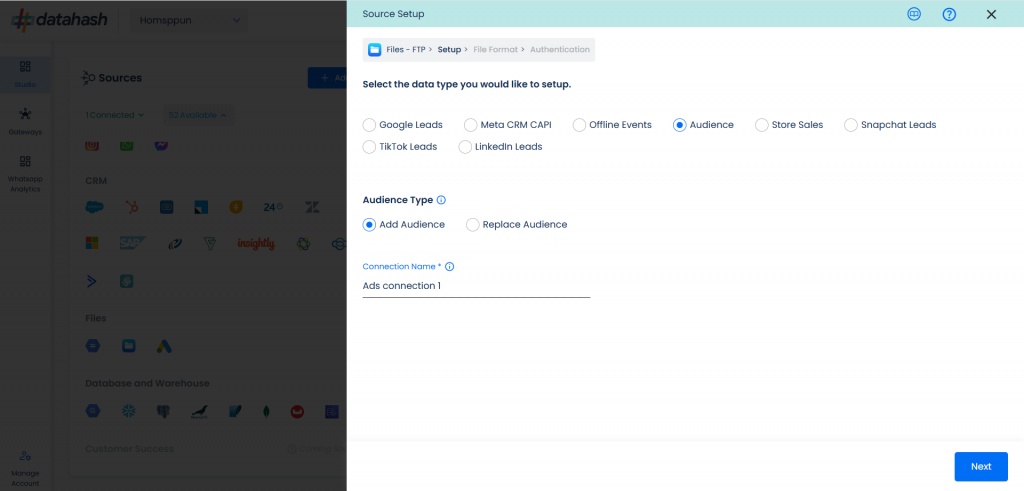
Once done, provide the file source name.
In order to set up the connection successfully, kindly download the file, which will help you understand the overall structure in which you need to get the data setup. Once done, take the downloaded file set up in an FTP location, and add credentials in the next step.
Once done, click on Next.
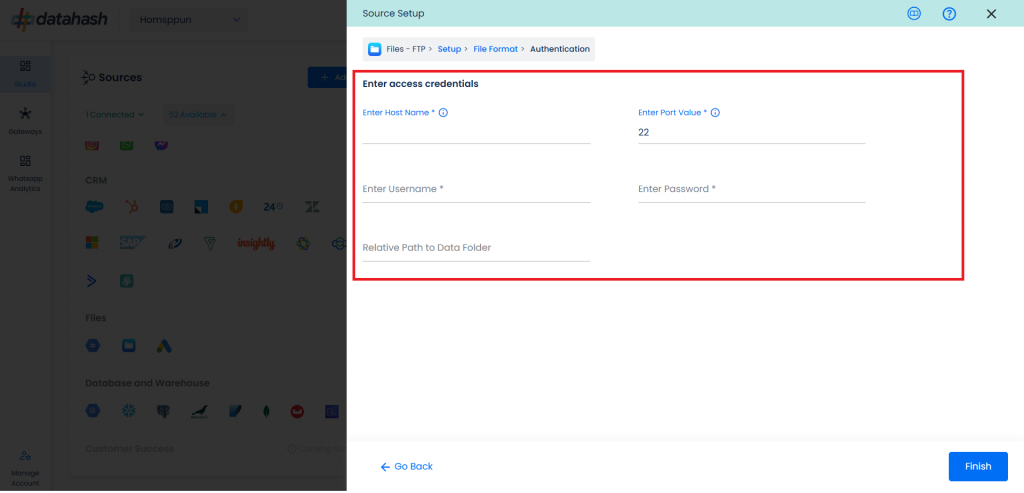
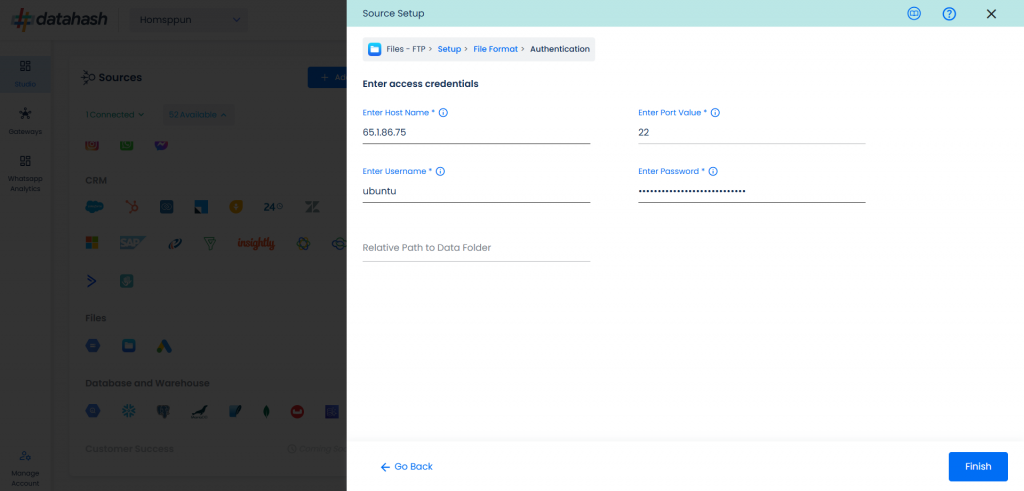
This is the most important step where the user needs to provide the FTP credentials, which will help Datahash to access the file for further processing. These credentials are:
FTP Hostname: This is the hosting server name.
FTP Port: This is the server port, the default port for FTP is 22.
FTP Username/Password: Your FTP credentials, usually they’re the same as your cPanel login details.
Relative path to data folder: A path like prefix name, where you have stored the files in the FTP folder, like myfolder/thistable.
Once all the credentials are provided, Datahash will validate the credentials, after which the connection will be successfully set up – if all the credentials are valid.
Once done, click Finish to complete the setup.
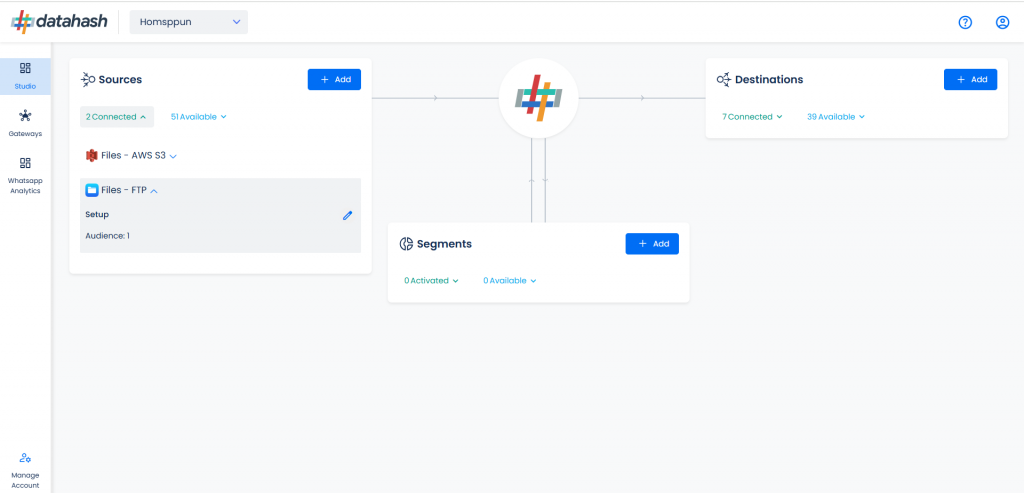
You can see the connected instance in the dashboard.
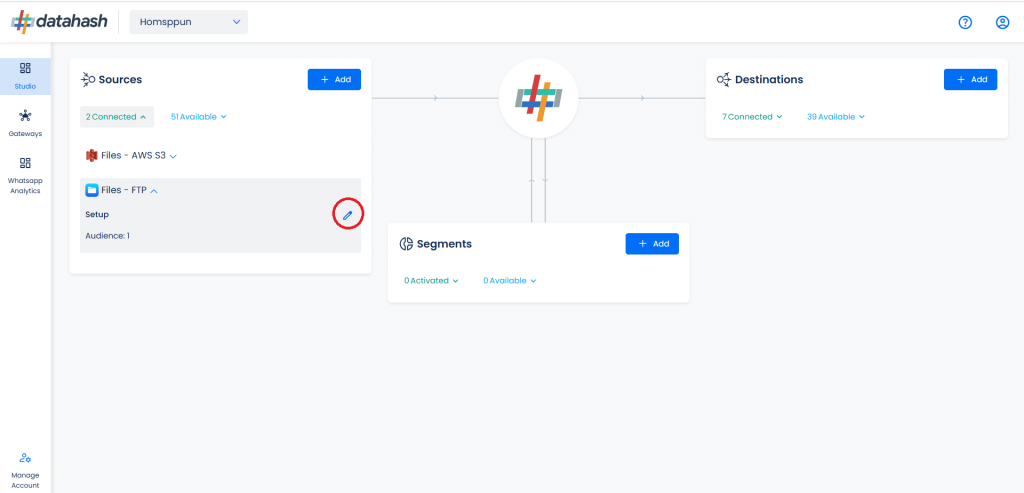
You can access the set-up again by clicking on the edit button in the Files FTP connector widget.
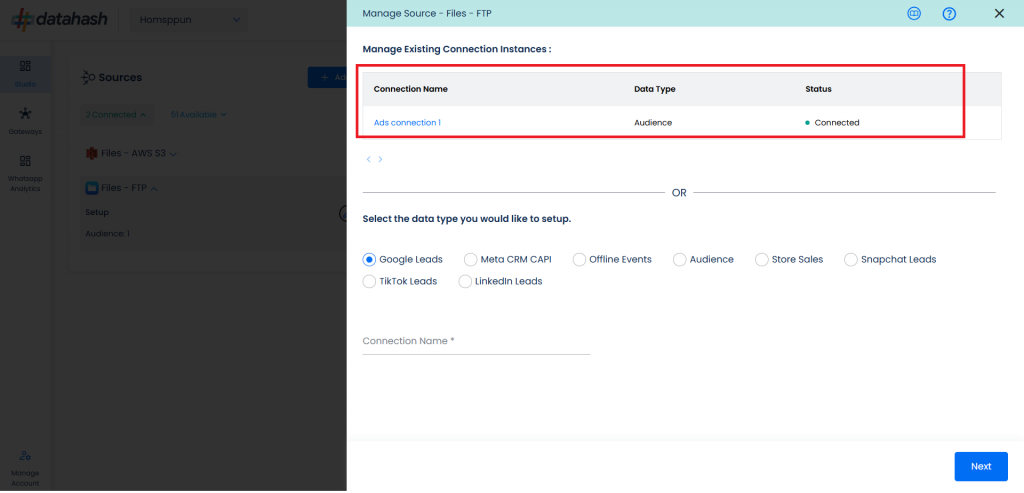
The set-up configurations from the Manage connections section can be edited if required.
The source setup is completed, now the destination is to be set up. For that, refer to the documentation below: