Video Walkthrough:
Description:
Snapchat Custom Audiences is a feature that allows advertisers to create custom target audiences for their Snapchat ads based on specific criteria. Custom Audiences can help advertisers reach a more tailored and relevant audience for their campaigns
Pre-Requisites:
- A Snapchat Ads account
- Snapchat Business Manager account
Getting Started:
- Log in to your Datahash account on https://studio.datahash.com/login
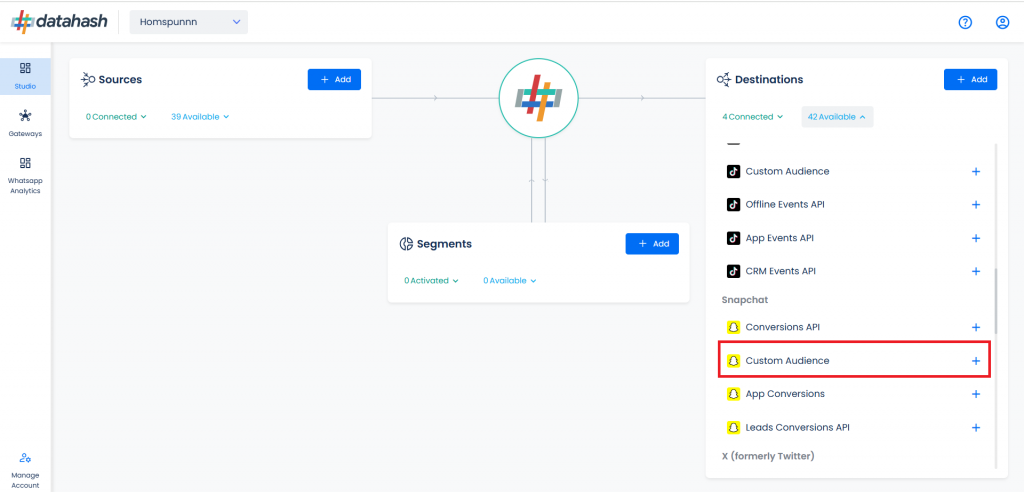
- Navigate to the Snapchat category under the Destination list in the left section.
- Click on the “Custom Audience” connector tile
- Provide the Ads Account ID of the business account with which you would like to integrate.
- Ads Account ID: The Account ID is your account recognition for Snapchat ads.
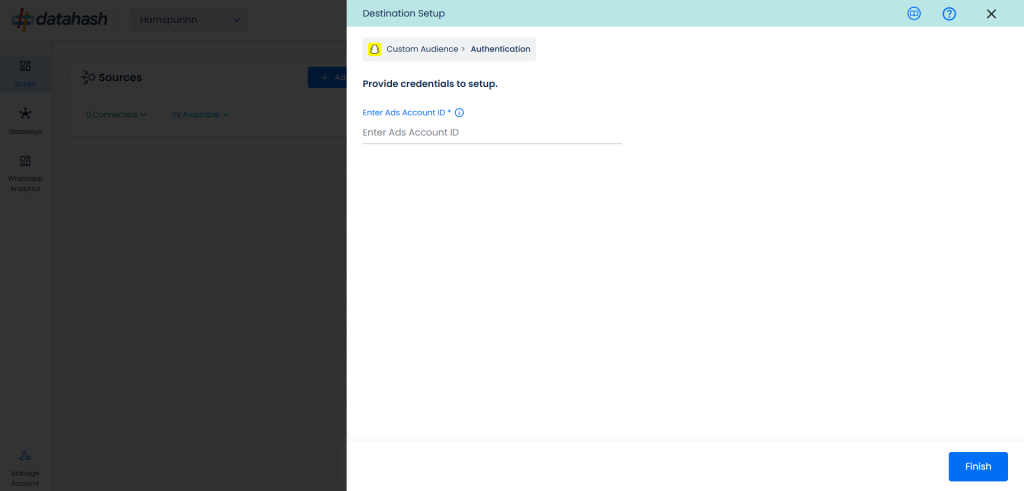
- Once done, click on Finish.

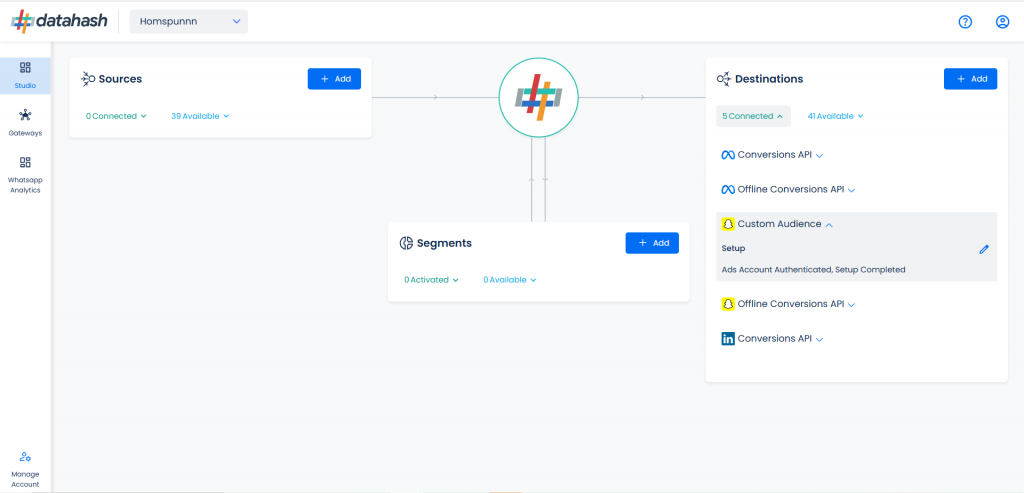
- The setup has been done & the data will start to flow from the source to the destination.
Components:
To better understand the setup, here are some technical details about the components involved:
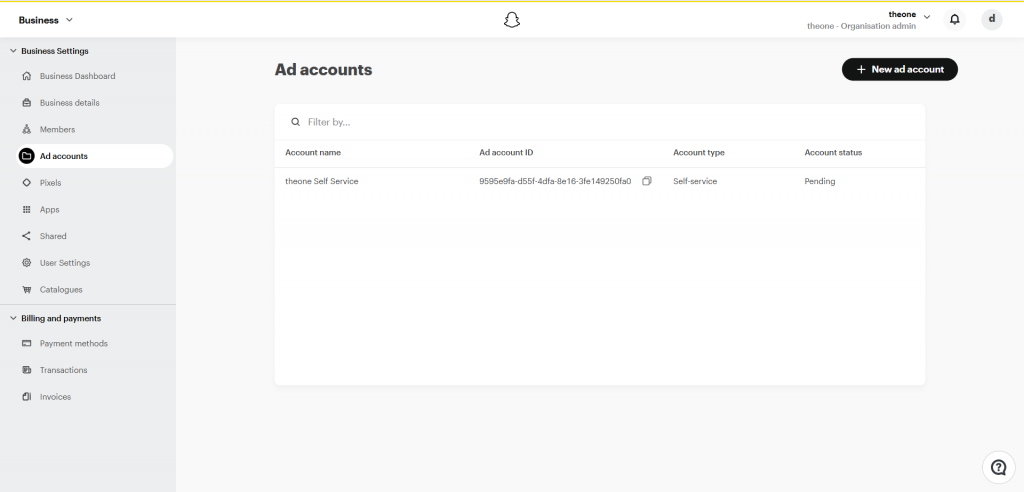
Finding the Snapchat Ads account ID:
The process to find the Ads Account ID is detailed below:-
- Login to snapchat Ads account https://ads.snapchat.com/.
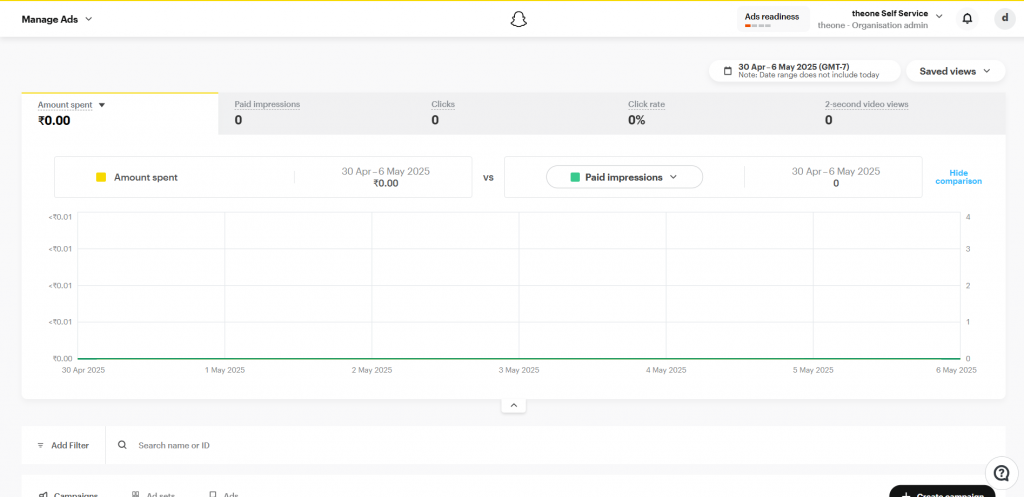
- On the top left, open the navigation panel. Click on “Ad Accounts” under Business.
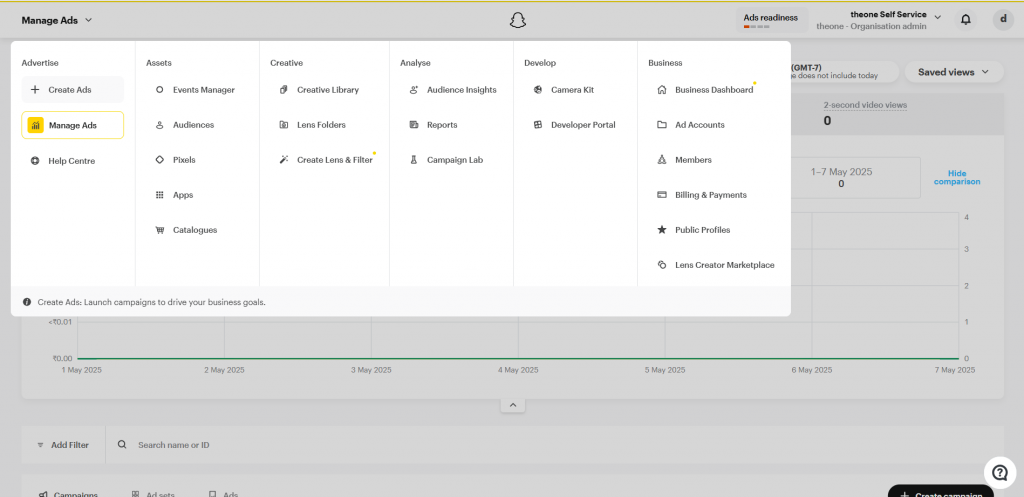
- You land on the screen where all your ad accounts will be available. You can either create a new ad account or use an existing one. You can copy the Ad account ID.