
Description:
The Meta Conversions API (CAPI), is designed to help businesses deliver personalized advertising experiences to customers while maintaining data privacy. It achieves this by creating a direct connection between marketing data and systems that optimize ad targeting, reduce cost per action, and measure results across Meta technologies—without relying on browser-based tools like cookies.
Pre-Requisites:
- Meta Ads account
- A website/Marketing Data System
- Meta Business Manager account
- Server-side API permission
Getting Started:
- Log in to your Datahash account on https://studio.datahash.com/login
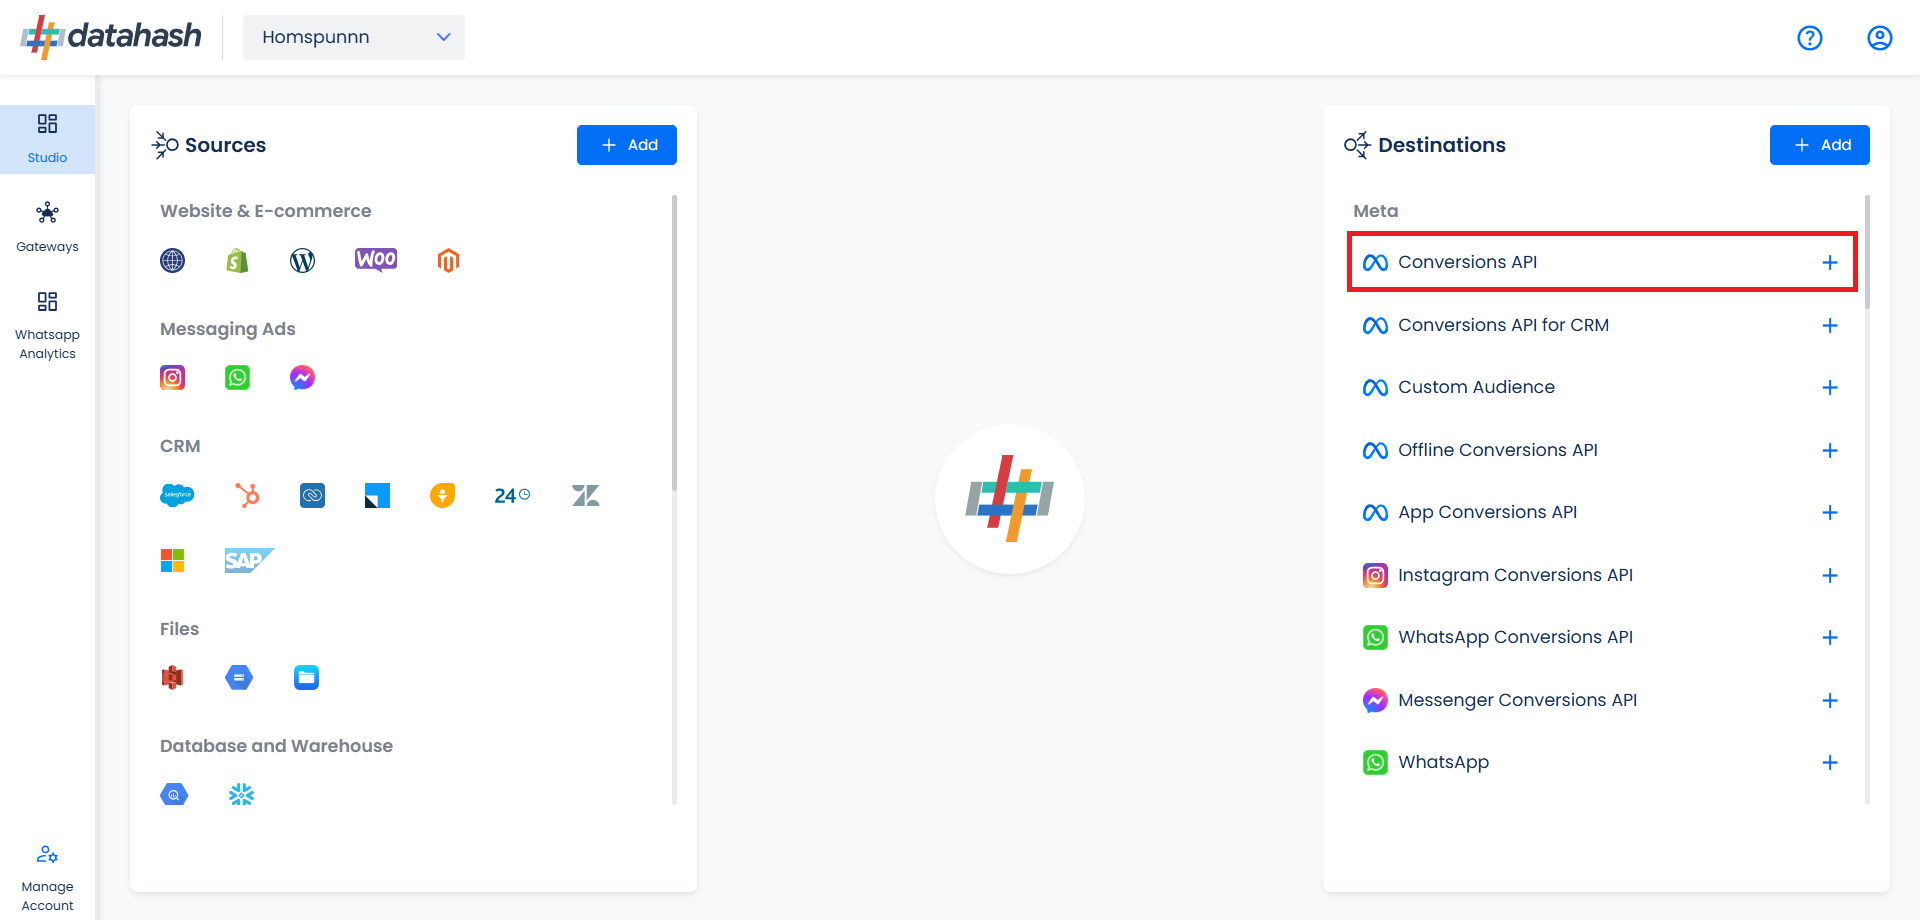
- Navigate to the Meta category under the Destination list in the left section.
- Click on the “Conversions API” connector tile
The process to setup the Meta Web Online CAPI is detailed below. The Setup process is same for both type of connection modes.
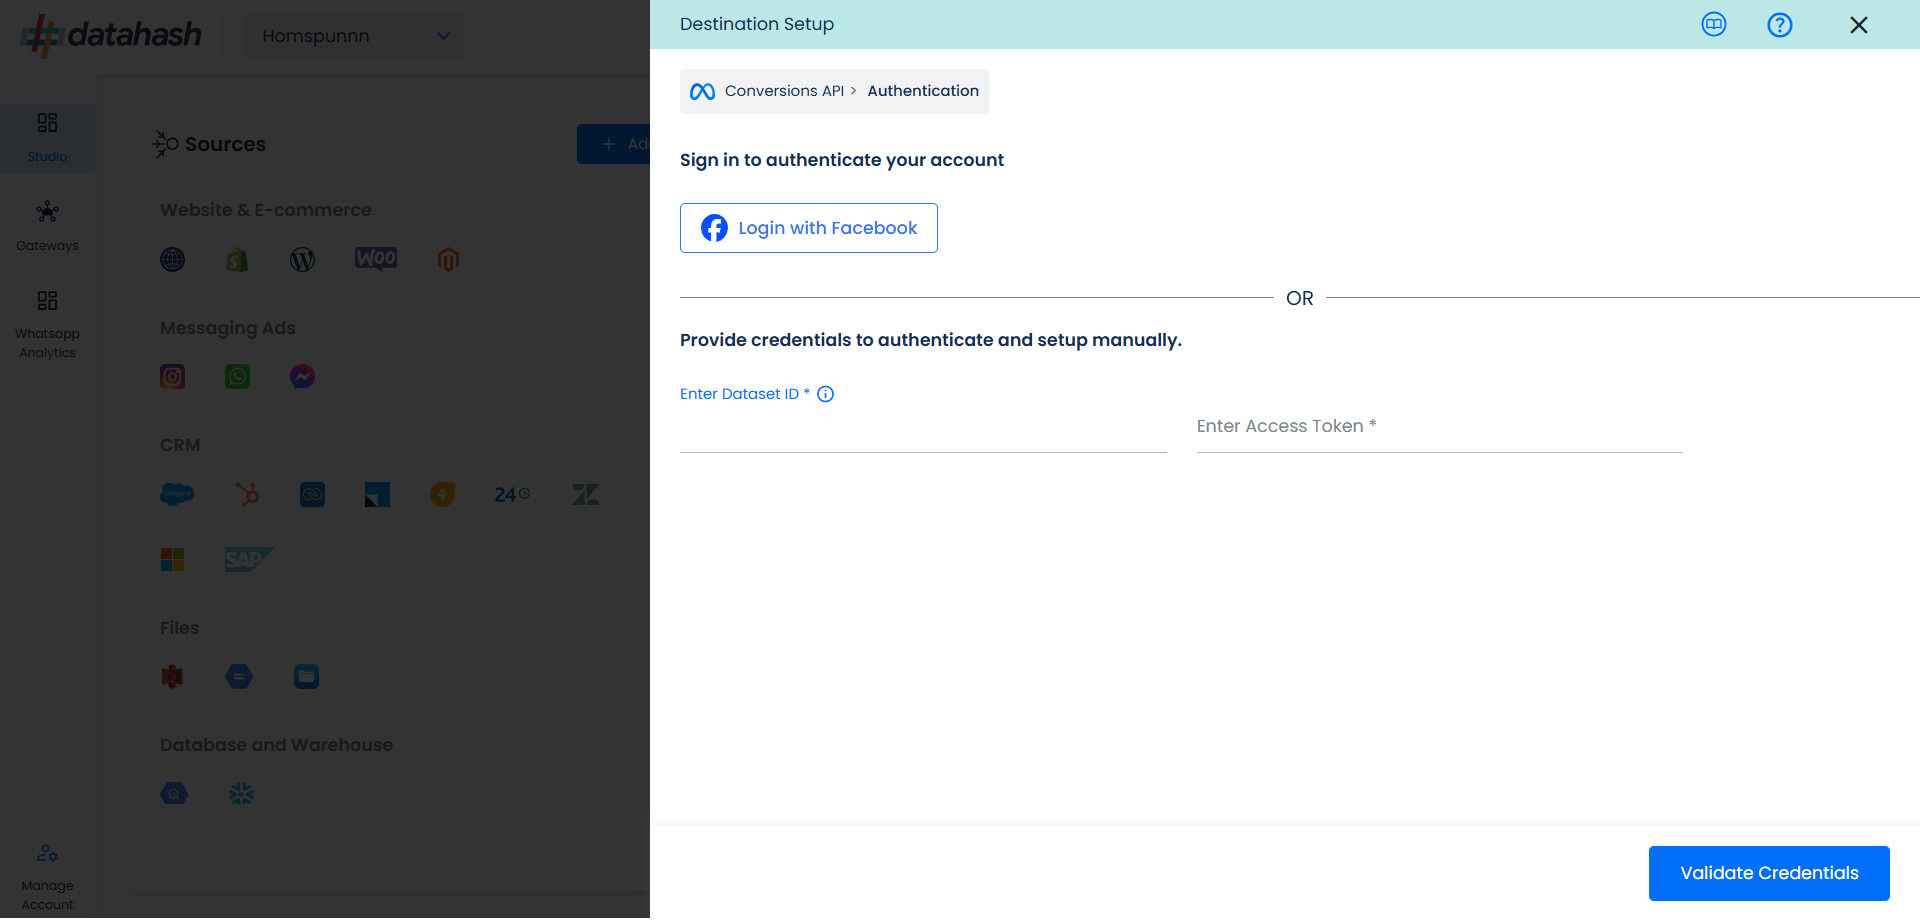
It is a fairly simple process and can be done in 2 ways:
- Log in directly using your Meta account, OR Provide Pixel ID and Access Token manually.
- Sharing access to the Meta Business Manager with Datahash for final QA checks.
Note: Access Sharing (For Meta Pixel Enhancement, Datahash team will require access to the Meta business manager (Admin)) & you need to be an admin on your business manager account in order to complete these steps.
Single Sign on:
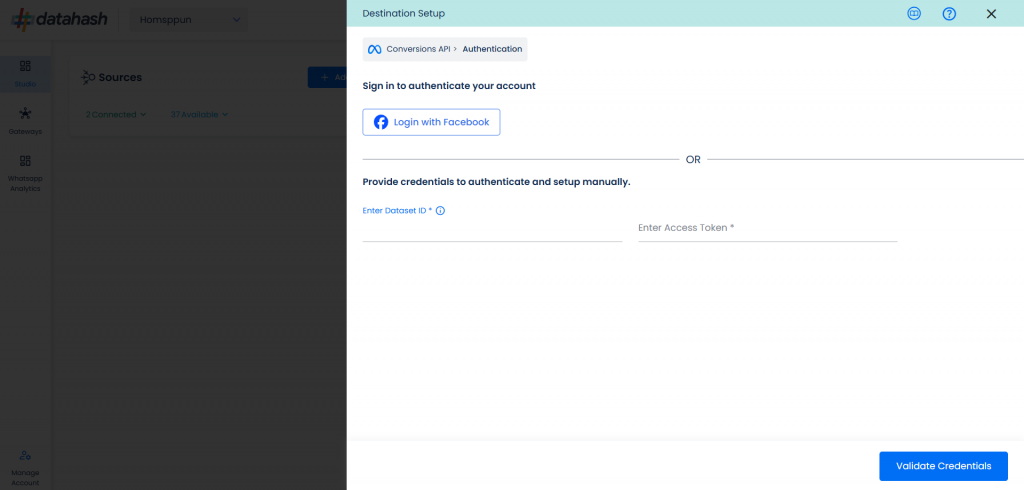
- Click on the Login with Facebook button to initiate the authentication.
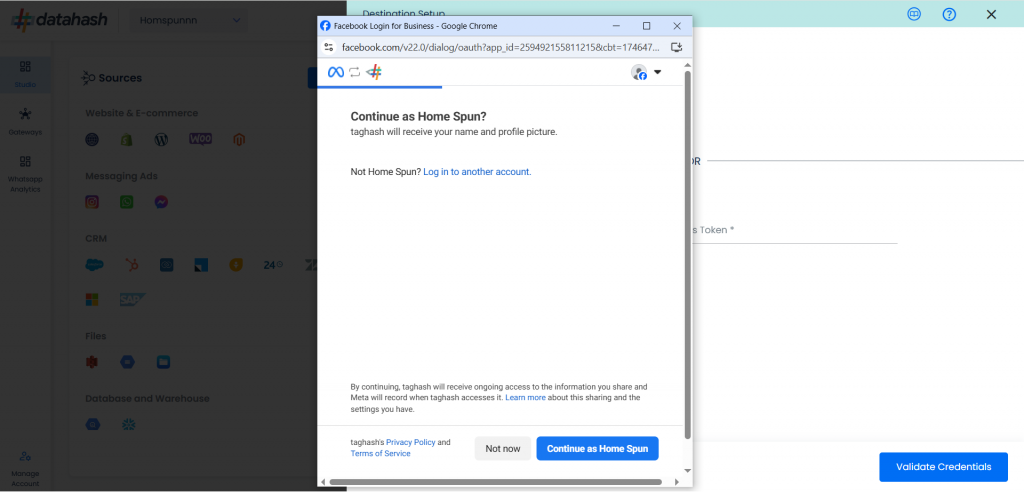
- You will be redirected and asked to log in to your Meta account. Now click on Continue.
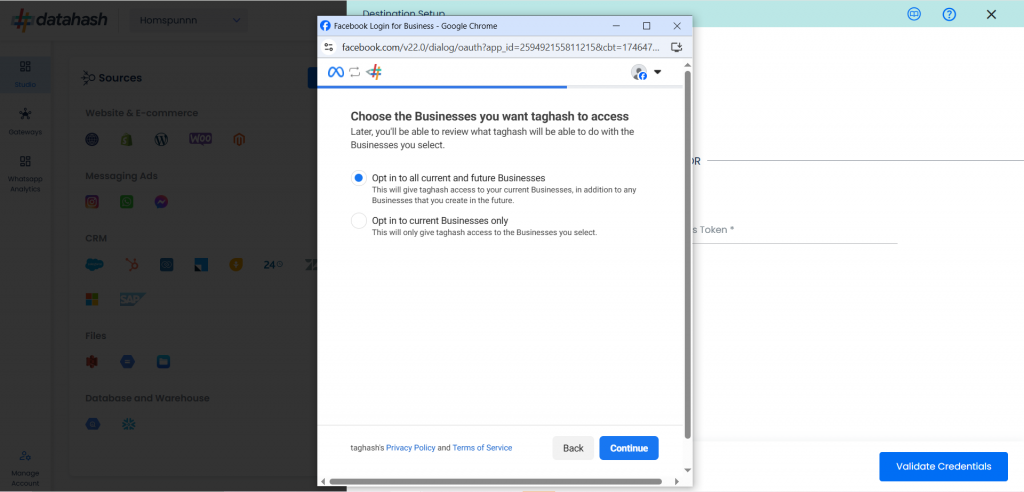
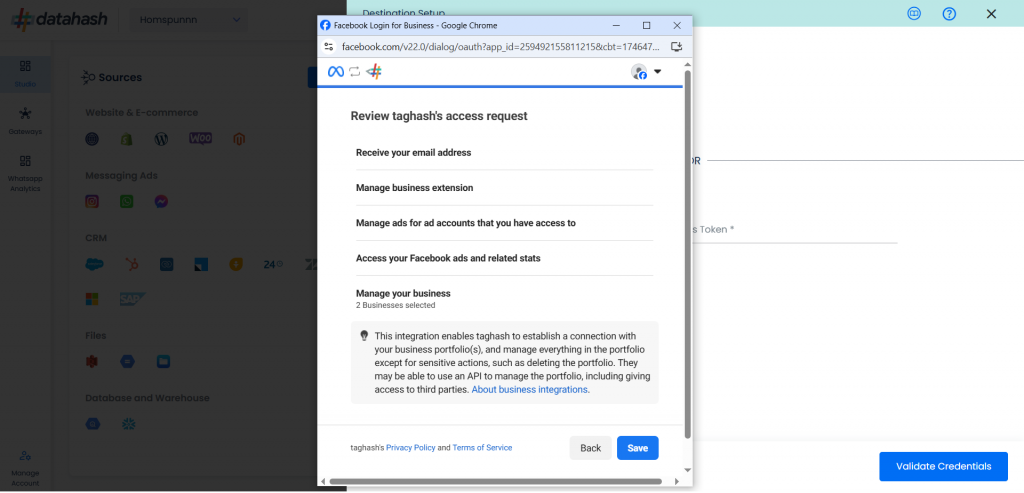
- Select the business you wish to use with Datahash and click Continue.
- Review the access request and click on Done.
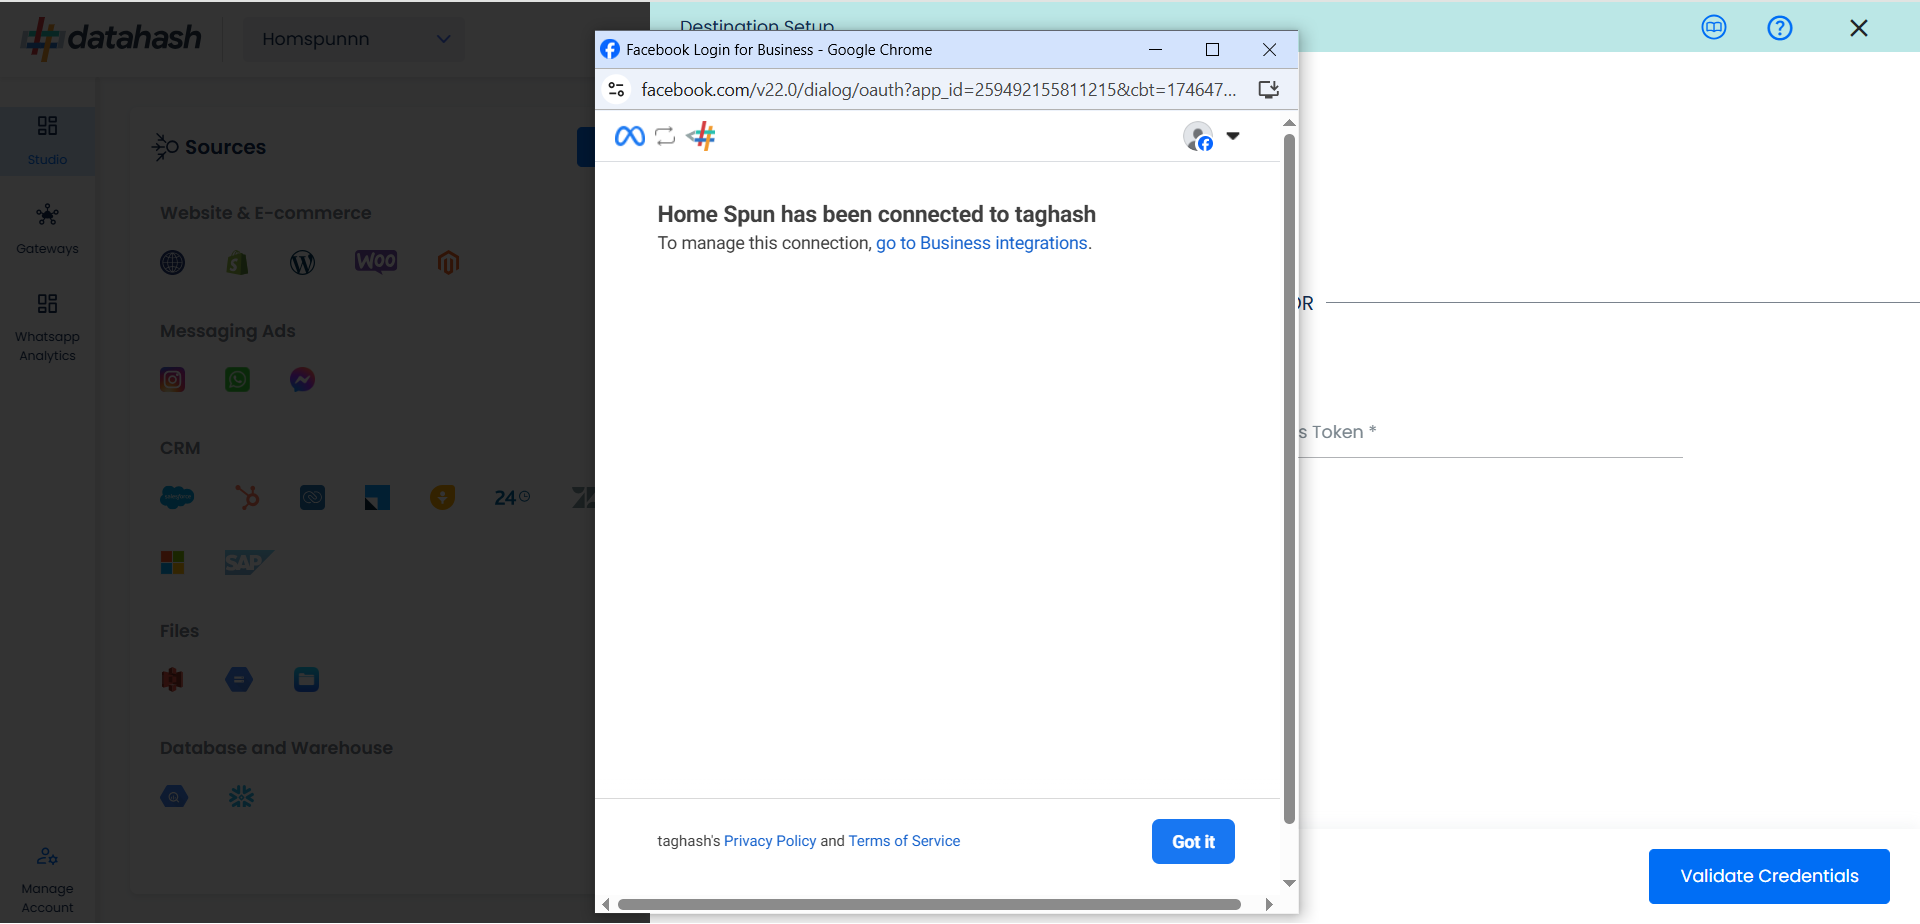
- Click on Got it to continue.
- Choose the Business Account ID & Associated Pixel ID from you Meta business account where you want to receive the data from source. Once done, click on Finish.
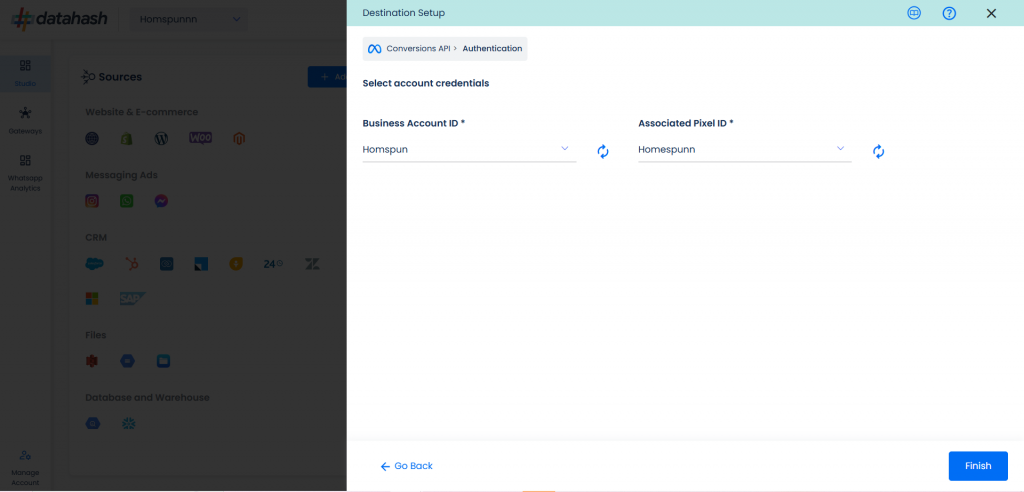
- The setup has been done & the data will start to flow from the source to the destination.

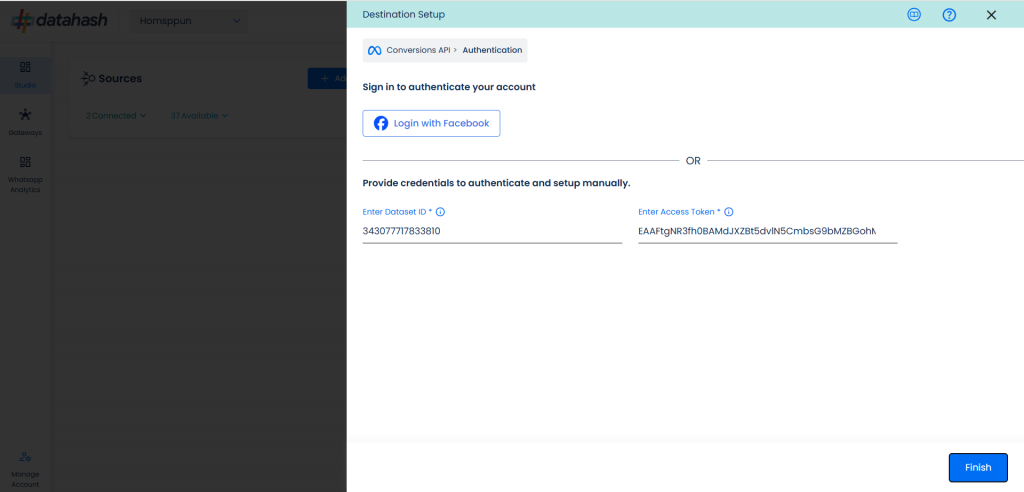
Manual Process:
- Provide the Dataset ID and the Access token of the business account with which you would like to integrate. Once done, Click on Validate credentials
- Dataset ID :- The Dataset ID is a unique identifier assigned to each Meta Dataset created by a business within the Meta Ads Manager.
- Access Token :- An Access Token is a unique identifier that allows businesses to connect their Meta ad account with third-party tools such as the Meta CAPI.
- Once done, click on Finish to complete the setup.
- The setup has been done & the data will start to flow from the source to the destination.
Components:
To better understand the setup, here are some technical details about the components involved:
Finding the Dataset ID and Access Token:
The process to find the Dataset ID and Access token is detailed below:
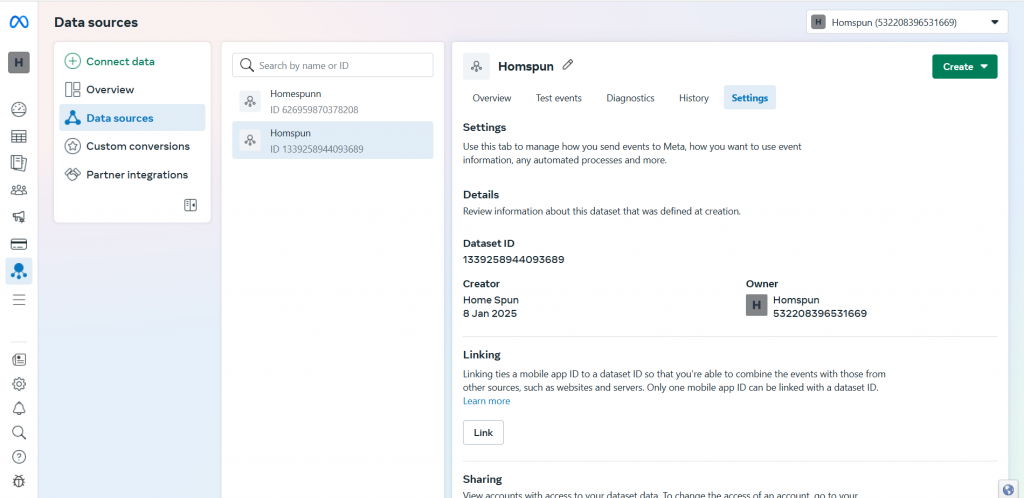
- Log in to the Meta business manager account. https://business.facebook.com/
- Select the appropriate account that you would like to integrate.
- Go to the settings tab of the account.
- The ID can be found under the Dataset ID header as shown in the image.
- Once done, scroll down to the Conversion API section and click on set up manually.
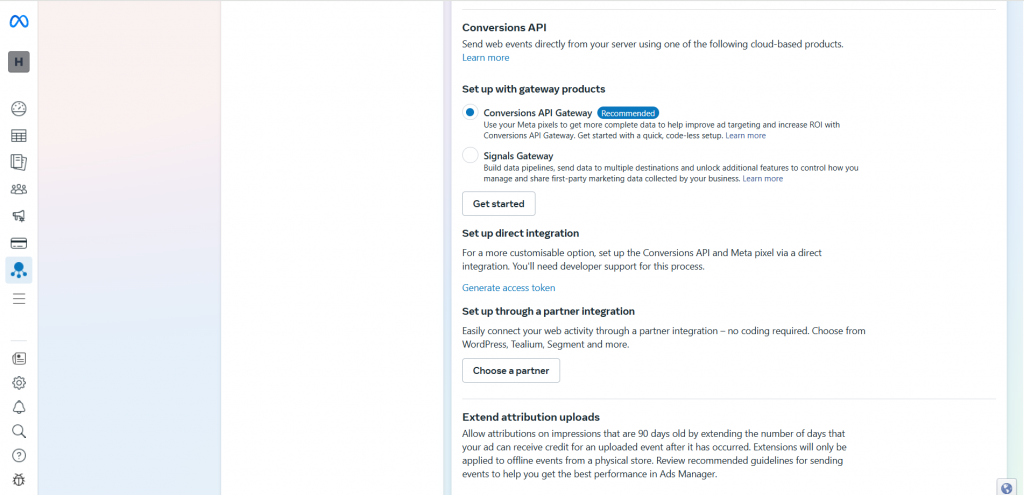
- You will see Generate Access Token written in blue. Click to retrieve the token.
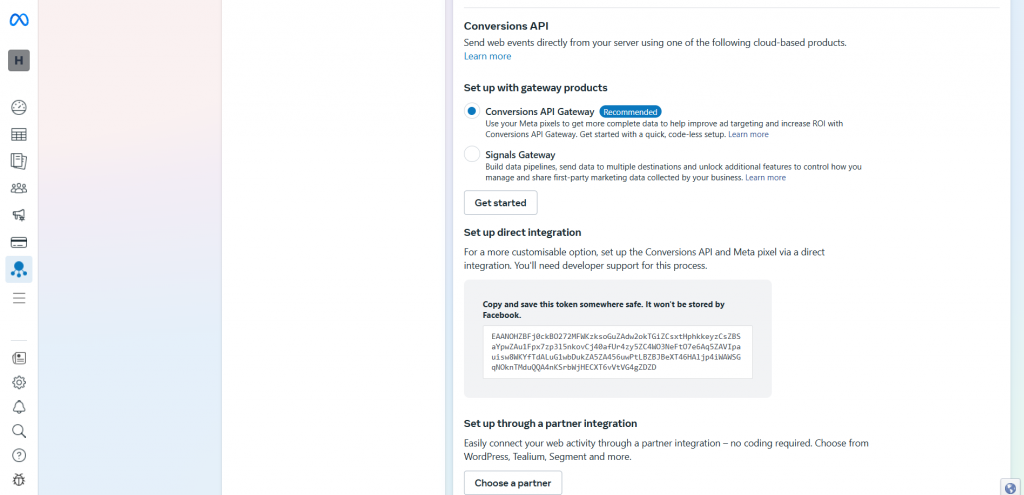
- Enter the Dataset ID and access token in the Datahash dashboard.
Access Sharing and adding the Datahash Pixel in Meta Business Manager
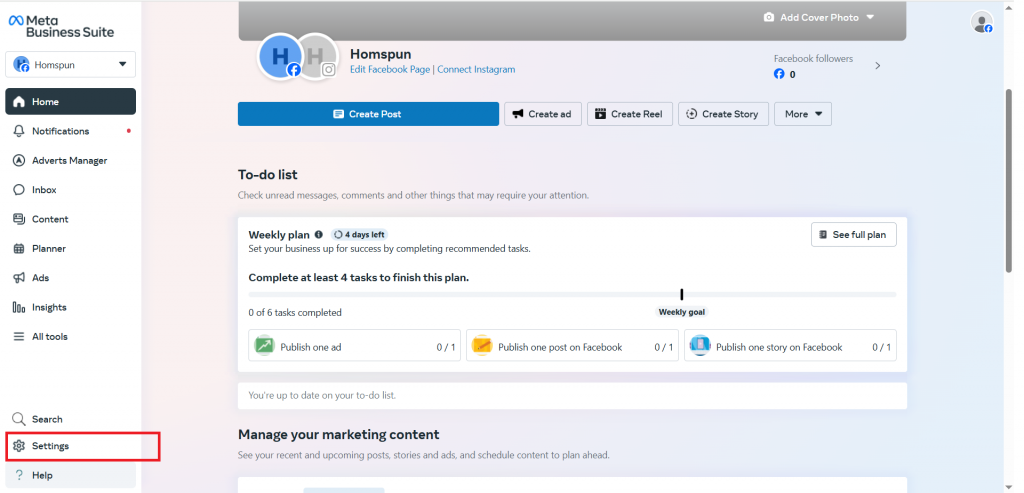
- In your Meta Business Manager, go to Settings.
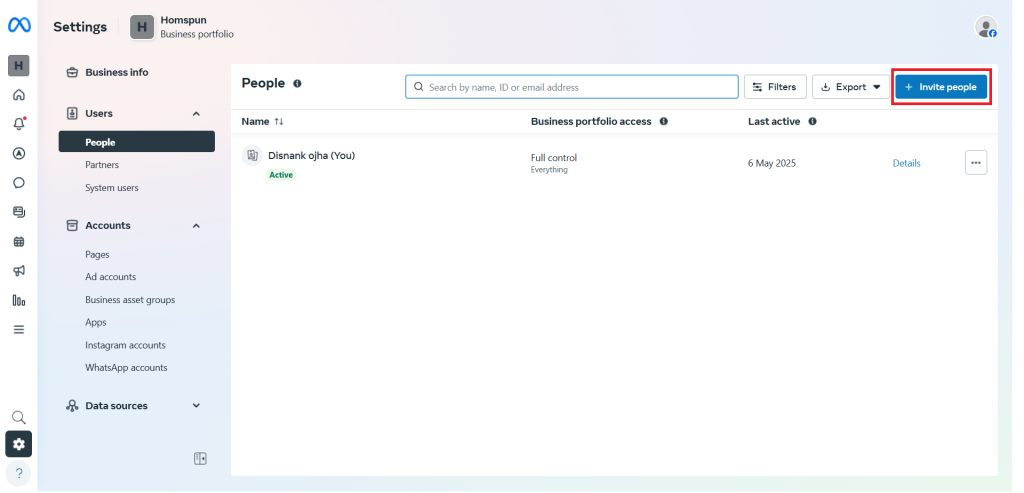
- Under Users, go to People. Once done, click on Invite people.
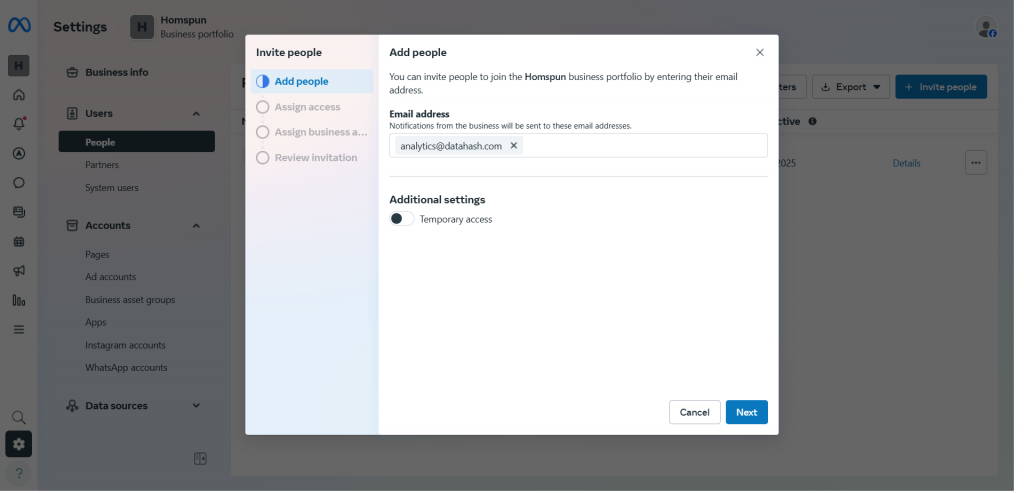
- Enter the Email ID- ‘analytics@datahash.com’. Once done, click on Next.
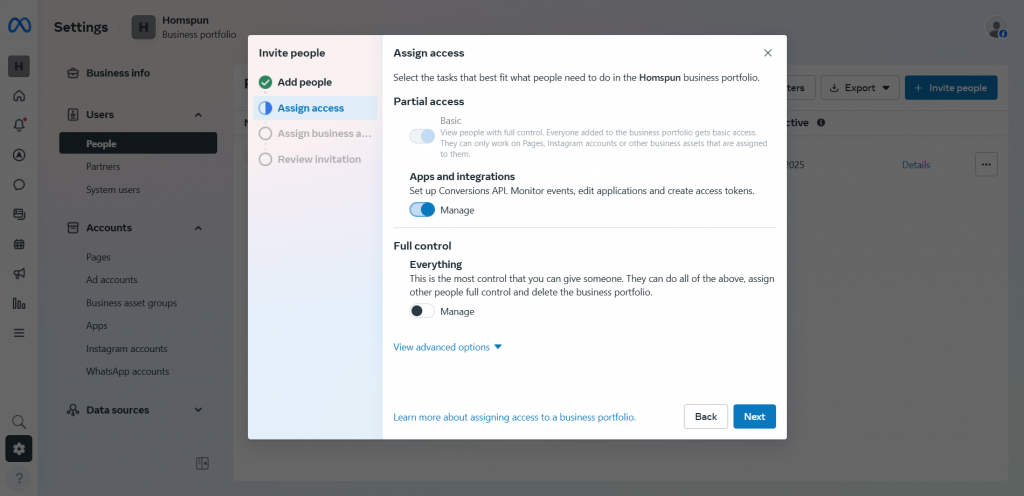
- Enable the Manage access under Apps & Integrations. Once done, click on Next
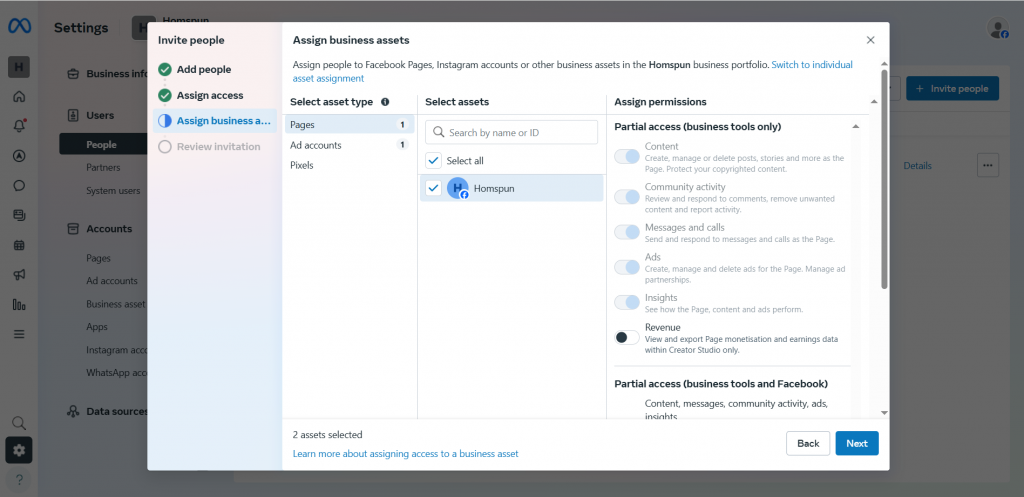
- Now provide the required access to each asset type. Once done, click on Next.
- Review the invitation. Once done, click on Send Invitation.

- Once implementation is done on Datahash, Datahash will do pre-implementation QA and ask clients to publish GTM.
- After GTM publishes Datahash will do post-production QA and close implementation with a handover doc.
Standard Events
Datahash maps the event name in the payload to the Facebook standard event before sending it to Facebook Pixel. The properties are sent as the standard events require them.
Datahash maps the following events to the Facebook standard events by default:
| Neotag Event Name | Facebook Events Name |
| neotag.page() | PageView |
| view_item | ViewContent |
| add_to_wishlist | AddToWishlist |
| add_to_cart | AddToCart |
| subscribe | Subscribe |
| submit_application | SubmitApplication |
| start_trial | StartTrial |
| search | Search |
| schedule | Schedule |
| purchase | Purchase |
| lead | Lead |
| begin_checkout | InitiateCheckout |
| find_location | FindLocation |
| donate | Donate |
| customize_product | CustomizeProduct |
| contact | Contact |
| complete_registration | CompleteRegistration |
| add_payment_info | AddPaymentInfo |
Note that:
- For the Purchase standard event, properties.currency is a required field.
- For the Products Searched event, the search query must be a string.
- If you do not specify the properties.currency field in the Order Completed event, RudderStack sets its value to USD by default.
- Custom events are used to send any event that does not appear in any of the mappings.
Custom Events
- Please note that these mappings are done by default, but can be customized to meet your specific needs. If the event name in your payload does not match any of the standard events, Datahash will categorize it as a “Custom Event”.
- The properties sent with each event should match the requirements of the corresponding Facebook standard event.
Deduplication
- When using the Facebook Pixel, events can be sent through both a web browser and the Conversion API. However, this dual setup can result in duplicate events being received by Facebook. To ensure accurate representation of data, Facebook performs deduplication on incoming events.
- The recommended method for deduplication is to use the “event_name” and “event_id” properties. Events will be deduplicated when they meet the following criteria:
- Both events are received by the same Facebook Pixel ID.
- They have the same “event_name” (e.g. Purchase).
- They have the same “event_id”.
The “event_id” must be unique to that specific event and must be the same for both events coming from the Pixel and Conversion API. (For example, the “event_id” could be the purchase order number).
Connect to Sources:
Facebook’s CAPI Destination can be connected to various platforms such as websites, marketing automation tools, warehouses, apps, and ecommerce stores through Event Streams and Cloud Apps. The eligible sources include Website/JavaScript SDK, App, Ecommerce Stores (Shopify, WooCommerce), Big Query, Moengage, Braze, and Clevertap.
Web Sources:
- Website/JavaScript SDK
- App
- Ecommerce Stores (Shopify, WooCommerce)