
Video Walkthrough
Getting Started
- Go to Datahash Studio Login.
- Enter your credentials and log in.
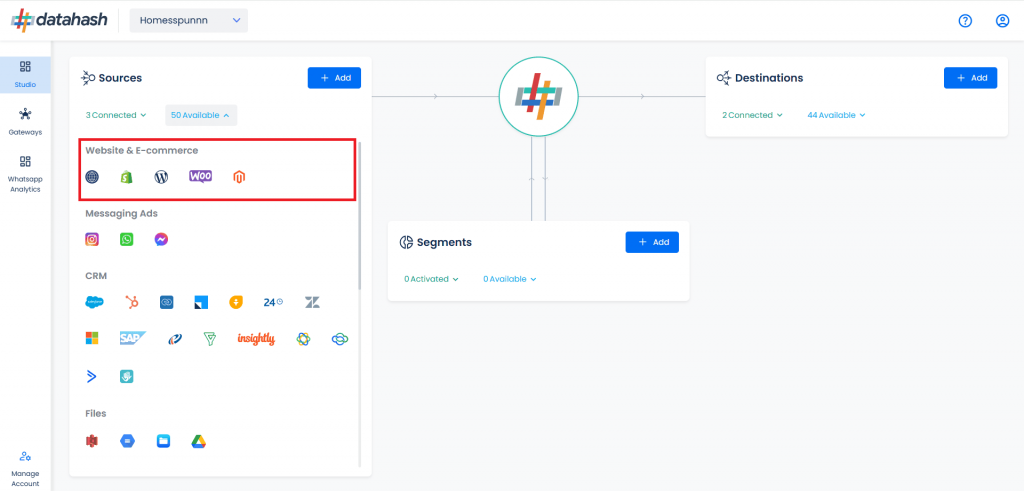
- In the left-hand menu, navigate to Website & E-commerce under the Sources list.
- Click on the WooCommerce connector tile.
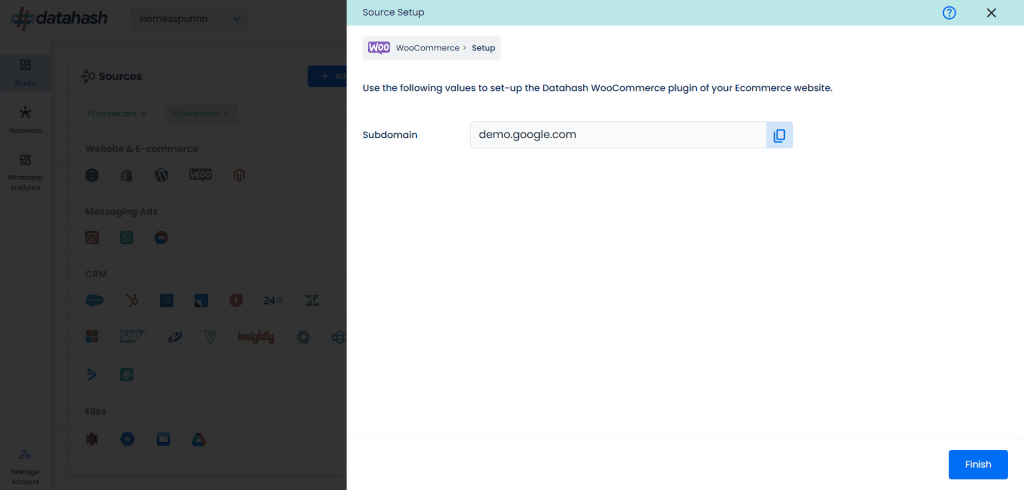
Step 1: Set Up Your Subdomain
Before implementing WooCommerce as a source, you must configure a subdomain.
- Provide the Subdomain and Domain Name:
-
- Enter a subdomain name (e.g., s2s or firstpartydata).
- Enter the domain name of the website where tracking will be set up.
- The domain name will be pre-filled based on your work email — verify and update if required.
- Click Next.

- Set Up the NS Records in Your Domain Manager:
- Once you save the subdomain and domain name, Nameserver (NS) records will be generated.
- Add these NS records in your domain manager’s DNS settings for your website’s domain.
- Once done, click Proceed.

- Click Finish to complete the subdomain setup.

Note:
- Subdomain setup is mandatory to enable server-to-server first-party tracking between multiple sources and destinations.
- For help with NS record setup, refer to:
- GoDaddy DNS Manager- NS records set-up on Godaddy DNS Manager
- Cloudflare- NS records set-up on Cloudflare
- AWS Route 53- NS Records set-up on AWS
Step 2: Set Up the WooCommerce Source Connector
Once your subdomain is successfully configured, proceed to setting up your Source Connector for WooCommerce. Click on Finish to complete the subdomain setup.
Step 3: Set Up the Destination
After completing the source setup, configure your desired destination(s) in Datahash.