Video Walkthrough
Description
The File Transfer Protocol (FTP) destination in Datahash allows you to automatically send Meta Lead Ads data to a secure FTP/SFTP/FTPS server. This is useful for organizations that store or process lead data on internal servers or data warehouses.
Prerequisites
Before starting, ensure you have:
- FTP server address (hostname)
- FTP server port (default 22 for SFTP)
- FTP server username
- FTP server password
- Relative path to the destination folder on the FTP server
Setup Instructions
- Login to Datahash
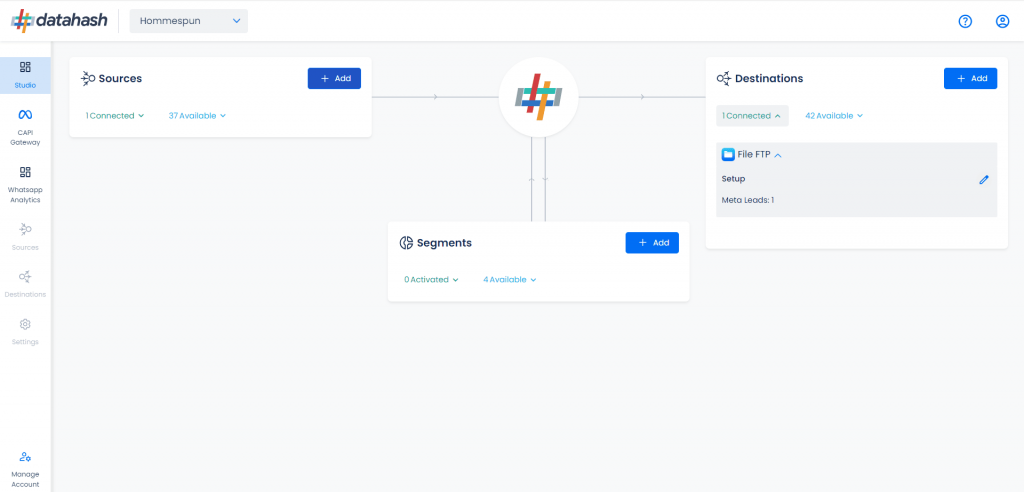
- Go to Datahash Studio
- Enter your credentials
- Select FTP as Destination
- Navigate to Files category under Destinations (right section)
- Click on the File FTP connector tile

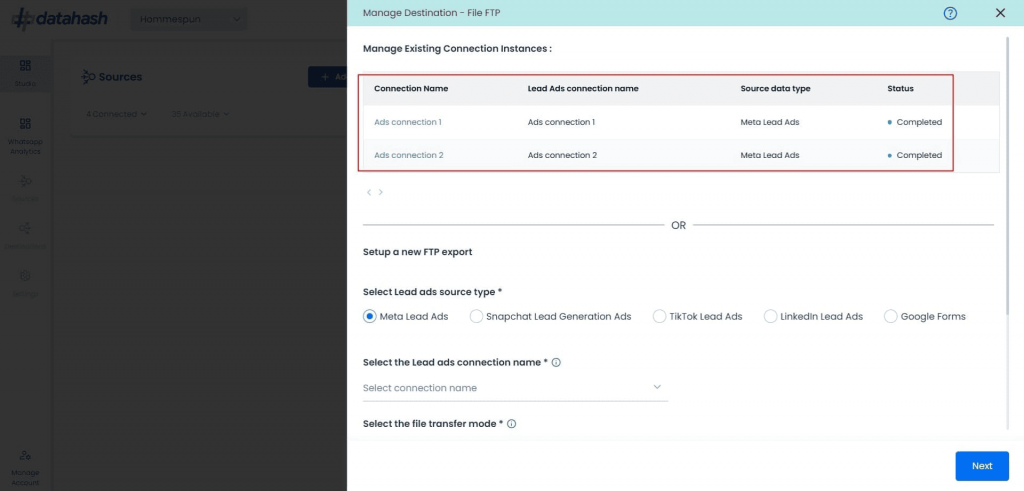
3. Select Source
- Choose Meta Lead Ads as the source type
- Select the connection name from your existing Meta Lead Ads Source
Provide a name for this connection
4.Configure File Transfer
- Choose Transfer Mode: SFTP, FTP, or FTPS
- Select Export Frequency: Realtime, 1 hour, 3 hours, or 1 day
- Click Next
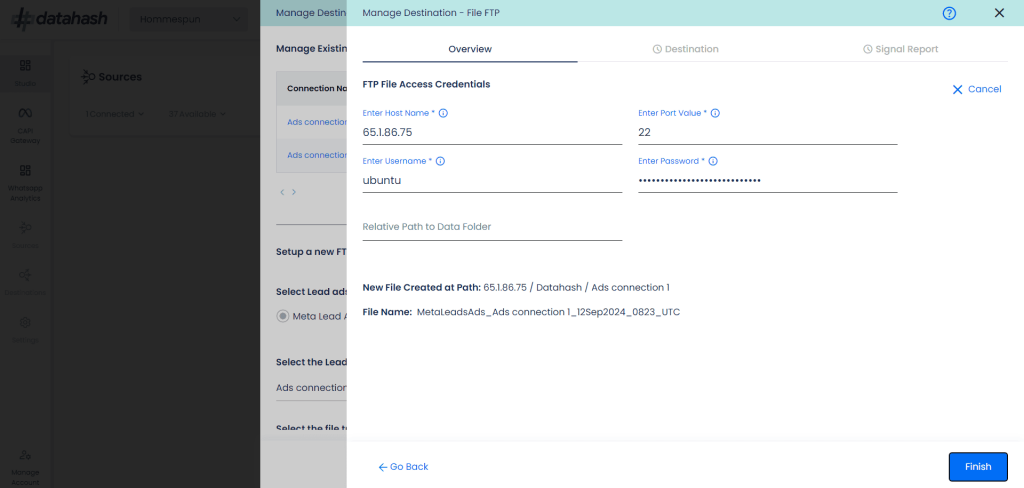
5. Provide FTP Credentials
- Hostname: Your FTP server address
- Port: Enter port (default 22 for SFTP)
- Username: Account with read/write access
- Password: Password for the above username
- Relative Path: Folder path where the file should be stored
6. Folder & File Structure
- Datahash will create:
- A Datahash folder inside your specified path (or root if no path given)
- A subfolder named after your lead ads connection
- New files will be created for each export with a timestamp in the filename
- Verify & Finish
- Click Next
- Once the connection is verified, click Finish
- The connection will now appear in your dashboard

Managing Instances
Add a New Instance
- From Manage Connections, click Edit icon
- Repeat the setup process
- Click Finish
- The new instance will appear in the Manage Existing Connections table
Edit an Existing Instance
- Click the connection name in the Manage Existing Connections table

- Click the Edit icon (top right corner)
- Update credentials, path, or frequency
- Click Next → Finish
(If Cancel is clicked, existing configuration remains active)


